| 29 June 2005:
Having succeeded, I bent a better wire to glue to the door so that it would hold better with a moment arm. |
 |
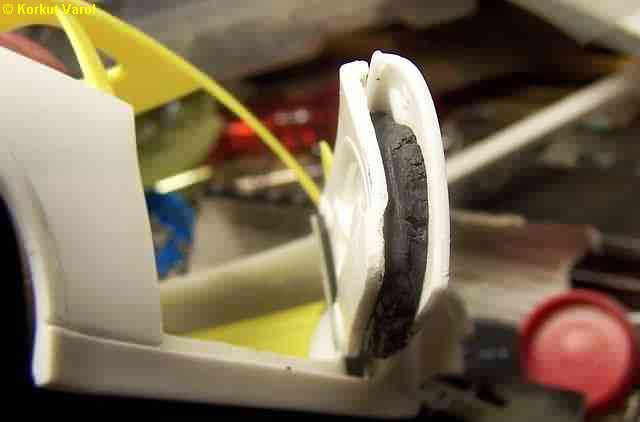
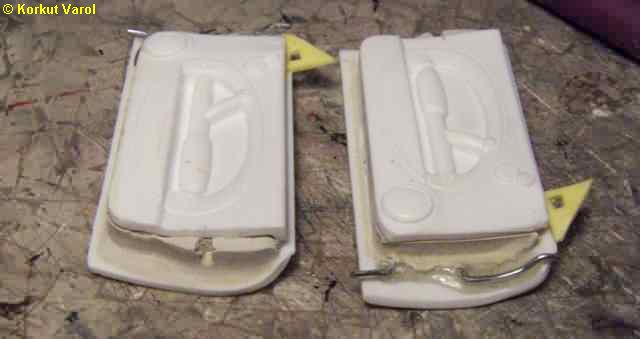
| 30 June 2005:
Now a tricky part. Aligning the outer and inner door panels. First I attached the inner door panel with a masking tape in place. I prepared a dough of epoxy putty (the type that you knead two parts to a uniform state), placed it between the door panels and pressed the outer door panel to squeeze and spread the putty between the panels. |
 |
| After curing, I took the masking tape off to reveal the door assembly. |
 |
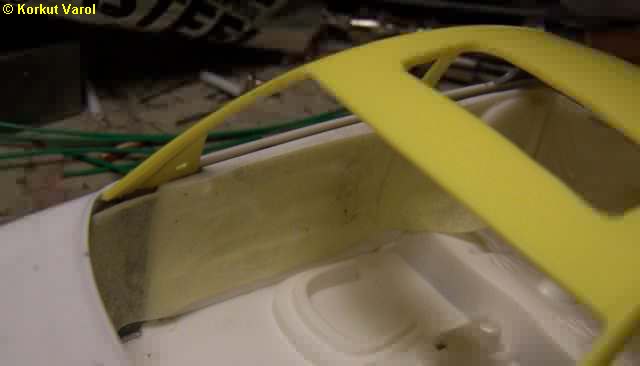
| 01 July 2005:
Then I began manufacturing the inner panels of the body door opening. I scaled the contours from photos. |
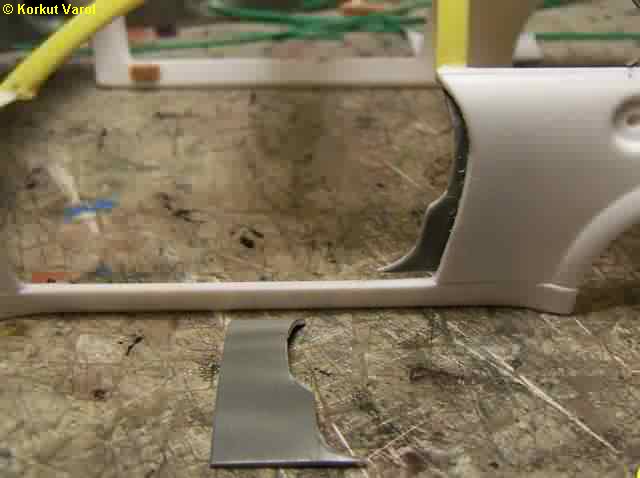 |
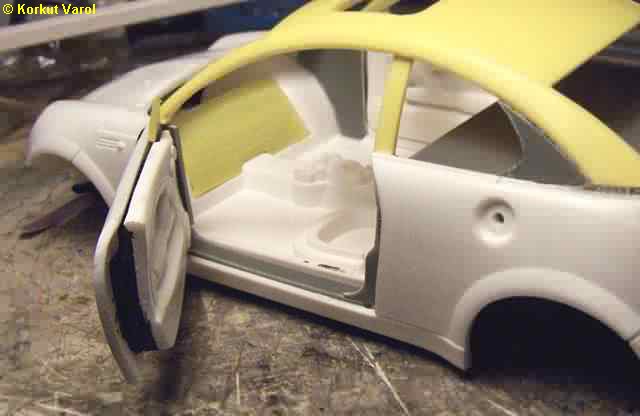
| I tailored the upper rocker panel and made a test-fit with the body. |
 |
| Another test fit with the door in place, before anything wrong may be carried on. |
 |
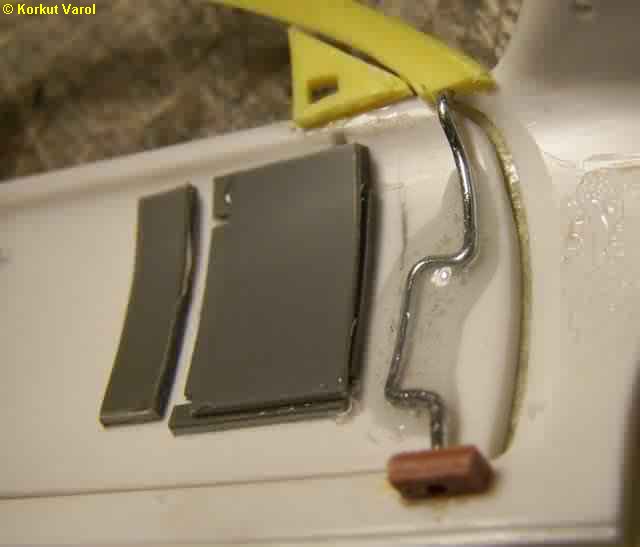
| 02 July 2005:
The lock striker panel glued in place. Rough now but will look better! |
 |
| I prepared another dough of epoxy putty for the backing of the lock striker panel. The excess were trimmed. |
 |
| Now it looked better with application of putty and sanding. Followed by another test fit... |
 |
| I placed the striker pins into the panel. They have to be in when the door panel is being cast in place. |
 |
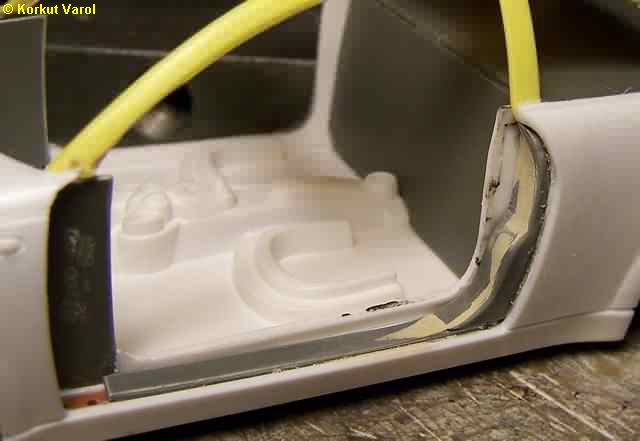
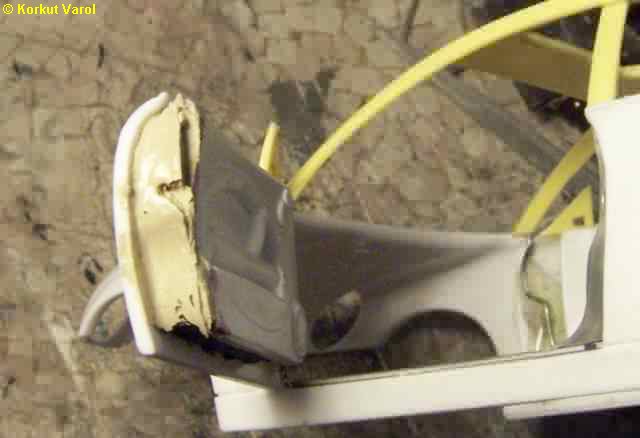
| 03 July 2005:
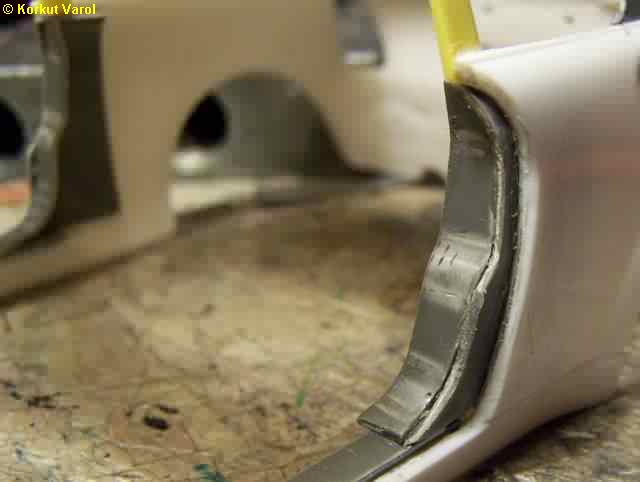
Now the turn for "casting" the door inner rear panel to mate with the body. I applied Humbrol Maskol to the body, so that the putty would stick only to the door. |
 |
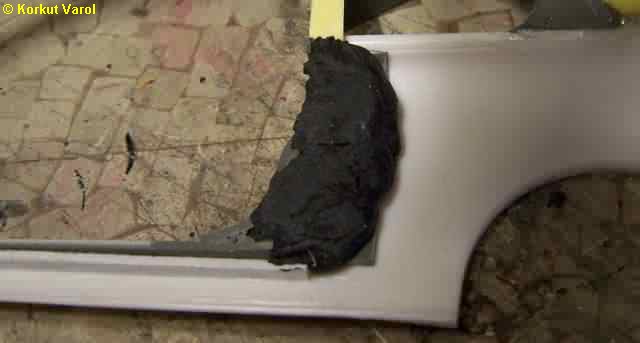
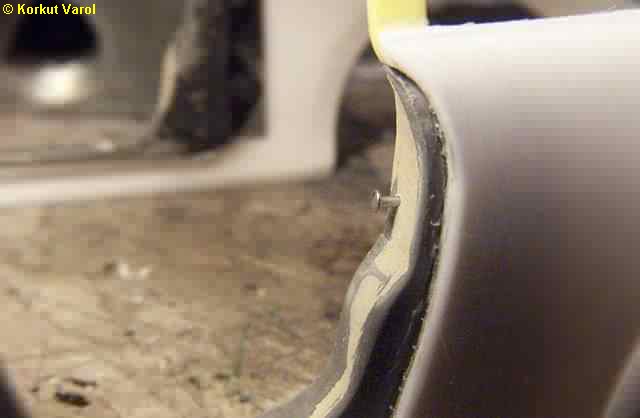
| I applied automotive epoxy putty to the door and close the door, so that the putty was spread inside the gap. Then I leveled the putty with the door inner panel and made the recess around the pin, before the putty settled. To prevent the greater resistance of the pin head while opening the door back, I pushed the pin fully inside the body panel. |
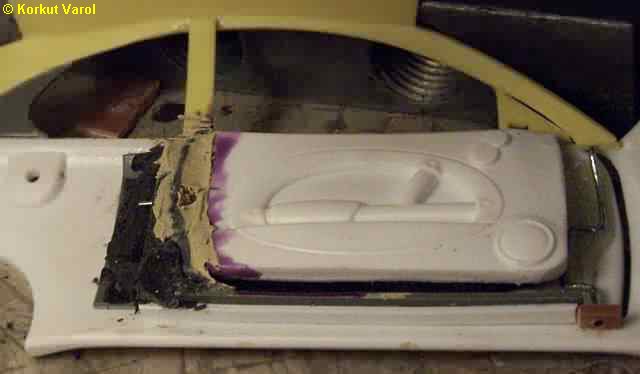 |
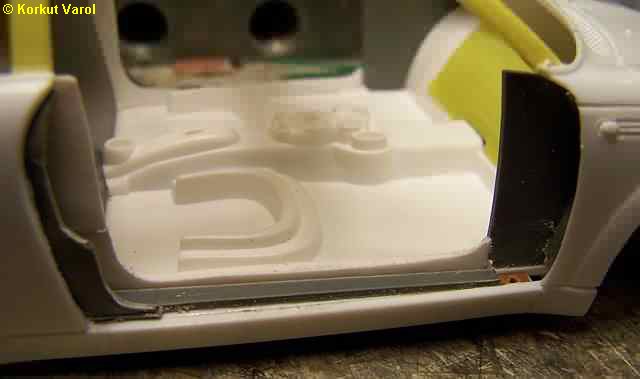
| This is after curing. |
 |
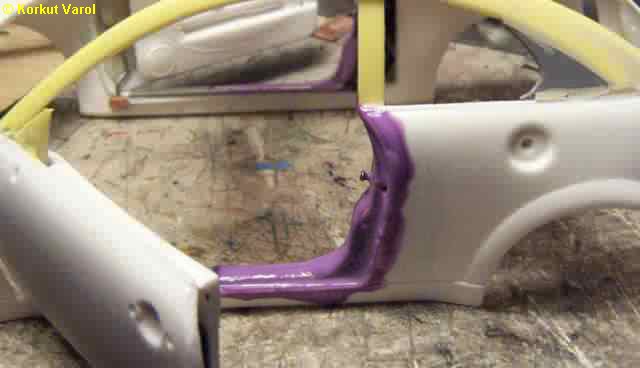
| Then I applied putty to the rest of the doors and sanded to smooth and proper shape as in the photo. |
 |
 |
|