| 03 July 2005:
For the sake of detailing, I drilled the big screw holes on the sides of the dashboard legs. |
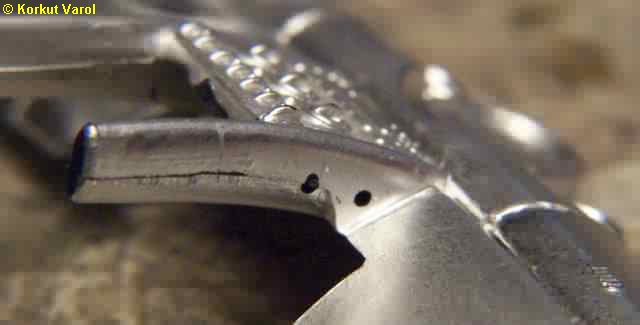 |
| I also drilled the countersunk holes on the door inner panels for better detailed looks. |
 |
| 04 July 2005:
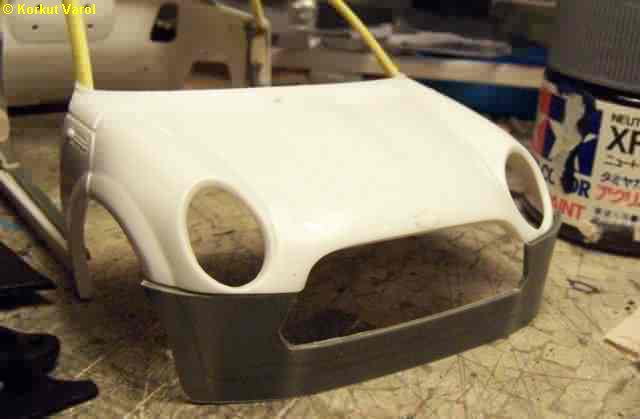
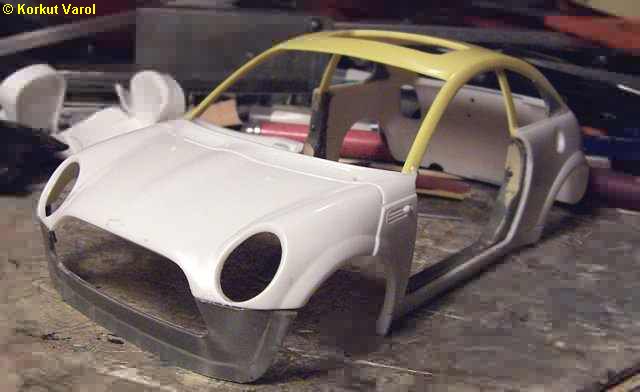
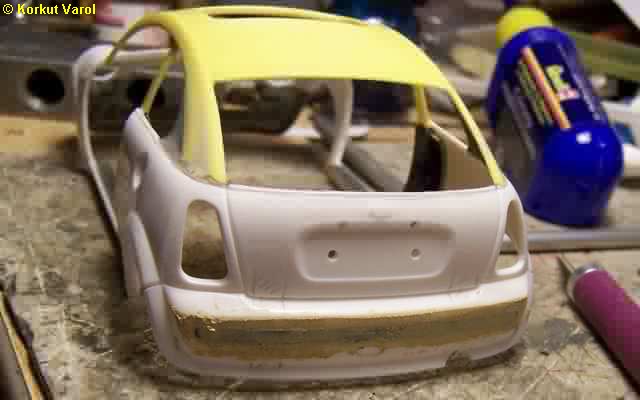
I decided that the New Mini GT should look more sporty and more muscular than the present. Designing a bumperless front panel, I think that this looks the way I want and also more loyal to the old Mini. Much sculpturing is predicted! |
 |
| 08 July 2005:
I bent the plastic sheet to an approximate shape... |
 |
| ...and glued it on the body. |
 |
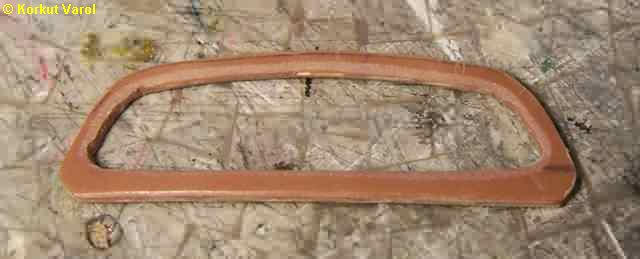
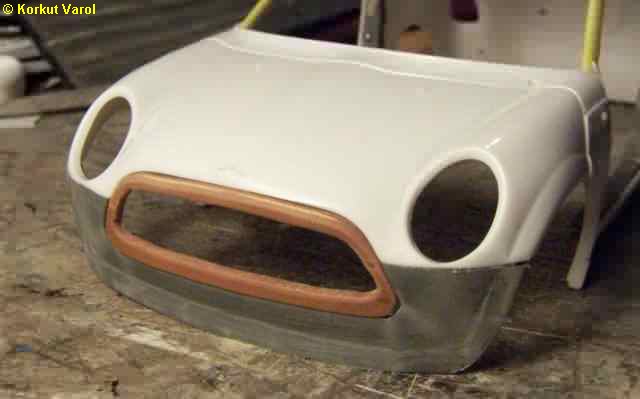
| 09 July 2005:
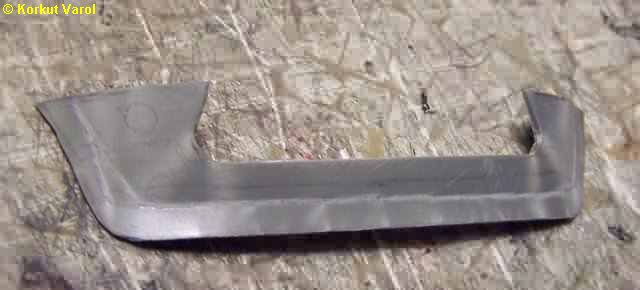
I cut and formed the frame for the front grille, from 2-mm thick styrene. |
 |
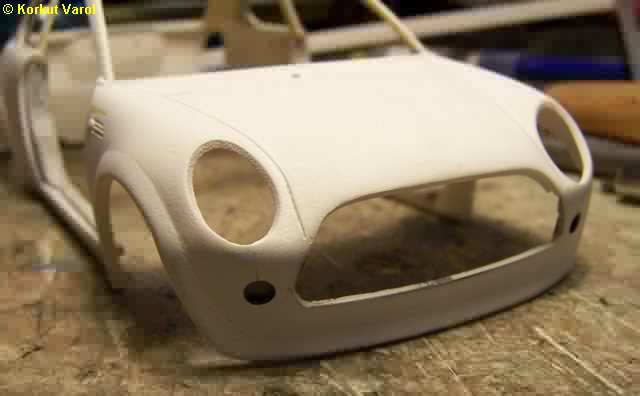
| I tailored the frame to the recess at the front; the lower part being flush with the body panel and the upper part protruding a bit from the hood. |
 |
| I did not like the clamshell hood, and also it would not be practical with this unitary-looking front panel. So I trimmed new separation lines for the hood, leaving the fenders as fenders. |
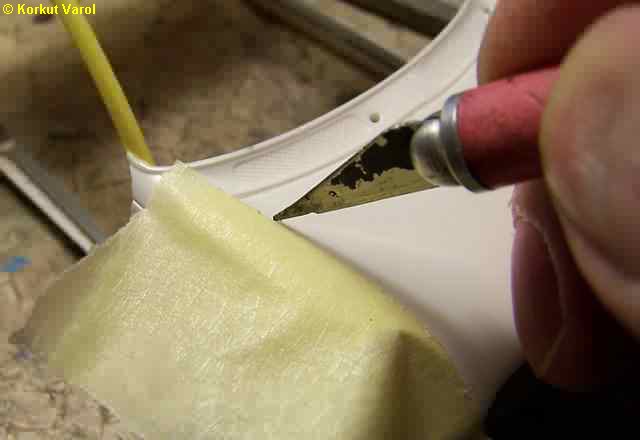 |
| Then I applied automotive epoxy putty to where necessary... |
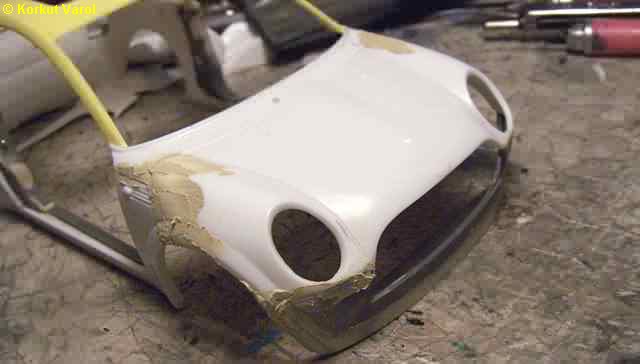 |
| For the rear bumper, I glued in the bumper band and sanded it down to the bumper level, and applied putty. |
 |
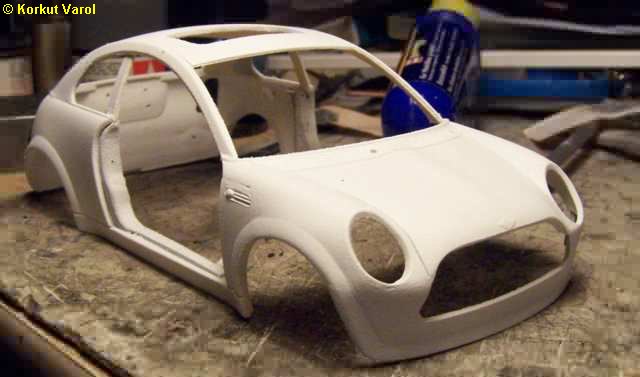
| The first primer coat at last. Some number of places to be taken care of. |
 |
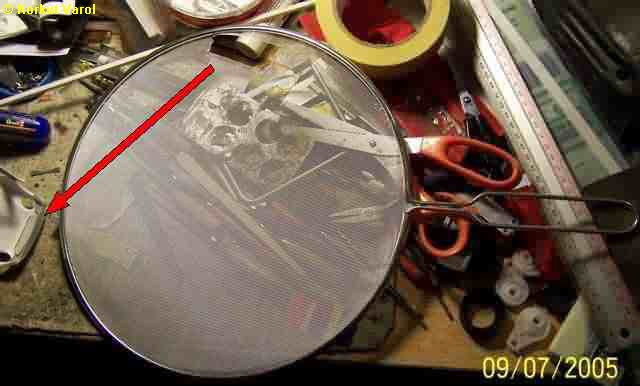
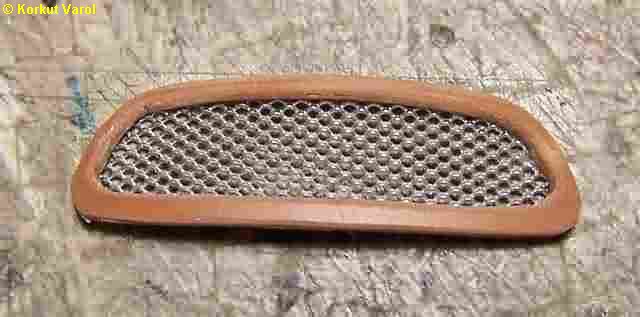
| Thinking about a good looking front grille pattern, I saw an oil trap grille for fryer tops. The immediate tool I handled was a pair of scissors! |
 |
| Here is the grille installed behind the frame. |
 |
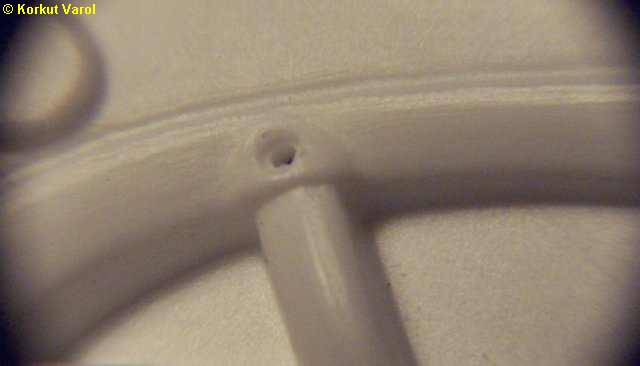
| I drilled the front turn signal holes and glued pieces of styrene sheet at the back, to form a recess for the lens. |
 |
 |
|