 |
 |
|
|
Page 2 of 3
| 28
October 2001:
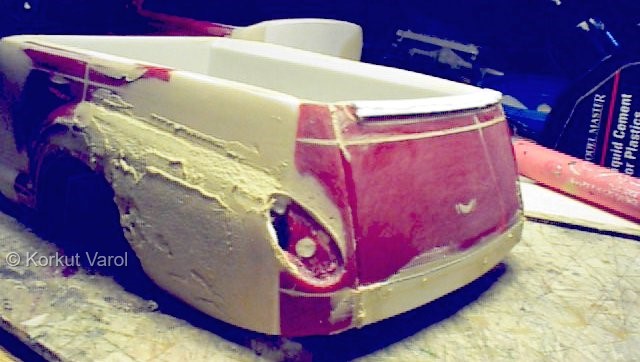
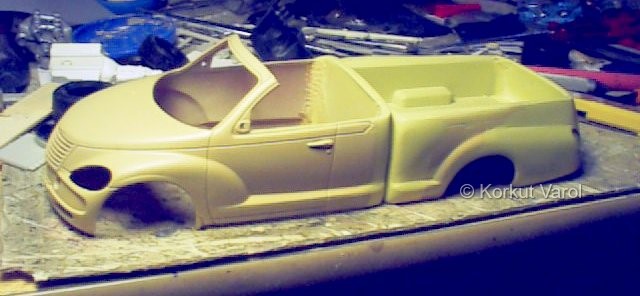
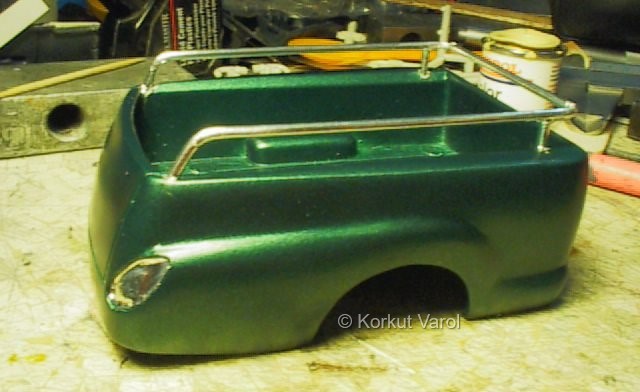
I constructed the rear outer panel by a straight styrene sheet at the center and filled the corners with polyester putty. The pic shows the cab before the putty application. |
 |
||
| Putty mess after the application. |
 |
||
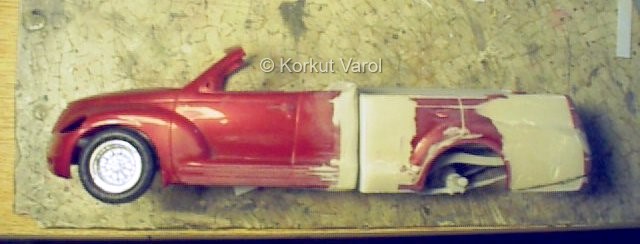
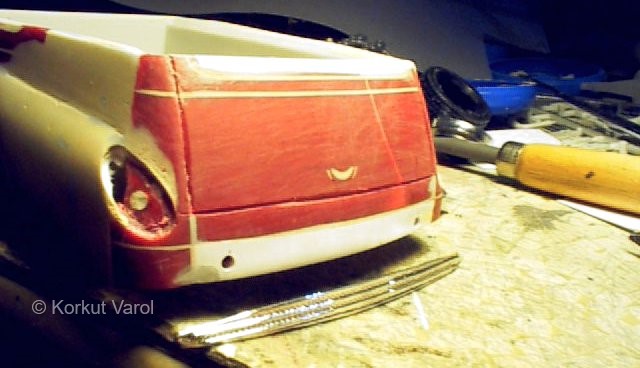
| View after the first sanding. The rear overhang seemed too bulky and reduced the ramp angle, so I marked a cut-off line. |
 |
||
| 21
November 2001:
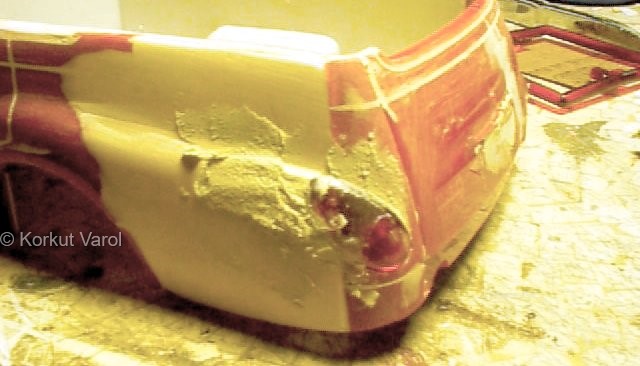
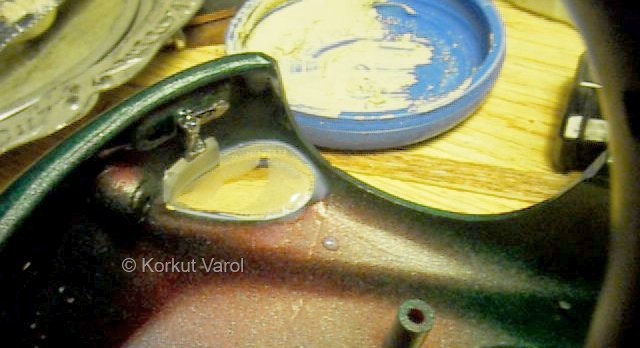
For the rear lamps, the housings had to be carved in the plastic. I did the job with Dremel, and applied polyester putty around the lens to take the exact contours. To prevent the putty from sticking to the lens, I applied Humbrol's Maskol on the lens prior to putty application. |
 |
||
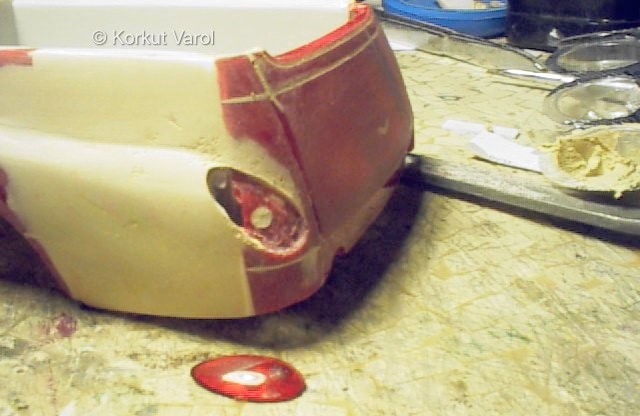
| Here, you see the putty with the lens taken out and sanded. The fender bulge upper contour had a wobbly profile, and it would be corrected as shown next. |
 |
||
| This is the restoring putty application for the fender bulge. Also, note the filling styrene pieces at the remaining gap from the rear window and the rear bumper panel. |
 |
||
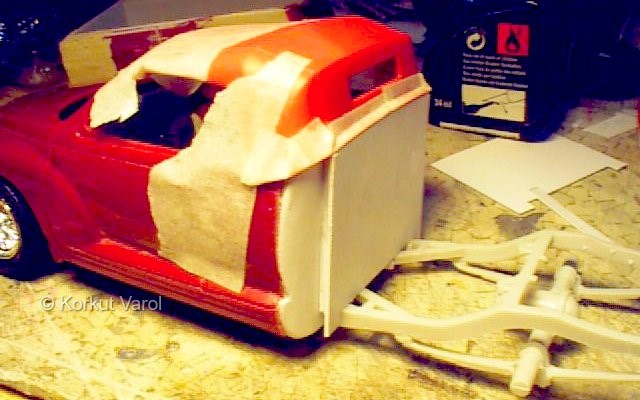
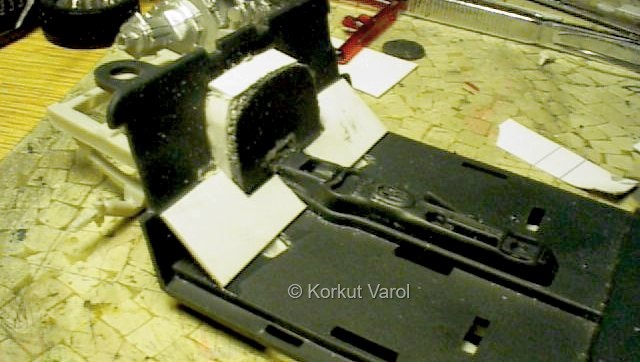
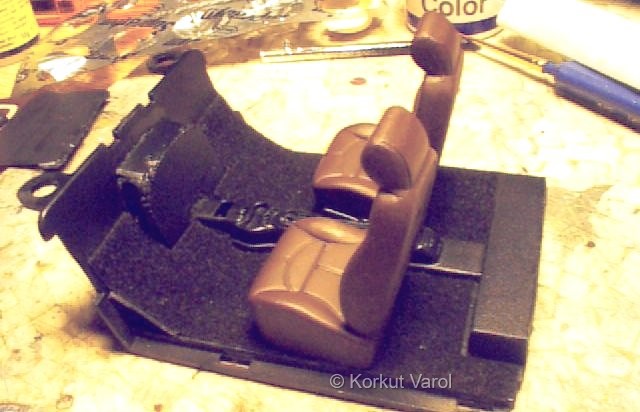
| Now the floor panel. Since the chassis members were protruding in the cabin, a beveled panel was tailored on the floor. Also, a recess in the firewall was made to make room for the rear part of the engine. |
 |
||
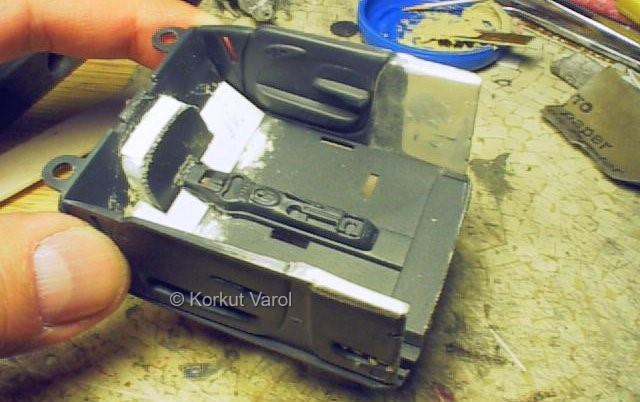
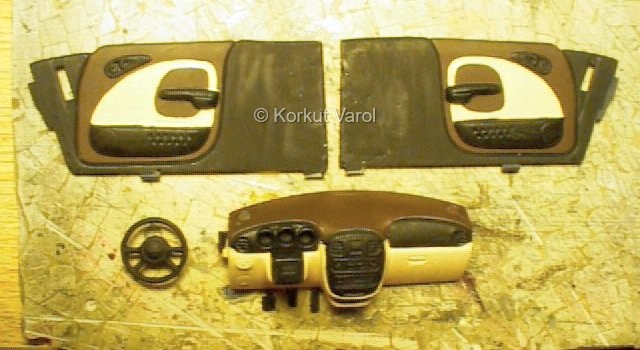
| I tailor-cut the side panels, and filled the rear parts with putty after shaving the armrests and rear door pockets. |
 |
||
| As for the rear bumper, I found a chromed part from my parts box and gave the same curvature with the body. I drilled two holes to house the bumper supports. |
 |
||
| The first primer coat. I had to apply putty and sanding to the bed to get a smooth finish. |
 |
||
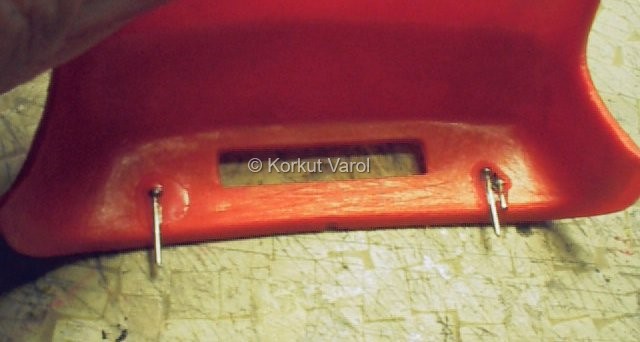
| For locating the tent, I buried two pins into the plastic with heating by solder gun. I then applied super glue over them to finalize the fixing. The small pin you see at the very right is a broken one, with the embedded part being impossible to remove. |
 |
||
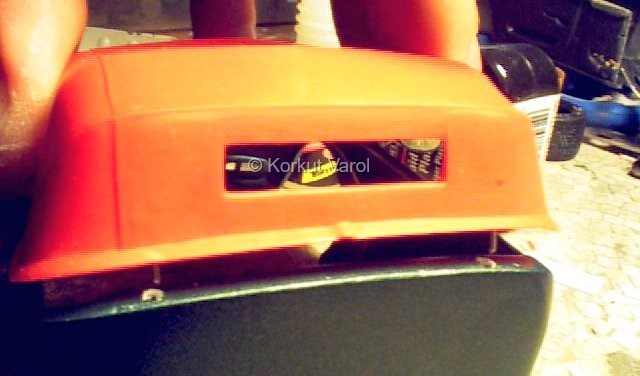
| On the mating part of the cab, I drilled two holes to house the locating pins. |
 |
||
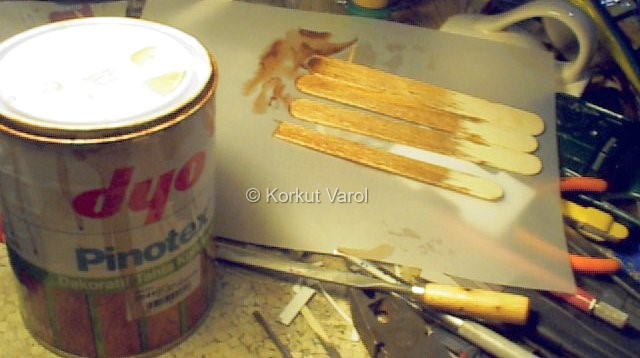
| For the bed floor, real wood was used. I applied a coloring protective to the wood to give it a proper color. |
 |
||
| Meanwhile, I painted the car with metallic dark green. I fabricated the peripheral bars from brass rod and applied bare metal on it for chromed look. I also applied bare metal to the lens housings for a brighter lens finish. I was too fast even for myself, I forgot to take pics during these steps! |
 |
||
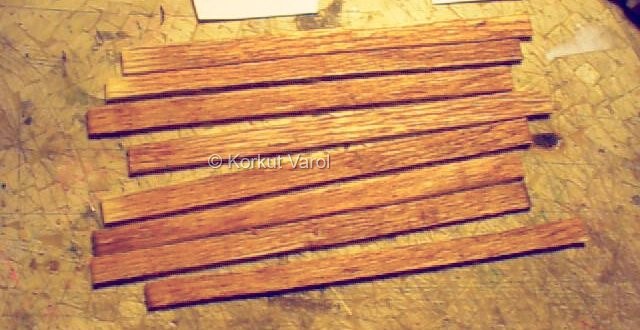
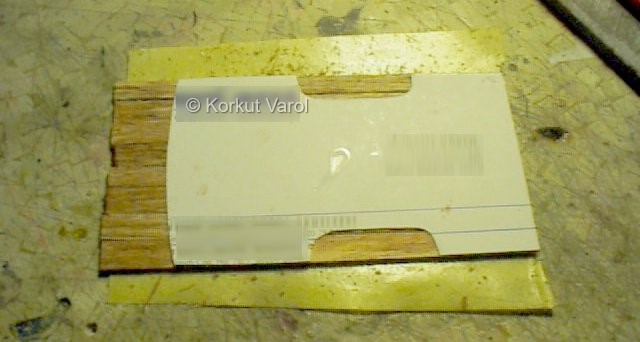
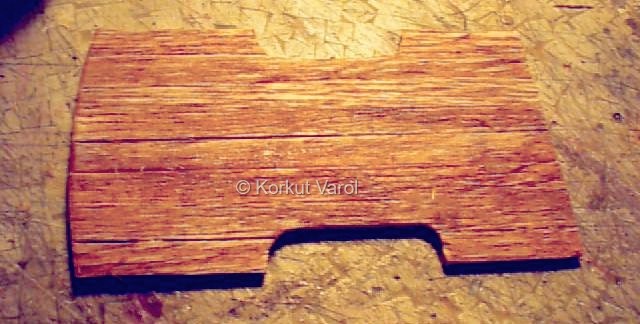
| Returning to the wooden bed floor again; I cut strips from the painted and now dry wood. As in the following pics, I first laid them on a sticky paper, and glued the bed profile from a card on its back. (Old business cards are good for such jobs). Then I cut the whole thing out, accordingly. To make the wood grain stand out more in contrast, I sanded a little from the surface, so that the parts that absorbed paint seemed darker. Then I applied another coat, that resulted in lighter and darker shades of the same grain in more contrast. |
 |
||
 |
 |
||
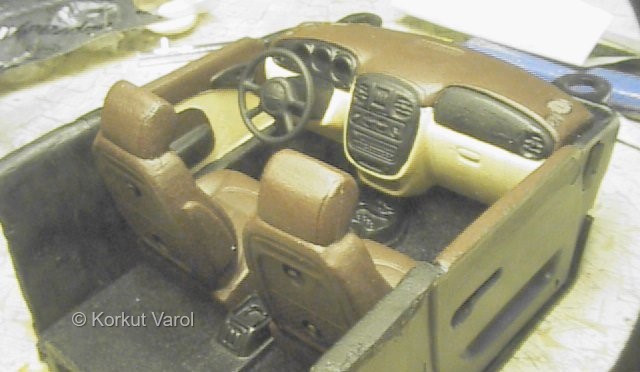
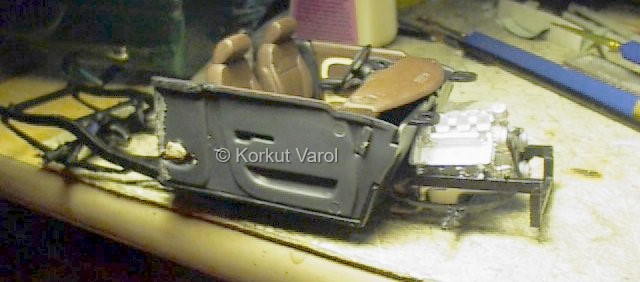
| I painted the dashboard and side panels, and the seats. I applied carpeting on the floor with cutting from self-sticking black velvet. |
 |
||
 |
 |
||
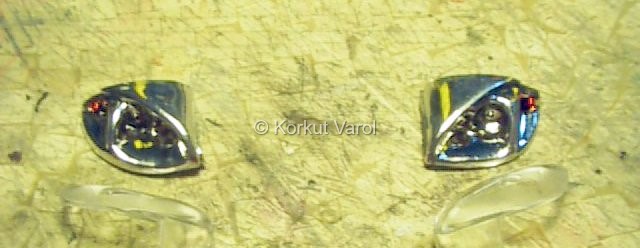
| Since the chassis was interfering with the snap-tite kit's lens and reflector parts, I cut them all into individual parts. |
 |
||
| I assembled the lenses with Testors Clear Parts Cement as shown, and also the reflectors the same way. |
 |
||
| Then I located the engine in accordance with the internal tub, and glued it in place. |
 |
||
 |
 |
 |
|