12 January
2009:
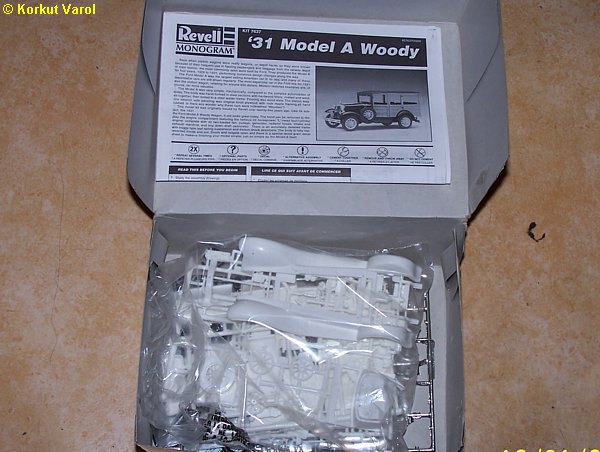
This is the
box and its contents.
 .. ..
|
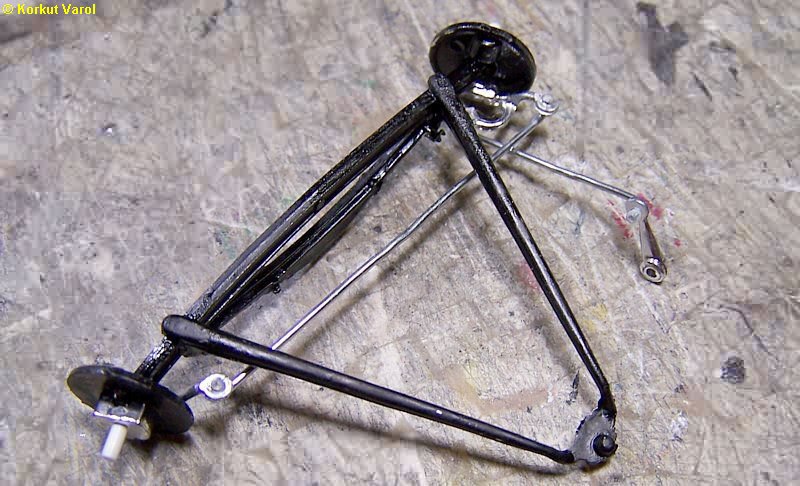
13 January
2009:
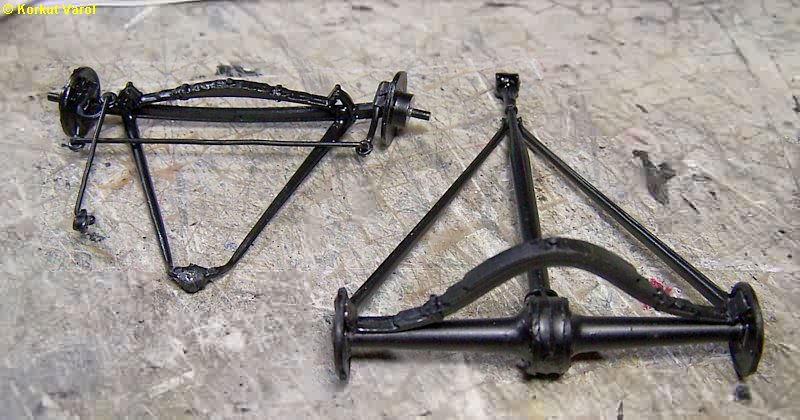
I started with
the front axle group. A
big negative for the kit was that, all the suspension, drivetrain,
steering
and axle elements were molded in chrome, so I had to make lots of
scrapings.
The tie and
push rods were very weak
and securing the joints as described in the manual was tricky and not
reliable.
So I built them from paper clip wire.
|
|
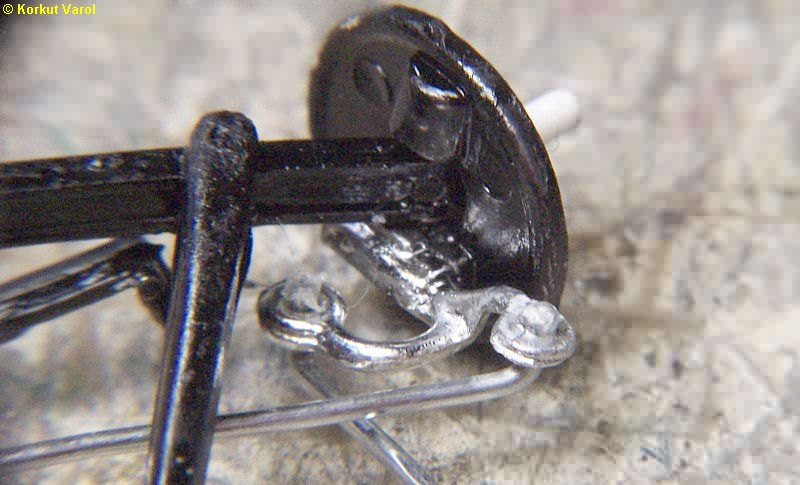
I
secured the rod ends with droplets
of CA glue.
|
14 January
2009:
After
assembly, I painted the front
and rear groups with flat black.
|
16 January
2009:
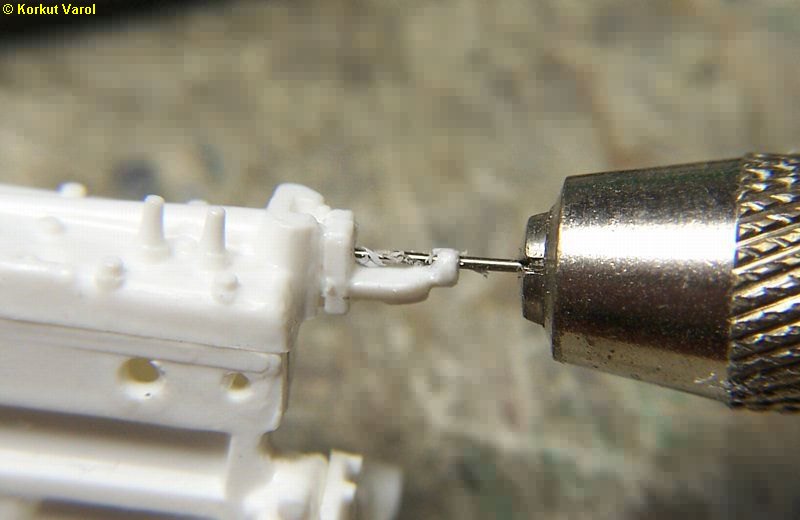
I drilled the
holes for the circulation pump shaft that I intend to make from metal
wire
later.
|
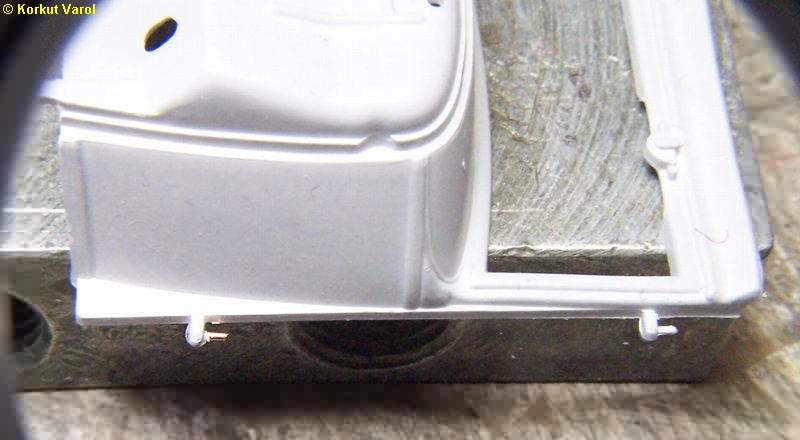
17 January
2009:
Meanwhile, I
cut the hole in the left
fender and then glued the spare wheel housing in place.

|
|
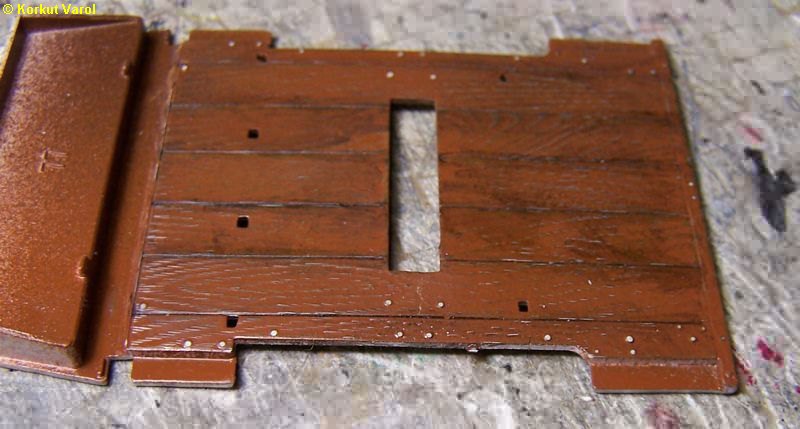
For
a trial, I painted the floor,
weathered it with #2000 and some blackwash. Not bad, maybe I can work
more
on it later..
|
|
18 January
2009:
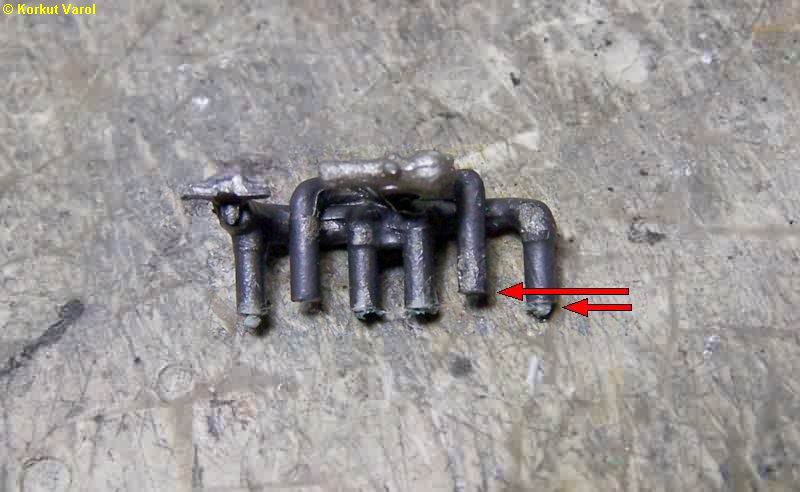
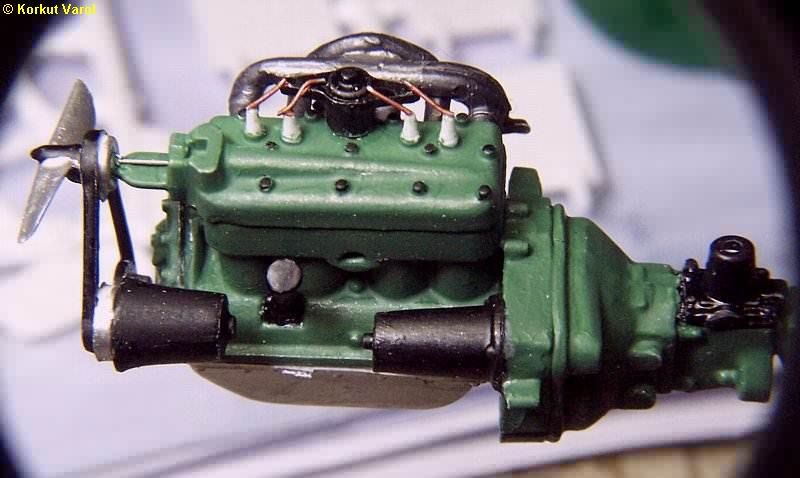
I assembled
the engine, but when it came
to installing the manifolds, I saw that the branches of the inlet and
exhaust
were different to fit on the block. So I cut the excess lengths from
the
exhaust manifold to make them even.
|
| And
this is the assembled engine so
far. Note the circulation pump shaft that I cut from an aluminum wire
for
better realistic looks; as well as the spark plug wires between the
distributor
and the plugs.
|
|
The
flywheel housing did not go
through the engine mounting brackets, so I had to trim them off.
|
21 January
2009:
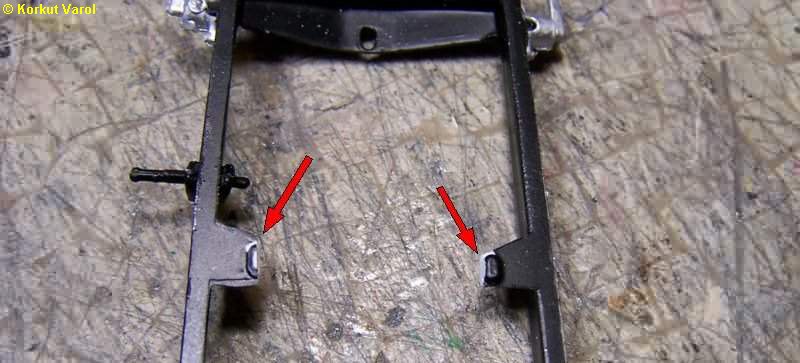
Both of the
front door lower hinge
pins were either broken or not moulded well, so I had to manufacture
them.
I drilled 0.5 mm holes in the hinge bodies.
 ........ ........
|
|
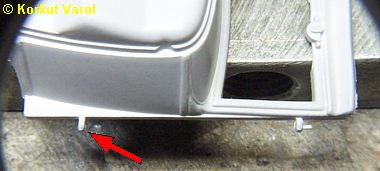
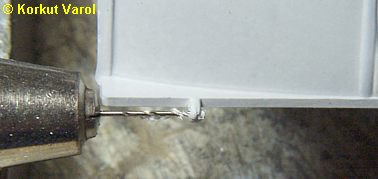
I
inserted a copper wire in proper
length and fixed with CA glue at both lower sides.
|
|
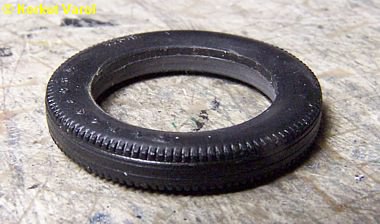
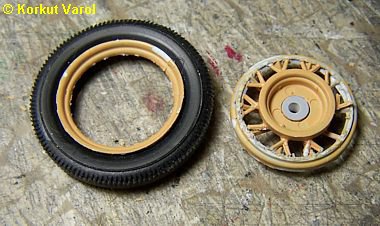
24
January 2009:
Until now, the
worst part of manufacturing
are the wheels and tires. The tires had a central hump on the inside,
which
made an impossible-to-pass barrier for the wheel. It was also
impossible
to glue the two parts of the wheel from either side of the tires
because
applying pressure would break the tender wheels. So I had to trim off
the
central hump so that I could slide the wheel inside the tire after
glueing
the inner and outer parts. However, I still had a breaking disaster
with
both of the front wheels while pushing inside the tires.
 .... ....
|
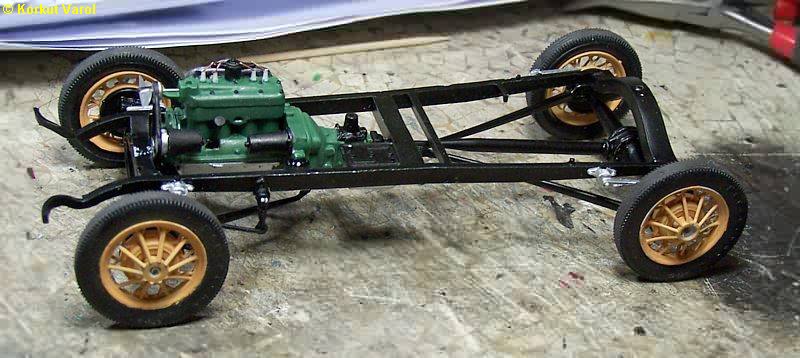
25 January
2009:
Repairing the
wheels, I managed to
assemble the rolling chassis.
|
|
I
glued the lower body which I
had painted before, on the rolling chassis.

|
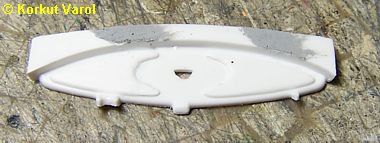
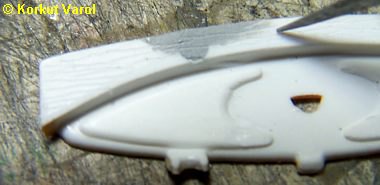
31 January
2009:
The dashboard
had pushing pin marks
on the face, so I applied putty. Then I engraved some wood texture with
the back of #11 blade.
 .... ....
|
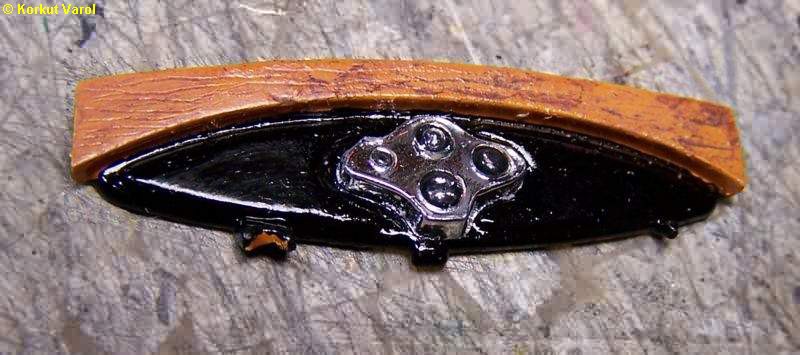
03 February
2009:
I painted the
dashboard and applied some
dark brown wash on the wood grains. Instead of applying decals, I
painted
the gauges and applied water droplet gel for a convex finish.
|
|
|
| |
 ............ ............
|