|
|
 |
|
|
|
| 07 November
2005:
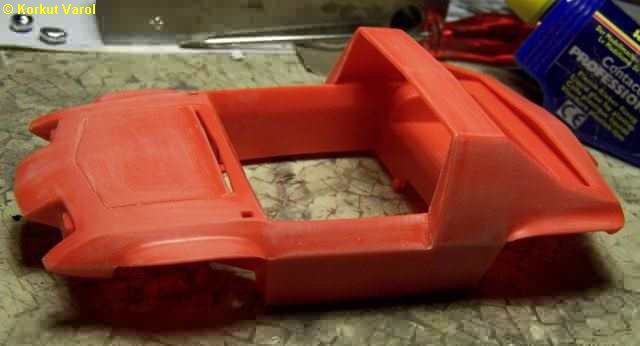
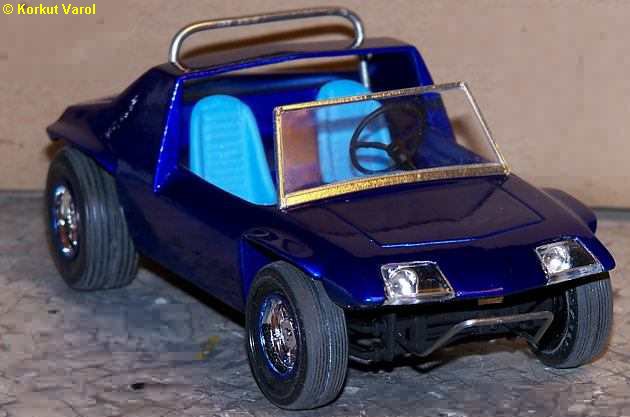
A simple but very roughly molded kit. I first joined the 3 main parts of the body and sanded the joints. |
 |
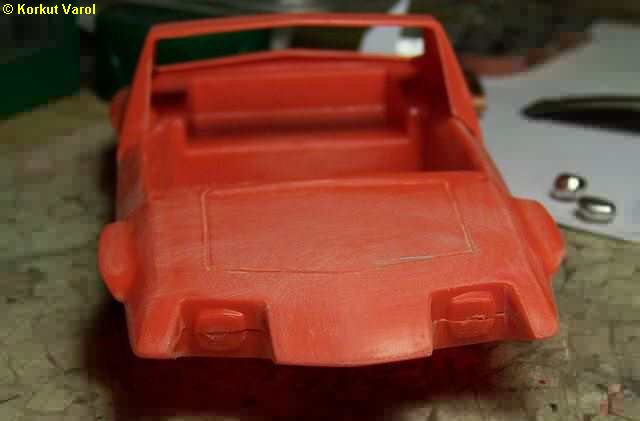
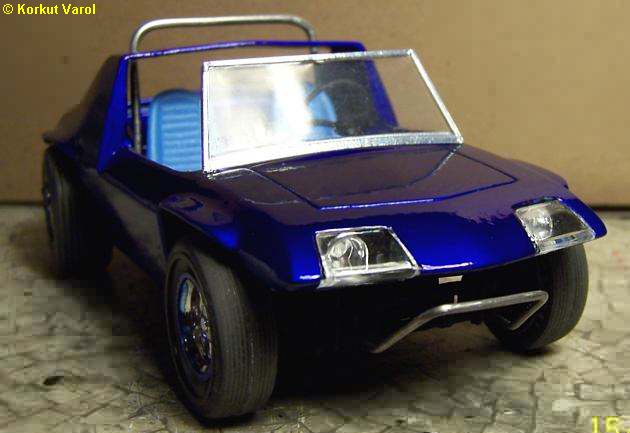
| The headlamps were cast in plastic, supposed to be painted aluminium. Naturally not! After this photo was taken, I drilled holes in the cast headlamps to house the reflectors from my parts box. |
 |
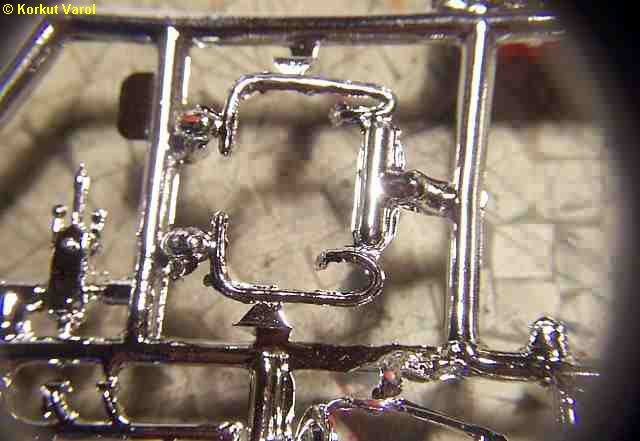
| This is a sample photo to show how badly the kit is molded. Almost every part is full of flashes like this. |
 |
| 08 November
2005:
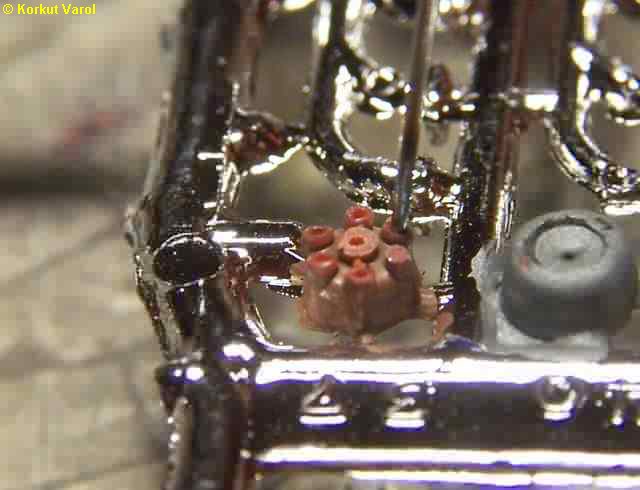
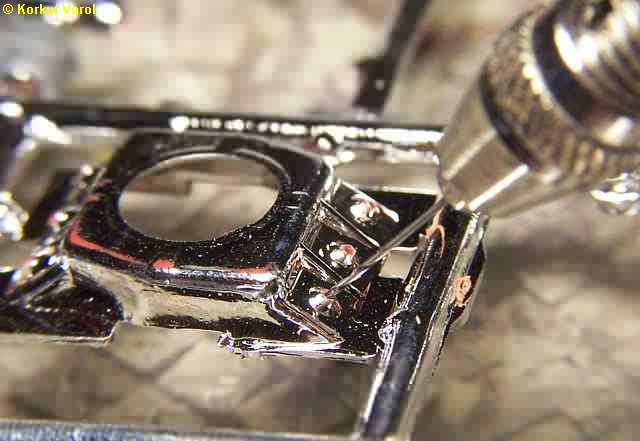
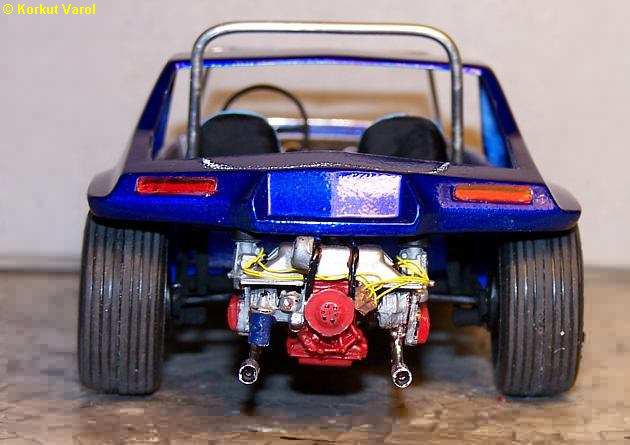
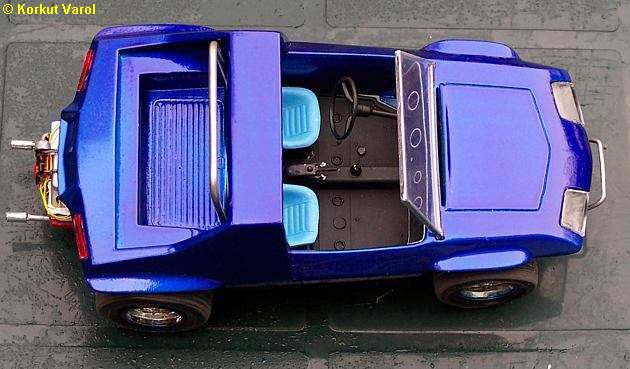
The kit has two engine options, a VW and a Corvair, which I chose to install. I made the plug wire holes with the heated tip of a needle. |
 |
| I drilled the plug wire holes on the shield above the engine block too. |
 |
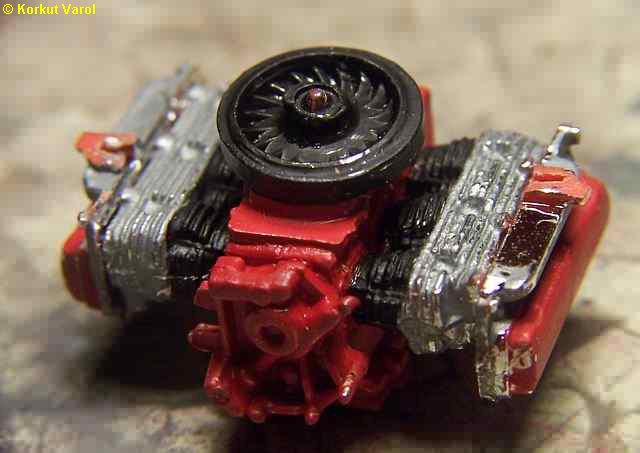
| The engine was fully cast in chrome, of which I made no use. I painted the whole engine in appropriate tones with the real one. |
 |
| 11 November
2005:
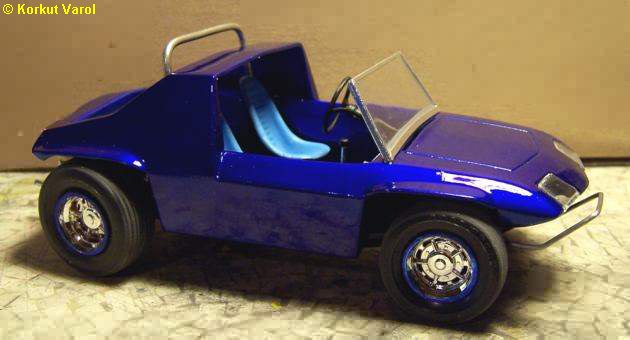
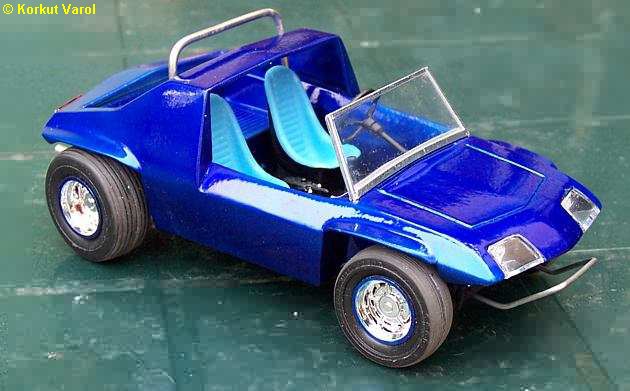
I painted the body with Gunze Clear Blue over Aluminium base. Definitely a lively and good tone! In fact, it is deep blue, even a bit purplish. |
 |
| The windshield was cast in clear, together with the frame so I applied BMF to the frame. |
 |
| 12 November
2005:
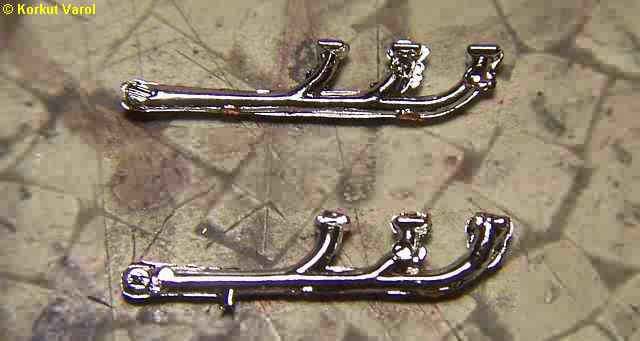
The exhaust pipes are disgustingly molded. Shaving the flashes will reveal the red plastic. Some remedy is required. |
 |
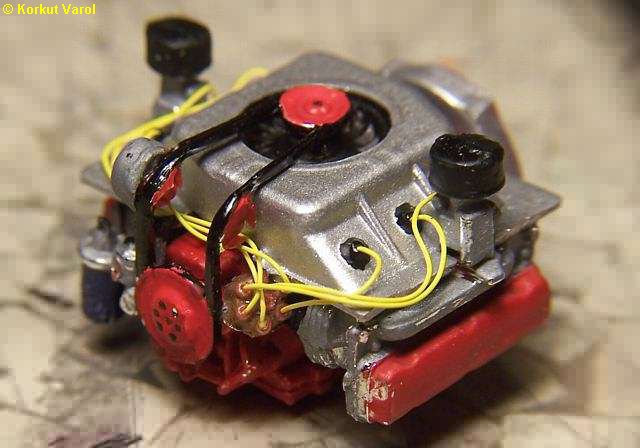
| I assembled the engine and put in ignition wiring. Retouches will be made to the stripped paint due to too much handling! |
 |
| 13 November
2005:
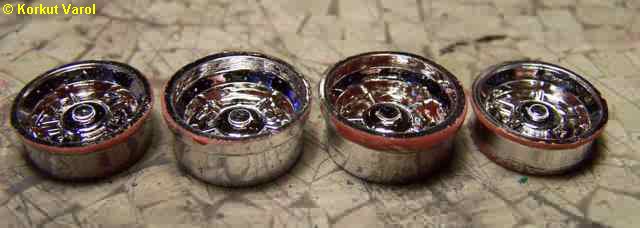
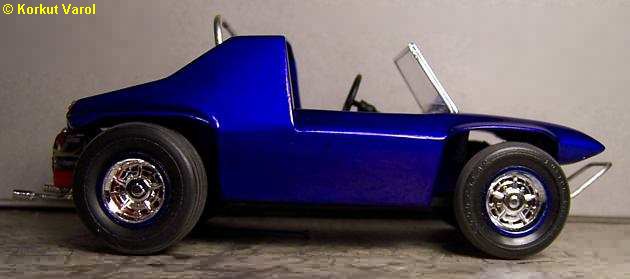
The wheels were too badly cast also. The vent holes were mostly full of flashes, which I opened one by one. |
 |
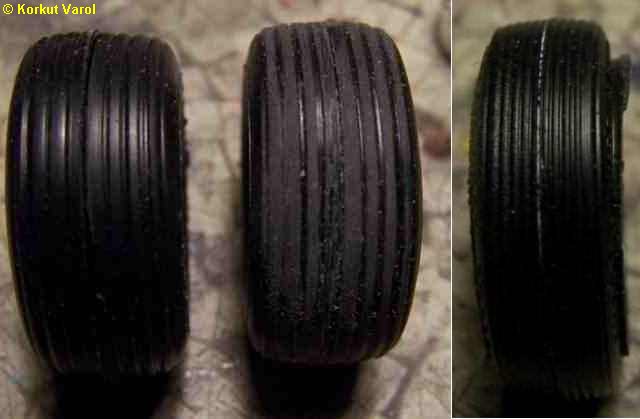
| And the tires! Rubber and two-piece! I stuck the pieces together with CA glue and weathered the treads with sanding. On the rightmost, flash of rubber tire... |
 |
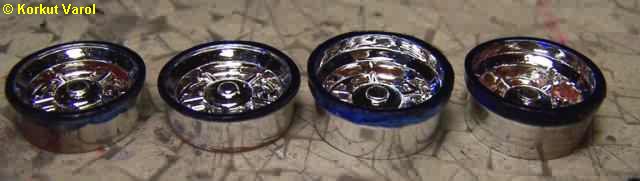
| The rims were flashy too, and sanding them down revealed the red plastic, which would be seen. So I found a remedy by painting the rims to the body color... |
  |
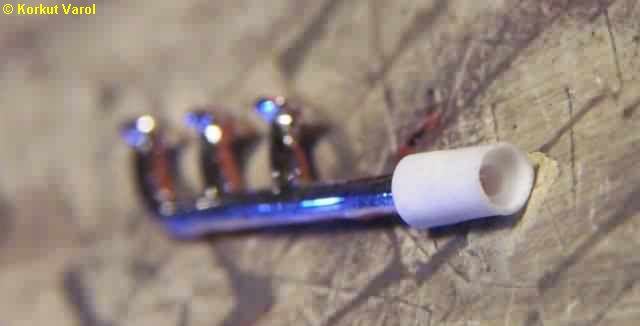
| I manufactured tips for the exhaust pipes from styrene tubing, later covered them with BMF. |
 |
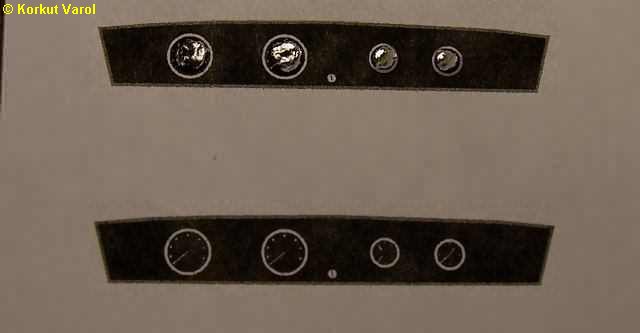
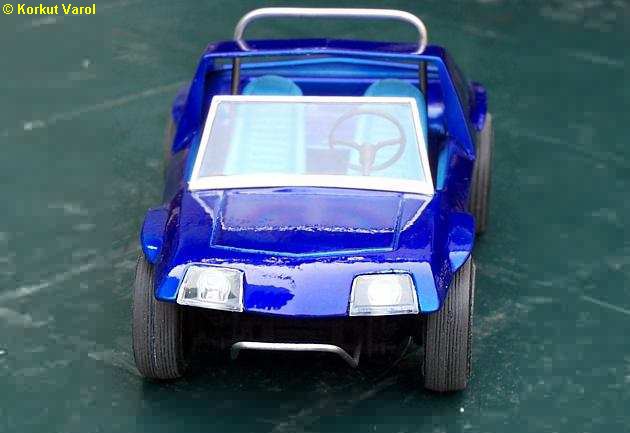
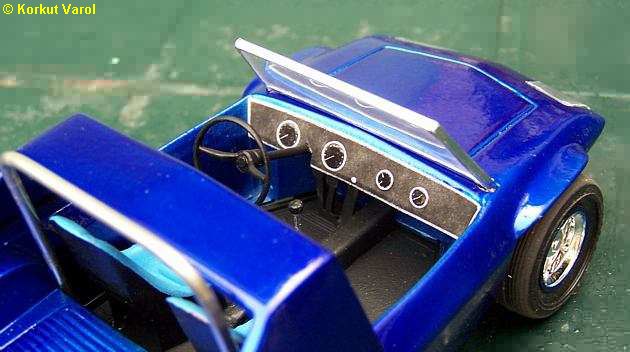
| The dashboard was made of high-molded dials and numbers on the plastic, so I shaved them all and prepared this dashboard on the computer. I applied nail polish for the gauge glasses, the difference is seen from the reflections. |
 |
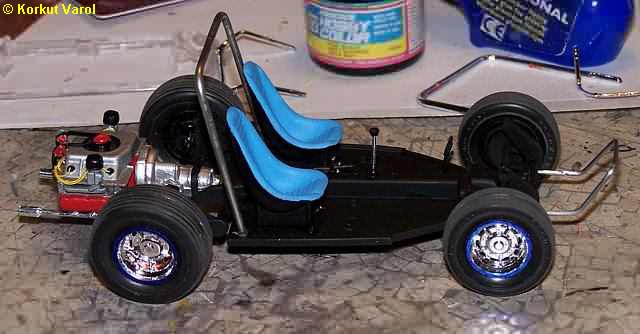
|
I
assembled the rolling chassis. The
roll bar and front bumper bar were also full of flashes and ejector pin
marks, so I manufactured them from solder wires.
15 November
2005:
|
 |
 |
 |
 |
 |
 |
 |
 |
 |
 |
 |