
| Lamborghini Jota | |
|
|
|
|
|
|
|
|
|
|
Started: 21 January
2007
Finished: 07
February 2007
.
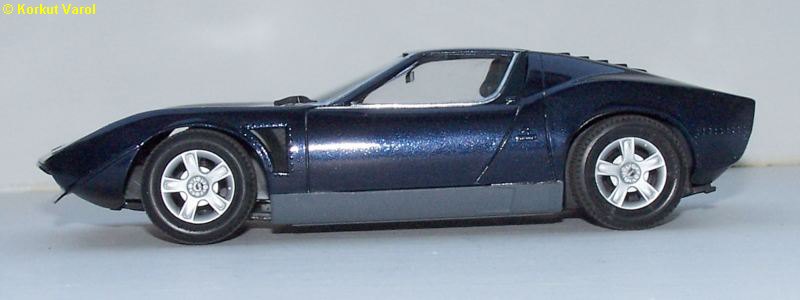
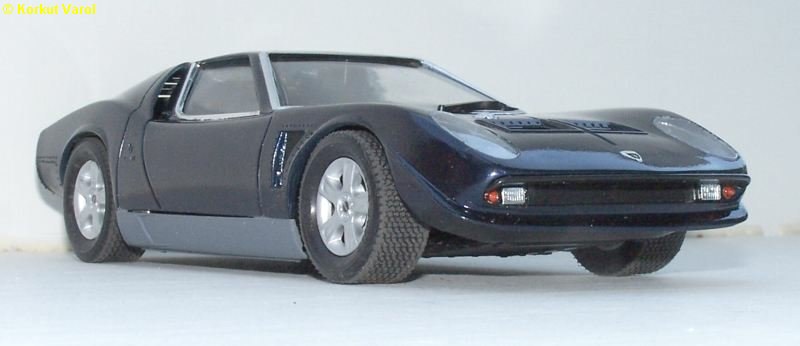
| The kit is
MPC Lamborghini Miura. In fact, it is the Jota version.
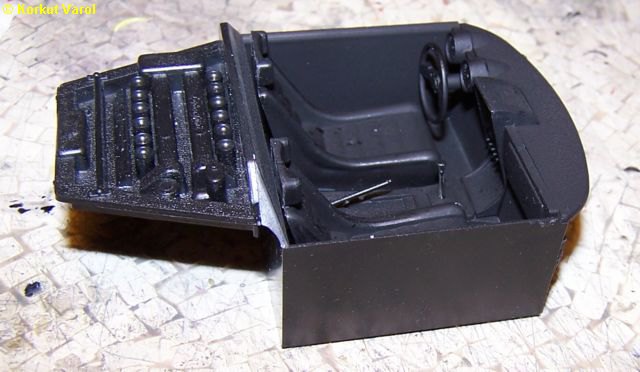
The kit is very bad at the inside, the center console being lower than the seats, no footwells and rough cast. The body had bad mold marks and sinks too.
|
 |
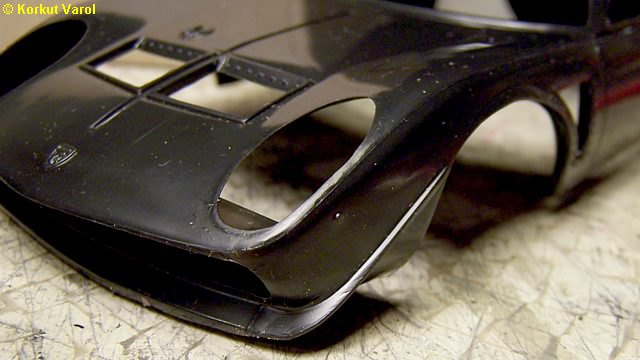
| 21 January
2007:
Here is an example photo of the mold marks.. |
 |
| I trimmed the roof openings that had flashings with #11 blade tip. |
 |
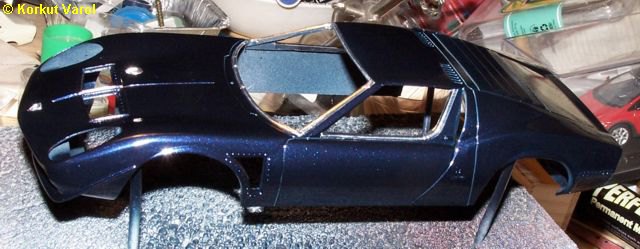
| 28 January
2007:
I painted the body with my real car's paint that I had it prepared. Acrylic paint with hardener, plus clear coat with hardener. Before the clear coat, I applied BMF. |
 |
| I gave up rebuilding the interior to visually scale, left it as it is, and painted all in flat black. |
 |
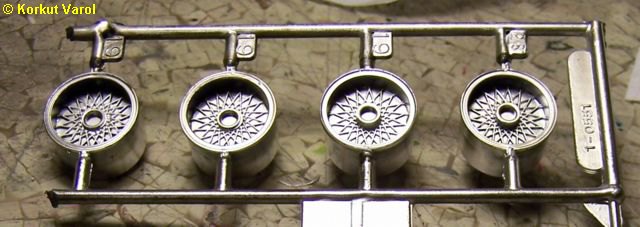
| The wheels were solid-cast wire imitations which are also no good. |
 |
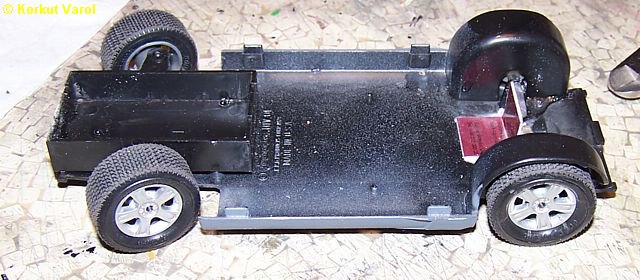
| 30 January
2007:
I replaced the wheels from a diecast New Mini, kept the kit's tyres. |
 |
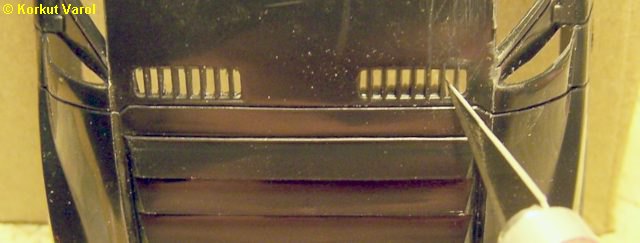
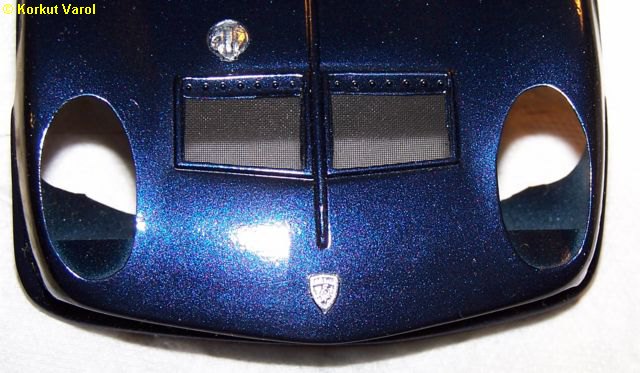
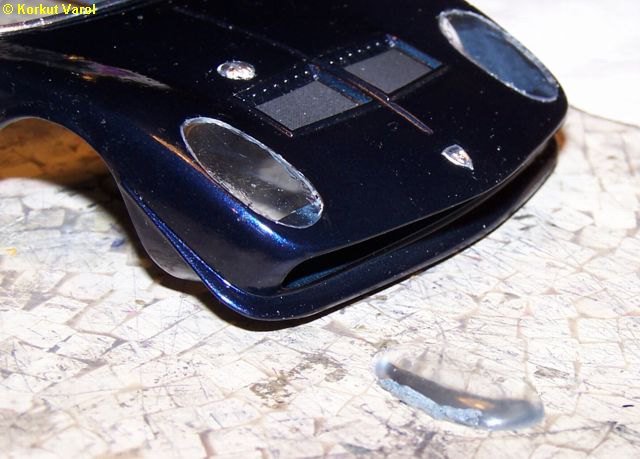
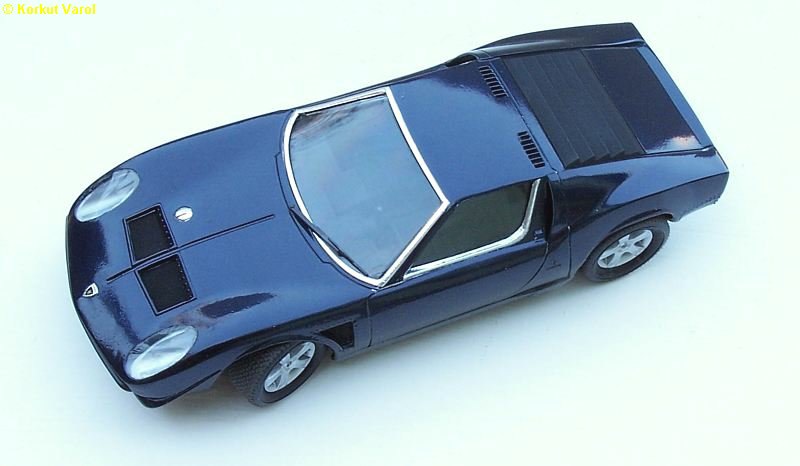
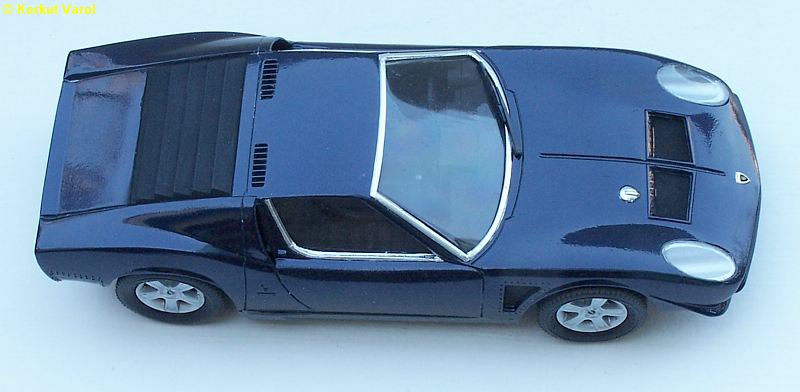
| I applied screenings to the openings in the hood and front fenders.. |
 |
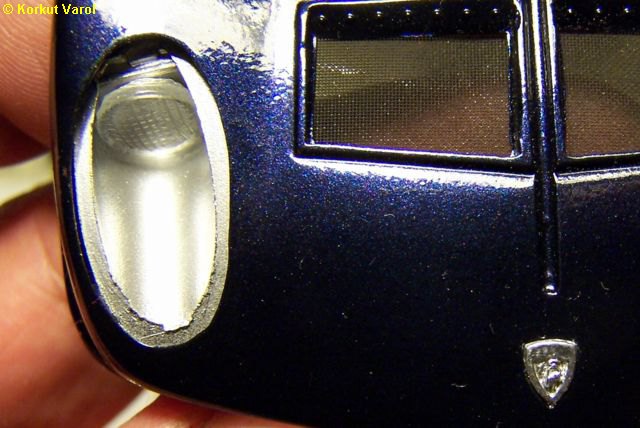
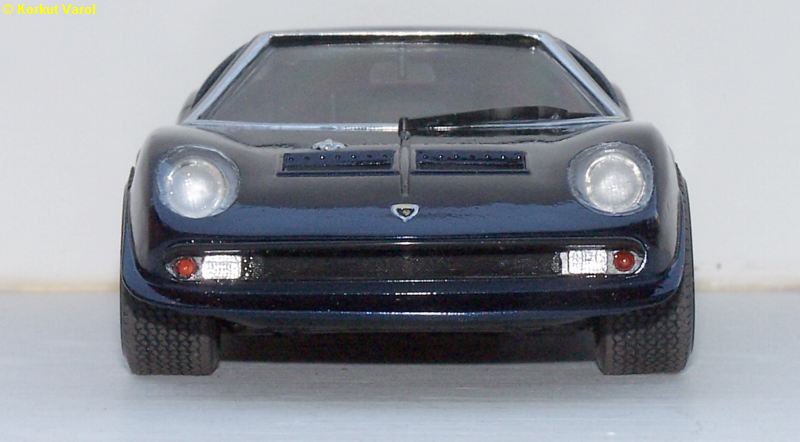
| The headlamp clusters were unbelievably unrealistic and mis-fitting. So I decided to scratchbuild the headlamp assemblies. |
 |
| 02 February
2007:
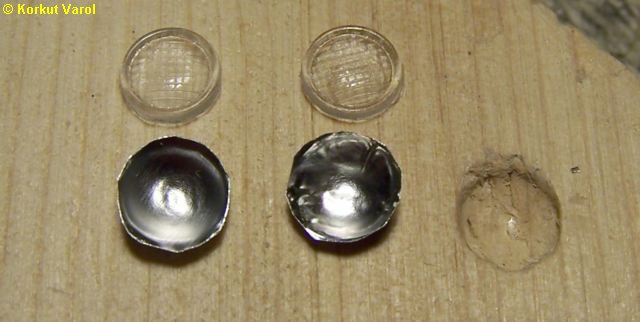
I made new headlamp covers from acetate (at the front, the original thick, magnifier-like glass is seen). |
 |
| 03 February
2007:
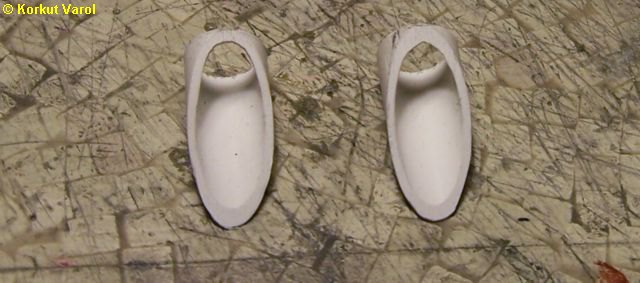
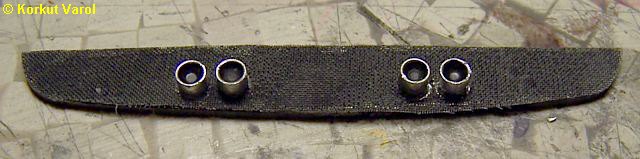
I cut the headlamp housings from a plastic tubing. |
 |
| I fabricated reflectors from aluminum sheet. The kit had 2 options for the headlamps; one set of clear and another full cast with chrome plating! Simply weird! Surely I chose the clears to use... |
 |
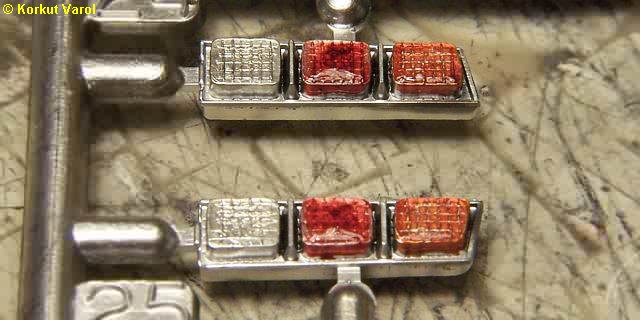
| 04 February
2007:
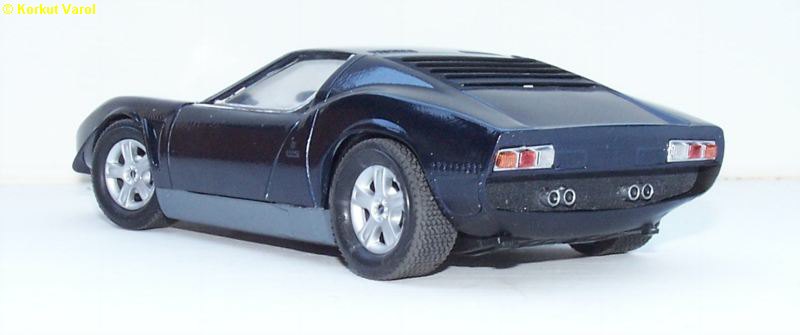
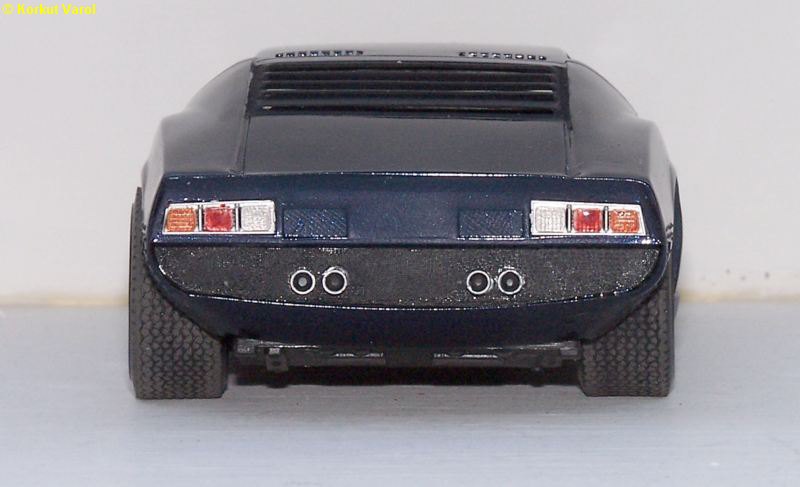
The rear lamps were solid-cast and chromed. I painted them with clear orange and red, and applied a generous drop of clear nail polish over the lenses; so when dry, they looked more lens-like than simply painted. |
 |
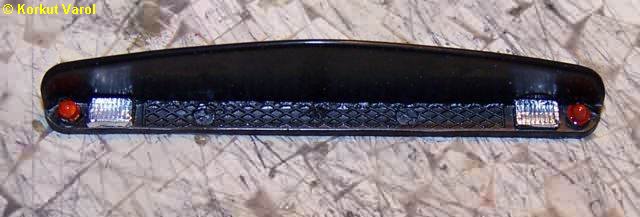
| The front grille was a single piece cast in black. I covered the fog lamps with BMF and added the clear nail polish drop on them. I painted the signal lamps white as base, then applied clear orange. |
 |
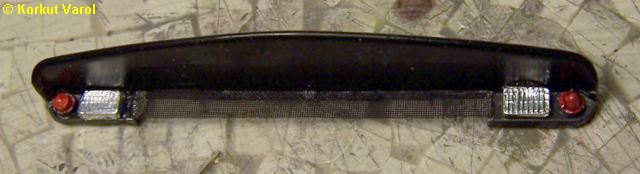
| 05 February
2007:
I did not like the front grille mold pusher marks, so I cut the grille part and inserted a piece mesh frm Detail Master. |
 |
| The loer rear part was ugly and illogical too, with the shock absorbers protruding out from the rear panel! |
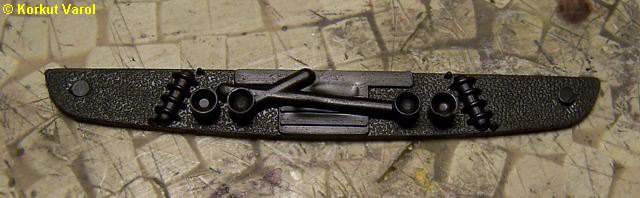 |
| I sanded those elements and put another piece of mesh from Detail Master... |
 |
|
|
 |
 |
 |
  |
 |
 |
 |