|
|
 |
|
|
|
|
|
|
|
|
|
|
|
|
|
.
Started:
09 January 2006
Finished:
25 January 2006
Page 2 of 3
| 21 January
2006:
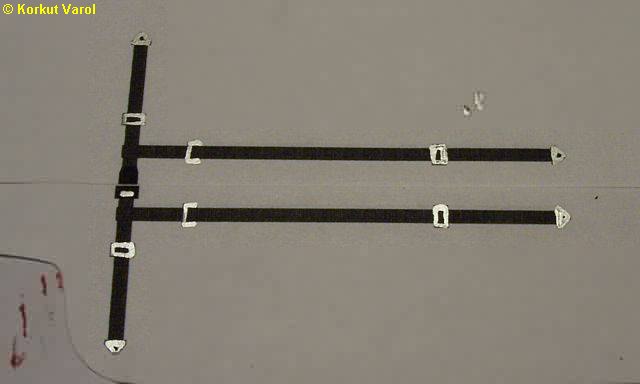
After long researches in the internet and finding almost no fully positive clues, I presumed that the seat belts were 4-point harnesses and so I generated the belts on the computer and made a printout. I painted the buckles with testors Chrome Silver, to depict the chromed parts. |
 |
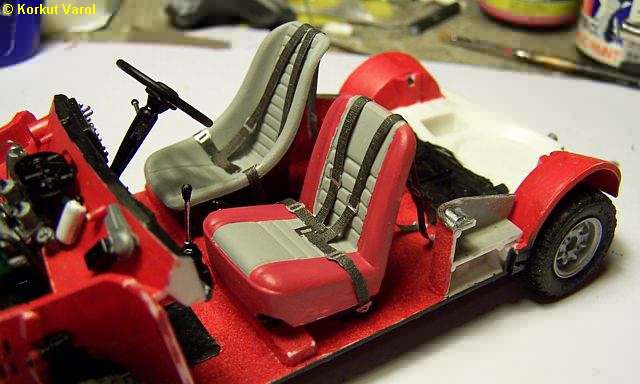
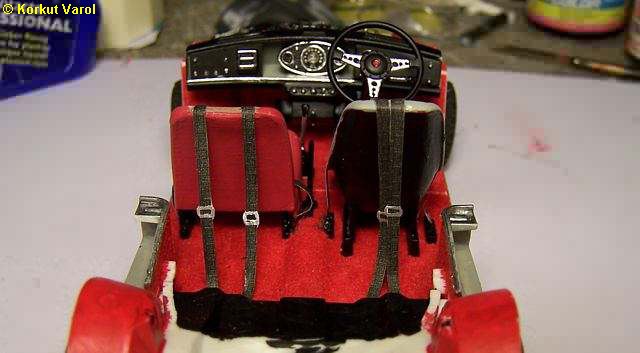
| Then I carefully
cut each belt section and glued them in place on the car.
The following 3 photos are views from various angles. |
 |
 |
|
 |
|
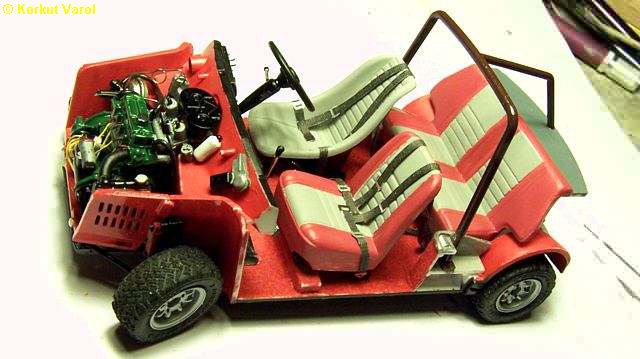
| And finally for the rolling chassis, I glued the roll cage. |
 |
| 22 January
2006:
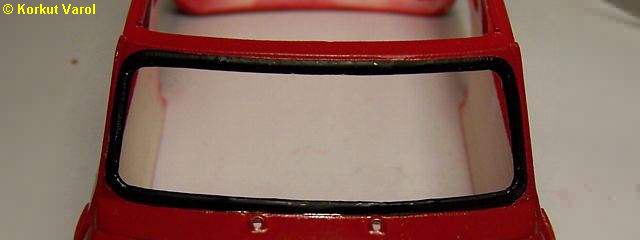
To paint the front and rear windows' rubber strips, I made use of Bare Metal Foil. I applied BMF and painted it black. |
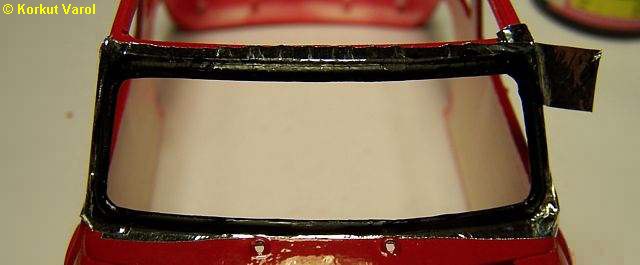 |
| Then trimming the BMF, I got a sharp edged paint. |
 |
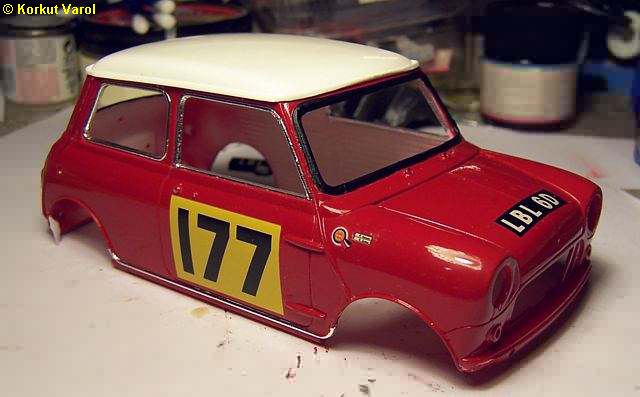
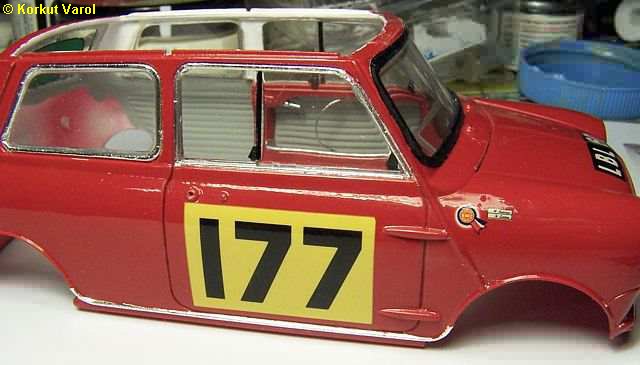
| I applied BMF where necessary, and the body decals, now the model is ready for a clear coat. |
 |
| 24 January
2006:
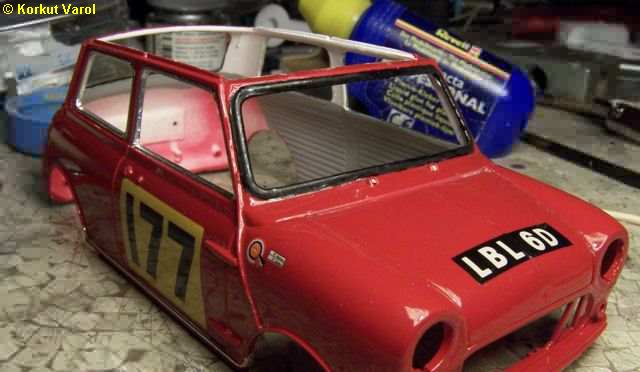
I applied clear coat and then a dull coat on the front and rear window rubbers because they were too shiny after the clear coat. Then I painted the inside, the upper part flat white and lower part flat light gray. |
 |
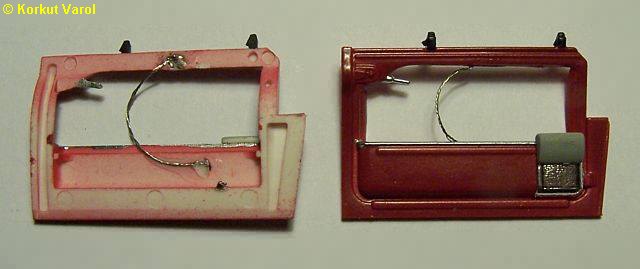
| The original photos showed a steel rope grab handle inside the doors, so I depicted them by winding 4 thin steel colored wires to form a steel rope, soldered the ends, and heat sinked them in the plastic. Then I secured the ends with CA glue. I did the rest of the door insides as per the instructions. |
 |
| 25 January
2006:
I fixed the windows after applying the heater decals from the insides. Tamiya's instructions show them to be applied finally, after the assembly is complete, but I applied them from the inside as they were in the real car. I also glued in the door panels, and applied Revell #38 matt dark red to the door parting lines. |
 |
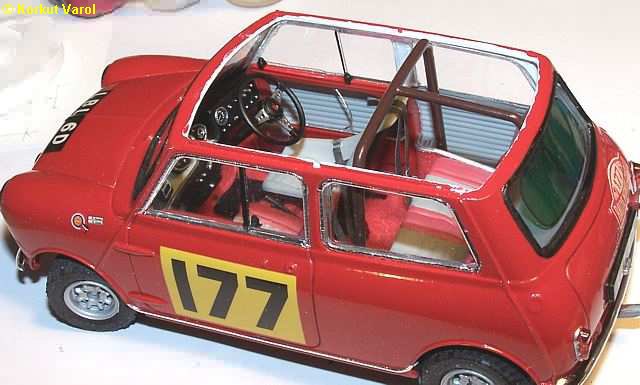
| I
joined the body and the rolling chassis.
I did not glue the roof in place in order to be able to view the
interior
later. Only the accessories on the body are left to be installed...
On the next page there are the finished photos... |
 |
 |
|