|
|
 |
|
|
|
|
|
|
|
|
|
|
|
|
|
.
Started:
09 January 2006
Finished:
25 January 2006
Page 1 of 3
| 09 January
2006:
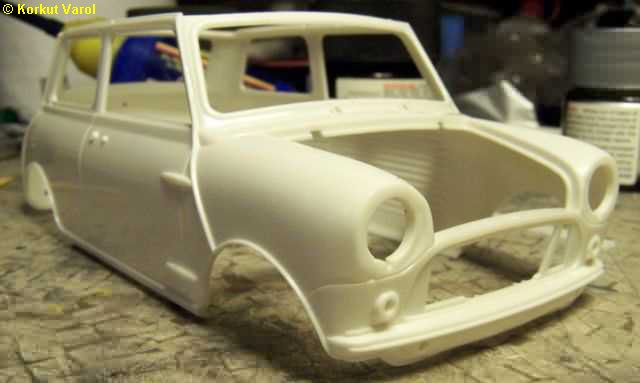
I sanded the molding marks first, that were especially at the top of the fenders and the front corner. |
 |
| 11 January
2006:
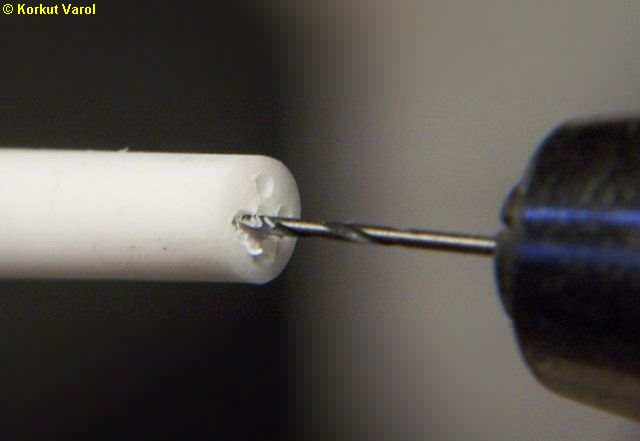
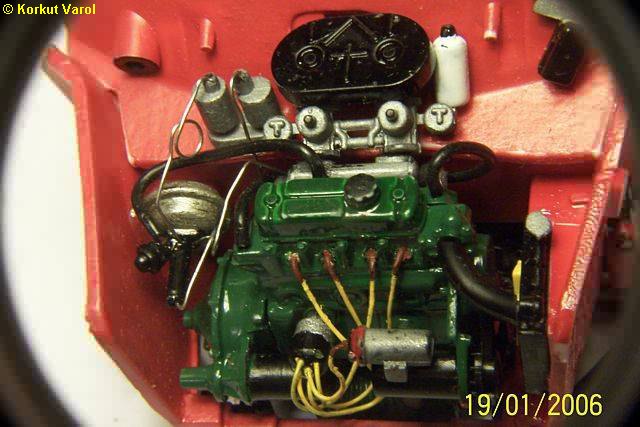
The kit's distributor pins were too tiny to drill any holes for cables, so I manufactured a new distributor by drilling 5 holes with 0.5 mm diameters at the tip of a 3.2 mm styrene rod. |
 |
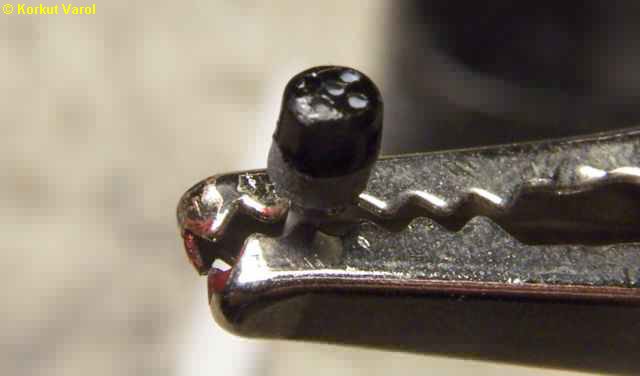
| I cut the rod, inserted a 1 mm dia. stem at the back and painted the distributor. |
 |
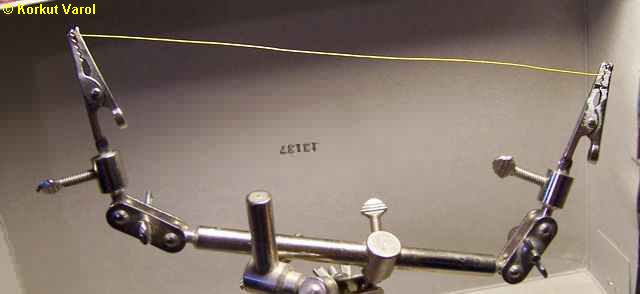
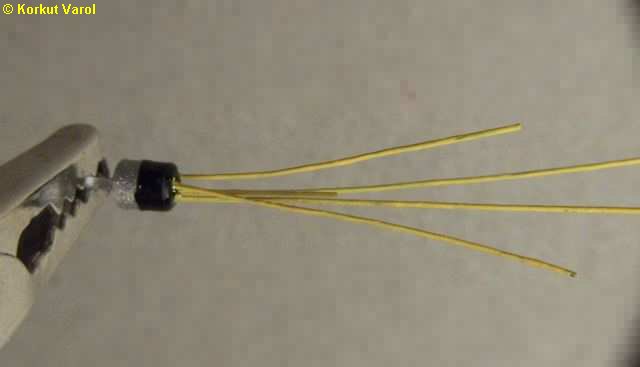
| I prepared the cables by painting a piece of 0.3 mm dia. aluminium wire to flat yellow. I preferred enamel paint since it resists handling abrasion better than acrylic paints. |
 |
| I cut the wires to proper lengths and glued all 5 to the distributor by CA glue. |
 |
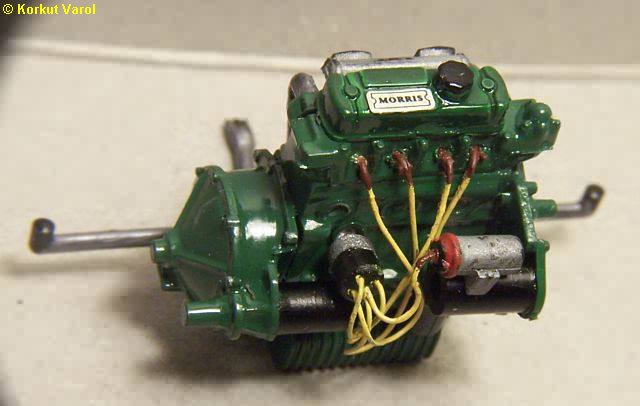
| Then I put the distributor in the block, bent the wires to their proper places (correct firing order) and glued them with CA glue. I imitated the spark plug boots with paint. I had drilled a hole at the coil's tip, and it received the intermediate cable. The engine is now ready for mounting in the subframe. |
 |
| 14 January
2006:
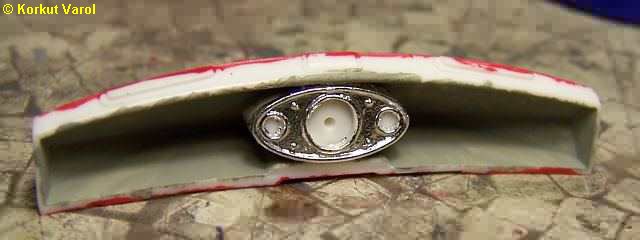
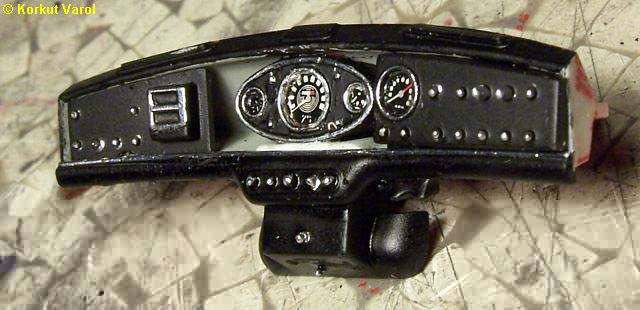
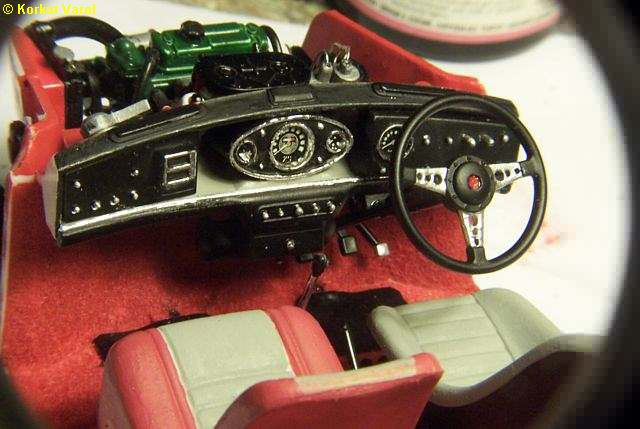
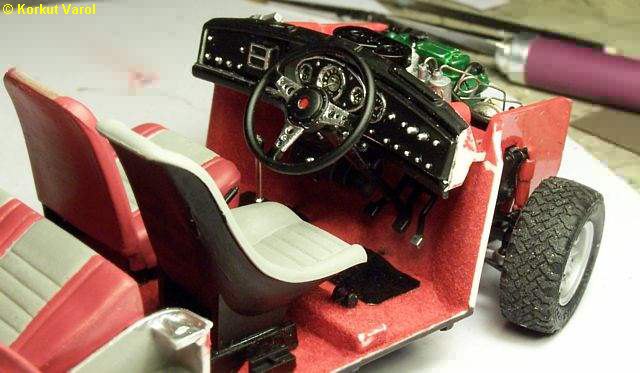
I began detailing the dashboard. After applying the light grey to the inside, I applied Bare Metal Foil to the gauge panel. |
 |
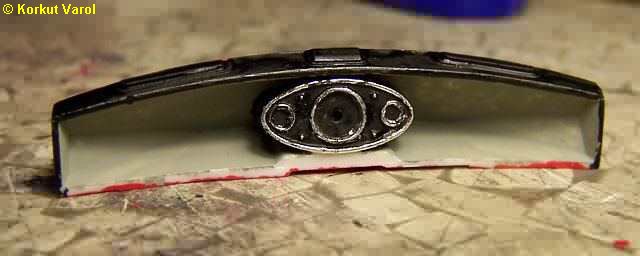
| Then I painted the sunk parts with flat black, and repeated the process for the other panels of the dashboard. |
 |
| The dashboard finished and decals applied. |
 |
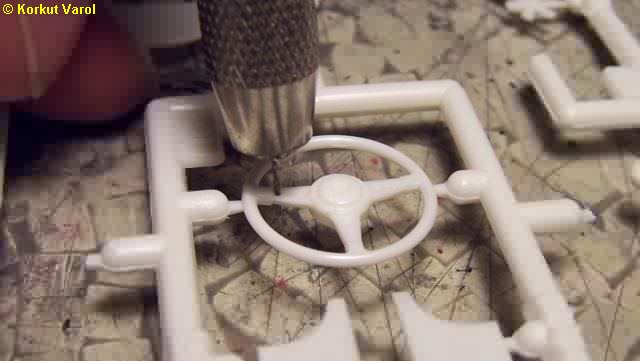
| To give more realistic looks, I drilled the spokes of the steering wheel. |
 |
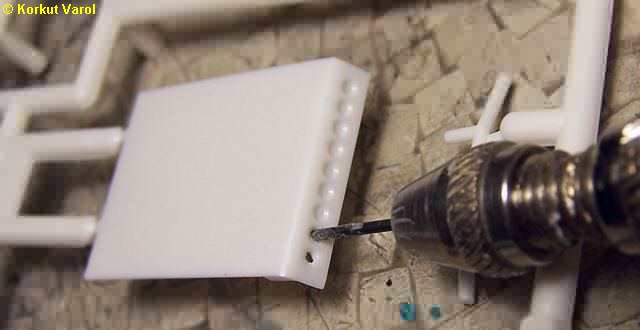
| Like the steering wheel, I drilled the holes on the sump guard too. |
 |
| 15 January
2006:
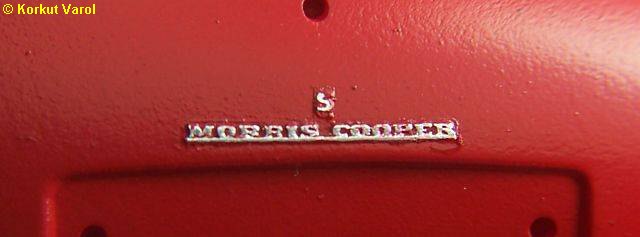
I gave a white primer to the body and applied BMF for the script at the rear before paint. |
 |
| 18 January
2006:
I painted the body with Gunze-3 Red and scraped off the paint on the scripts after each layer of paint. |
 |
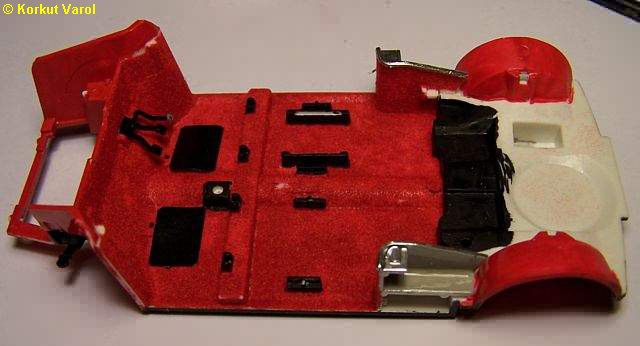
| I covered the floor panel with red flocking and added mats from black PVC sheet. |
 |
| 19 January
2006:
Surprisingly, the radiator hose was too short to cover the distance from the radiator to the thermostat. So I adapted another hose part from my parts box. |
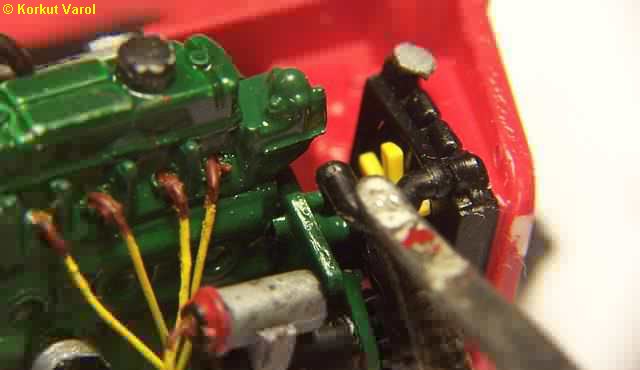 |
| I finished the engine compartment. I added heater and vacuum hoses, the brake and clutch pipes. I used black telephone wire for the hoses and 0.3 mm aluminum wire for the brake etc. pipes. |
 |
| I assembled the inside. Here are two views before the roll cage is installed. |
 |
 |
|
 |
|