19 December
2007:
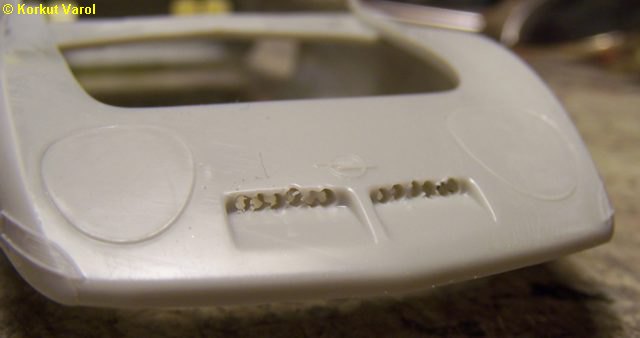
After a general
sanding of the body, I drilled the front openings. |
|
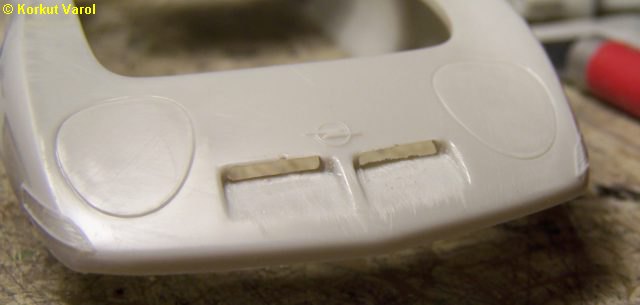
| Then
I filed and sanded the openings. |
|
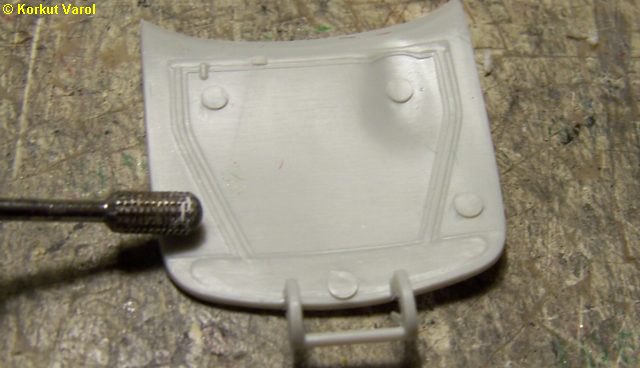
| I
shaved off the push pin marks under
the hood. |
|
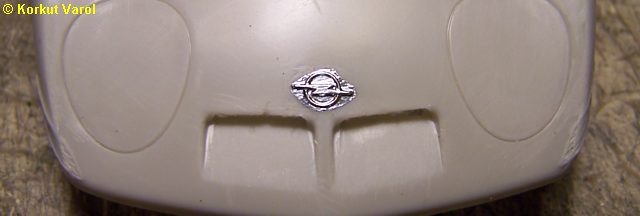
| I
applied Bare Metal Foil on the scripts
before painting. After the paint is dry, these will be cleared to
expose
the necessary metal. |


|
29 December
2007:
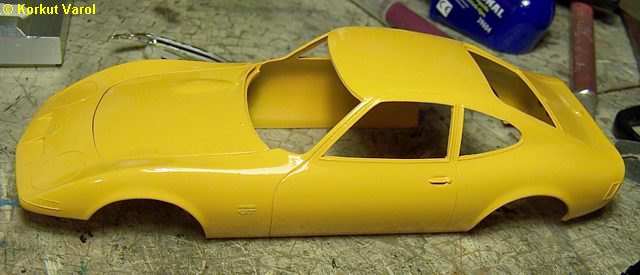
I painted the
main body with Tamiya 34 Camel Yellow, spray can. |
|
30 December
2007:
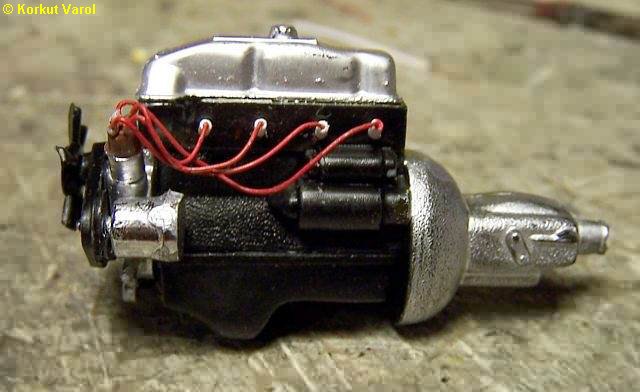
I built the engine
block. I painted the valve cover with Gunze's Aluminum Mr. Metal Color
because it was cast in chrome. I drilled spark plug holes and wired the
plugs with 0.35 mm aluminum wire (painted red) and depicted the spark
plugs
with white cable insulation. |
|
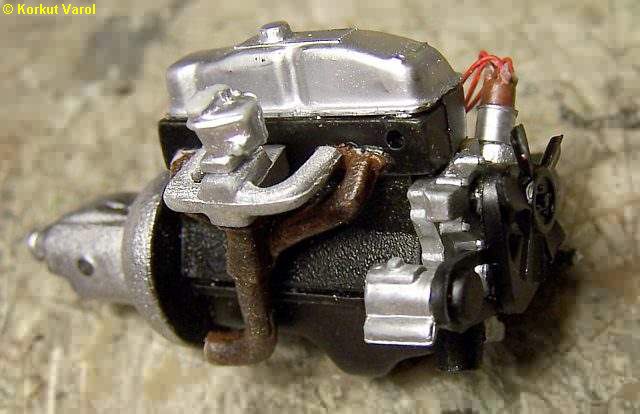
| The
other side of the engine. |
|
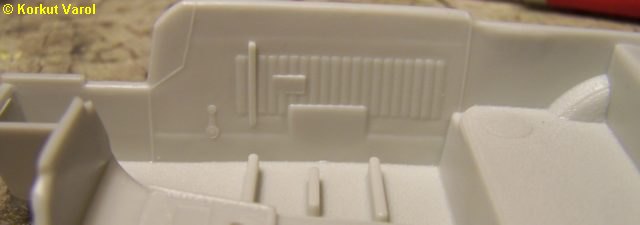
| The
inner door details were simply
ugly and unrealistic. So I decided not to bother with any detailing but
paint it plain flat black.. |
|
31 December
2007:
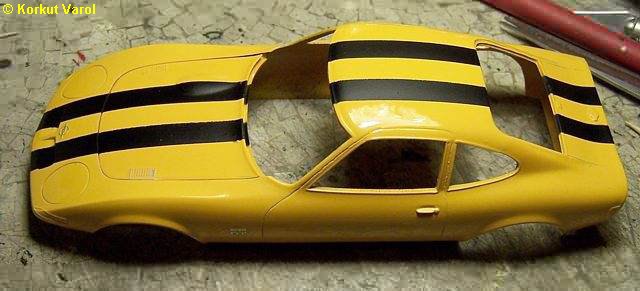
I painted two
stripes with flat black. |
|
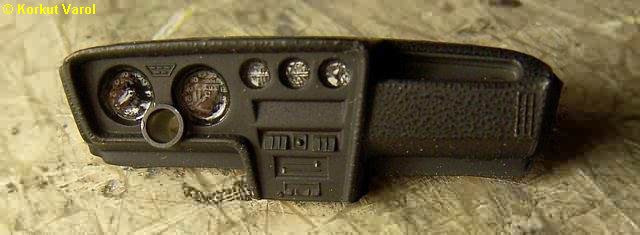
| I
painted the dashboard flat black
too, and rubbed my fingers on it to partly shine the highs of the
surface
texture. I scraped off the gauges' displays and applied gloss
fingernail
polish over to depict the glass. |
|
01 January
2008:
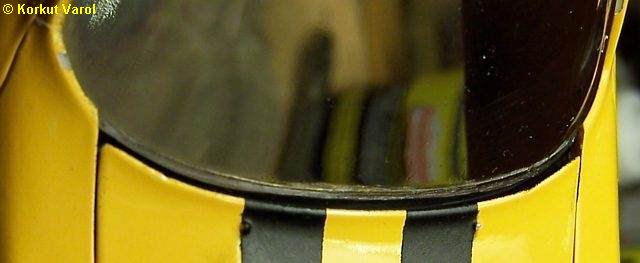
Now a tricky
remedy for a defect of
the kit..
The windscreen
rubber gasket is discontinued
at the fender ends. However, in real, the bodywork should go below the
windscreen, holding the rubber gasket, till the other fender. The
kit
also has a misfitting; you can see the gap between the glass bottom and
the body. This could not be left as it was. |
|
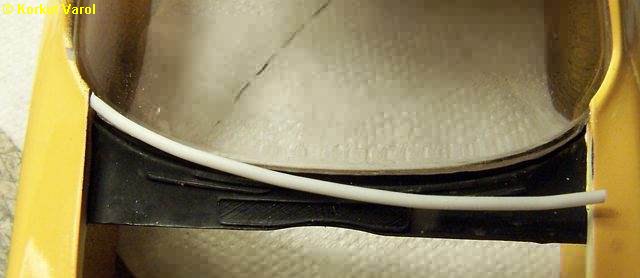
| I
cut a styrene half-round strip of
1 mm, cut to fit, gave an initial shape to fit the bottom line of the
glass
and glued very carefully at one end. |
|
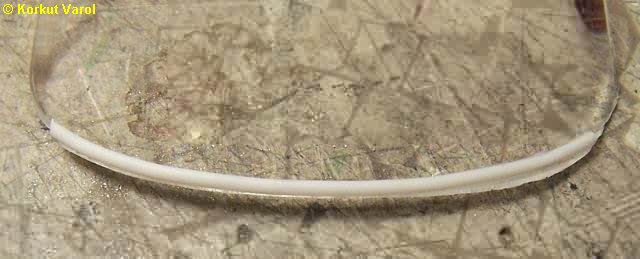
| I
glued the rest of the strip to form
the missing rubber gasket profile. |
|
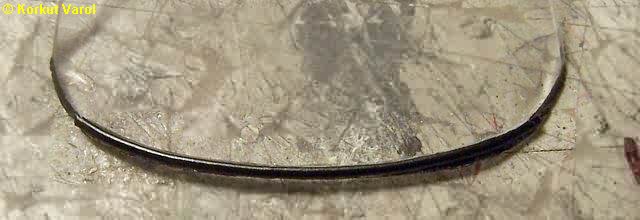
| I
painted the strip and its extensions
on the glass. |
|
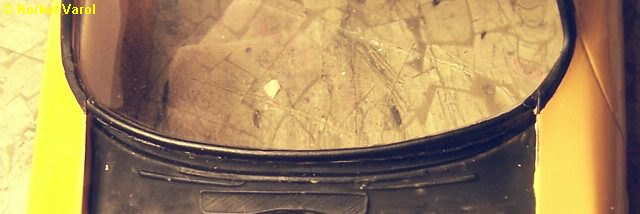
| So,
a better and more realistic appearance
is achieved. |
|

|

|

