| UTE-1949 Ford |  |
Page 2 of 3
| UTE-1949 Ford | |
Page 2 of 3
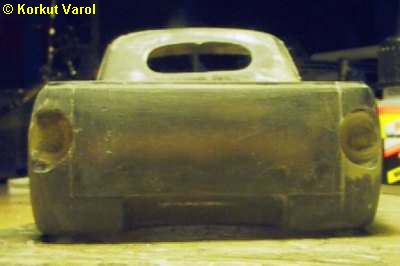
| March
19, 2004:
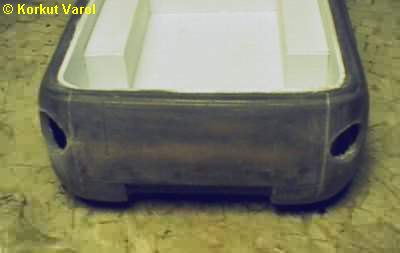
I drilled
recesses to house the taillights. I will use bullet type taillamps and
not to protrude too far behind the body, there had to be blending
housings.
|
 |
| I filled the gaps with automotive putty (meanwhile other defective places on the body too). But they had to be grinded to a sharp and flat base. |
 |
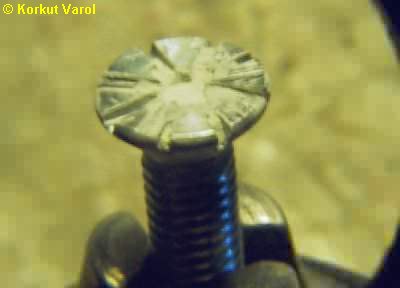
| With this home-made grinder tip (well, it was a screw) I machined the taillight putty region. |
 |
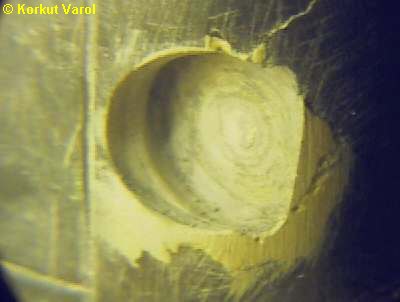
| Here is the sharp, machined base. |
 |
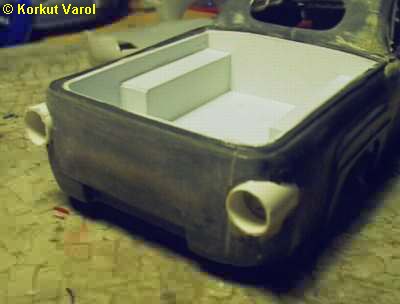
| Since the bullet lenses were wider than the place left beside the bed door, it seemed evident that I had to manufacture blending-with-the-body housings. So I machined the recesses a bit more to make space for the plastic tubing parts coming in. |
 |
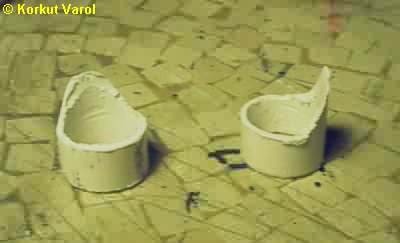
| These are the adapter housings made from styrene tubing. I had to enlarge the internal diameter with a drill. |
 |
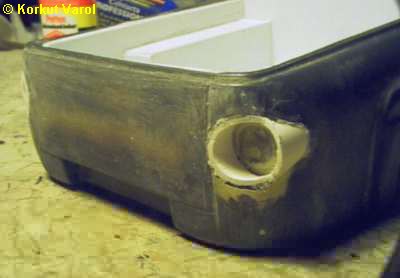
| I fixed the housings with epoxy glue... |
 |
| ....and filed and sanded them to blend with the body. |
 |
| Now the UTE deserved the first primer coat for further corrections. |
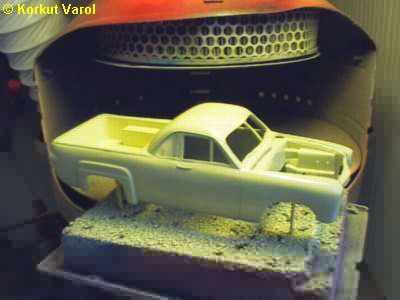 |
| March
21, 2004:
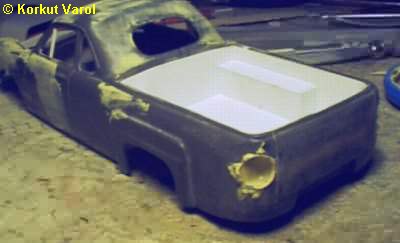
I Cut
open the inner tub for easier painting of the door inners.
|
 |
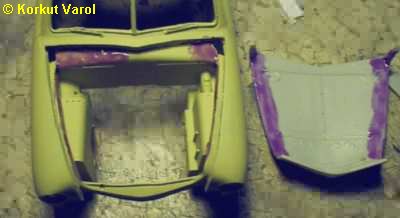
| The hood had some gaps with the fenders, so I decided to fill them with putty. To prevent sticking to unwanted places, I covered them with Humbrol Maskol. |
 |
| I applied automotive putty to the gaps and closed the hood, forming the putty in between to shape. |
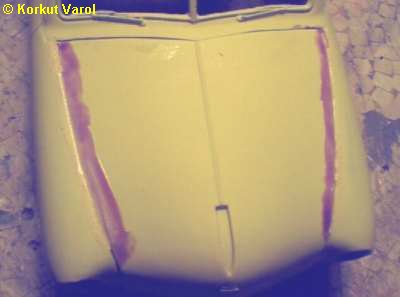 |
| Here is after curing and sanding smooth. |
 |
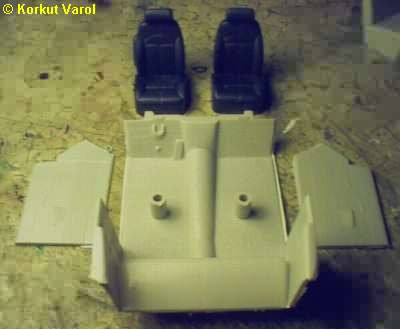
| I put styrene sheets over what was the back seat before, now serving as a closed luggage or tool cupboard. |
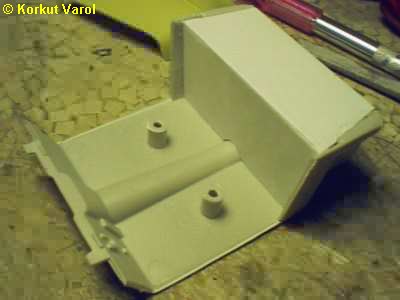 |
| I covered the top with self-sticking felt sheet and the front with wood imitation glossy paper. |
 |
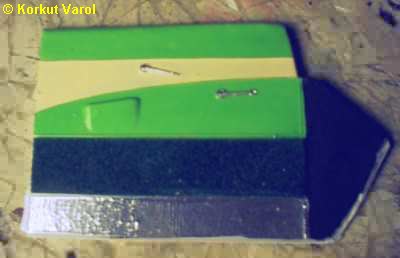
| I prepared the door inners by painting. I put green felt on the lower part and BMF for the kicker plates. |
 |
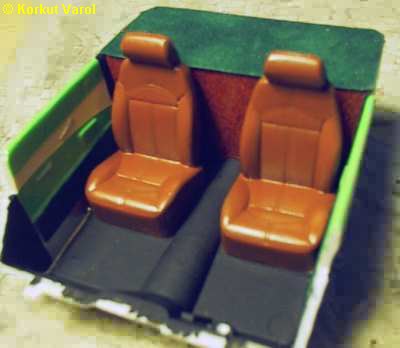
| Here is the inner tub assembled less the dashboard. |
 |
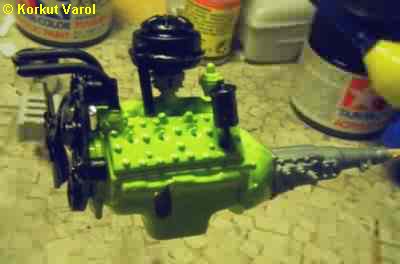
| I prepared the engine and painted it the same color with the body. |
 |
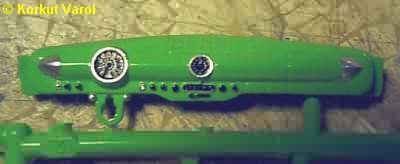
| I painted the dashboard with a different shade of green. The bezels and finials are chrome-painted. |
 |
 |
 |