01 April 2006:
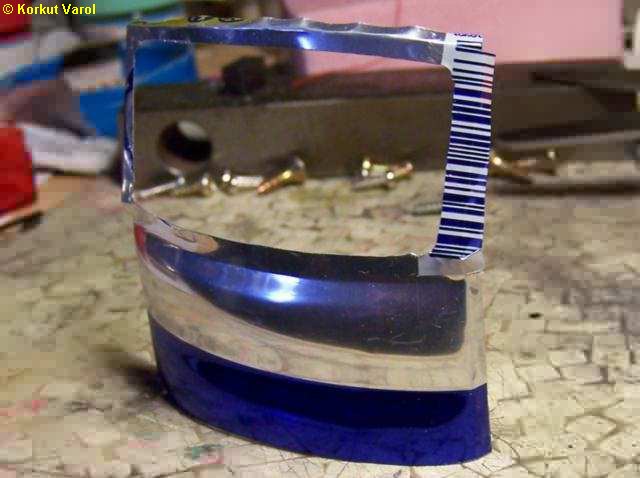
I started with
the front of the cab. The shape of the draft beer can was suitable for
the job. |
|
| Next, I cut and
bent the main frame bars. |

|
02 April 2006:
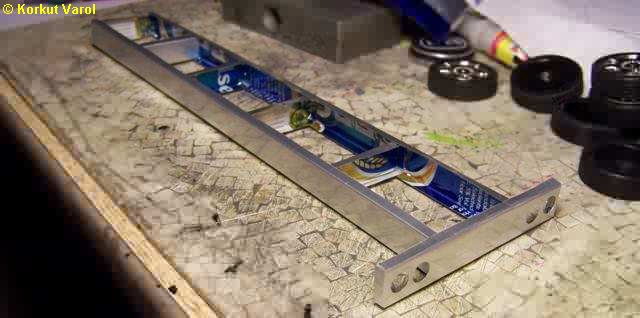
I manufactured
the traverses and the rear bumper, then fixed them together with epoxy
glue. Since the material is aluminum, either CA or epoxy glues were
used
throughout the model manufacturing. |
|
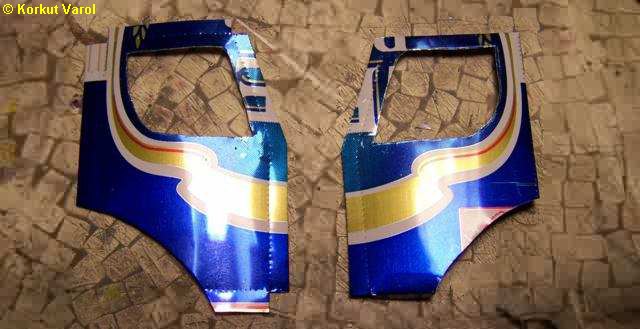
| I cut the side
panels, positioning the template such that the side paint themes are
symmetrical
and matching with the front panel too. |
|
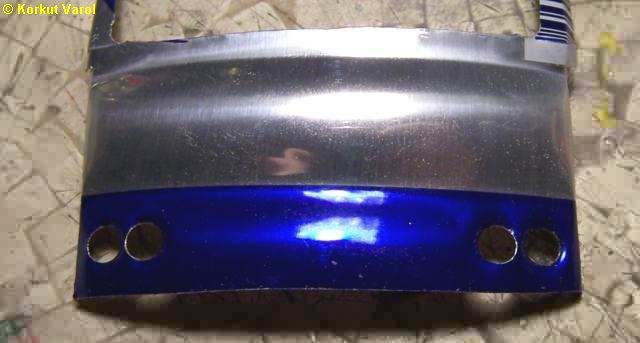
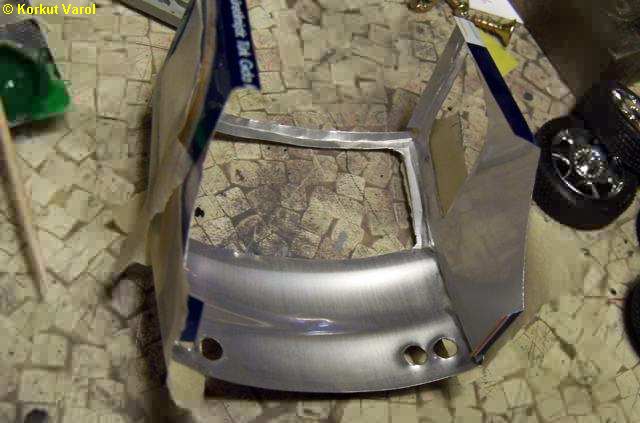
| I punched 4 holes
for the headlamps in the front panel. |
|
| Then
I glued the front and side panels
of the cab. |
|
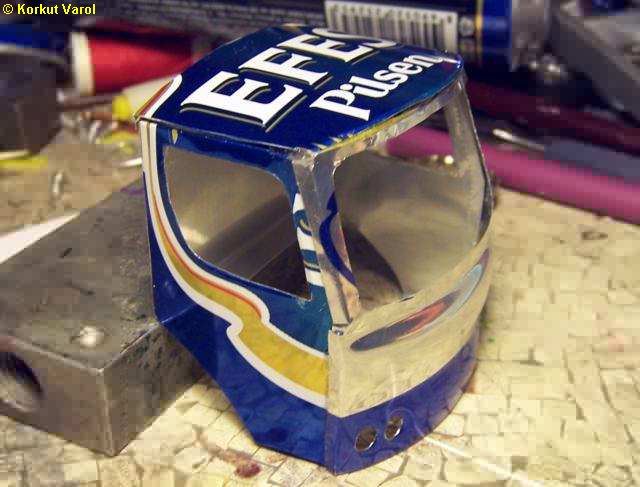
| I manufactured
the roof and the rear panel of the cab and glued them too. |
|
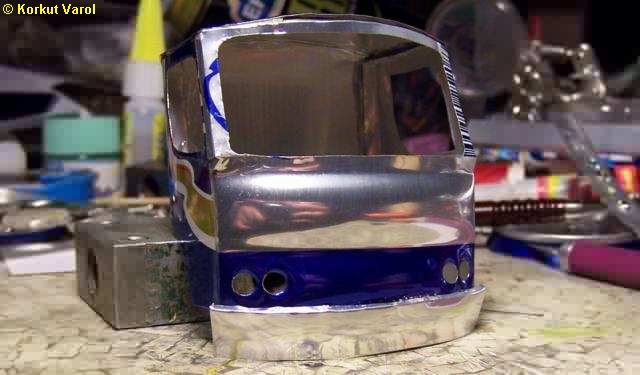
| Then
I added the front bumper. |
|
04 April 2006:
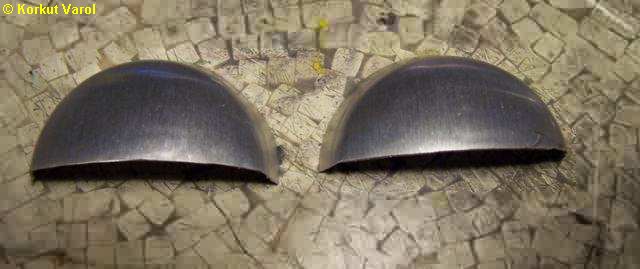
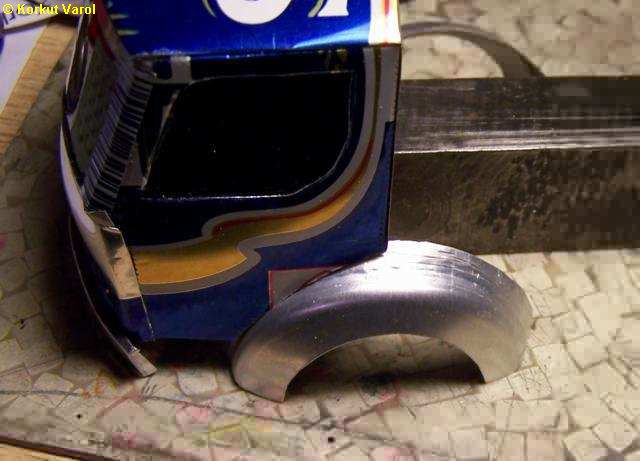
For the front
mudguards, I made use of the can bottoms. I hammered the
circumferential
extensions for smoothing the surface and then cut into two halves. |
|
| I
cut out the wheelarches and glued
them under the cab. Meanwhile, I placed acetate sheets, painted black
on
the insides for the glasses, to look like dark solar film was applied. |
|
05 April 2006:
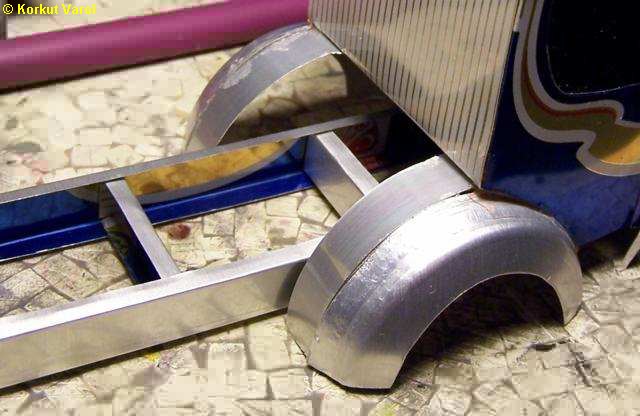
I completed the
front mudguards by cutting filler strips and glueing. |
|
06 April 2006:
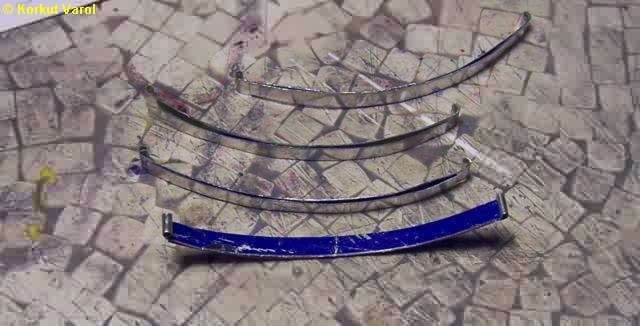
I went on to
manufacturing the leaf springs. I did not use the aluminum beer cans
here,
because they broke easily when forming the spring eyes. Instead, I used
the tin from a thinner can. |
|
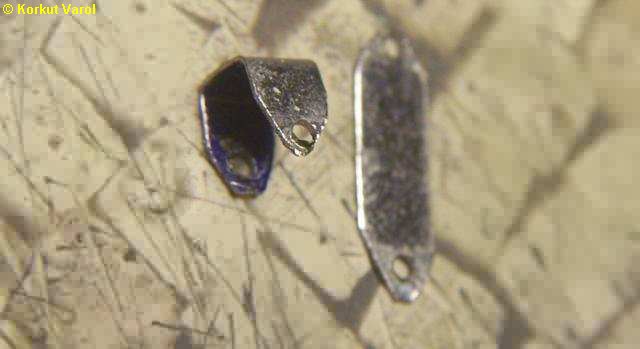
07 April 2006:
The same was
the case for the spring mounting brackets. I manufactured them from tin
sheet. |
|
| I
finished the spring assemblies, by
installing with pins on the fixed and shackle ends. |

|
08April 2006:
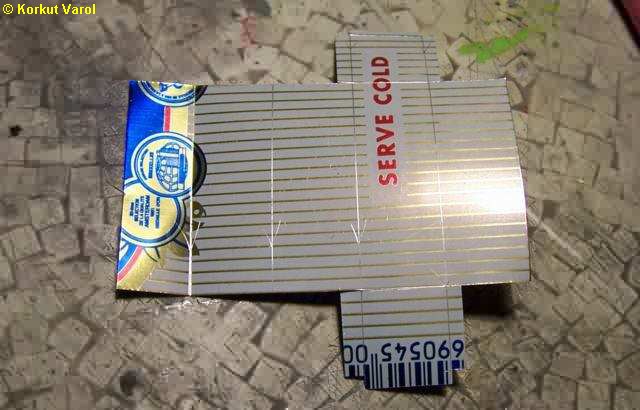
I cut the development
of the fuel tank... |
|
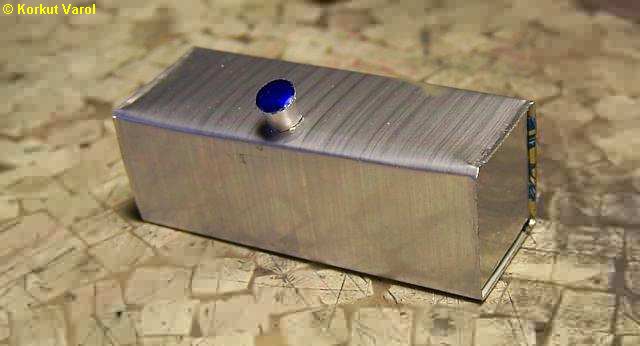
| ...and manufactured
as in the photo. I imitated the seam welds by a slight bend at the
edges.
I used the punched part from the headlamp recesses for the cap. |
|
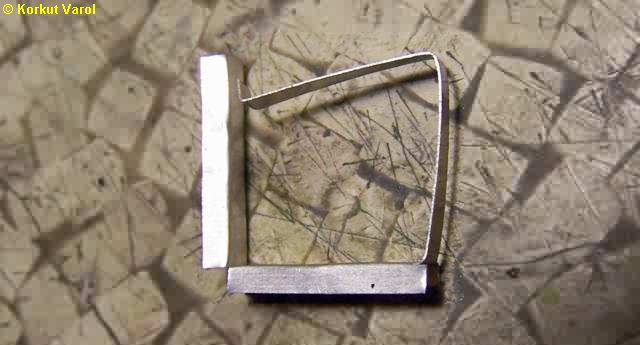
| I
manufactured the tank brackets and
steel fixing belts from a single aluminum piece. |
|
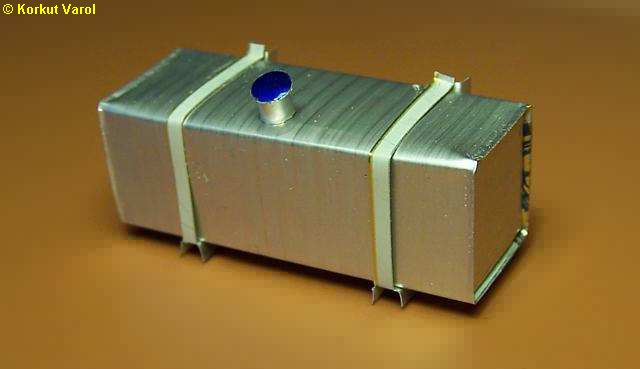
| The
tank assembly is finished and now
ready to be fixed on the chassis. |
|
|
|
|
|

|

|


