| Building Period: 30 March 1999 - 30 June 1999 |
CONSTRUCTION
STORY OF
SCRATCHBUILT
STREET ROD
|
 |
PUTTYING AND PRIMING
| Building Period: 30 March 1999 - 30 June 1999 |
CONSTRUCTION
STORY OF
SCRATCHBUILT
STREET ROD
|
|
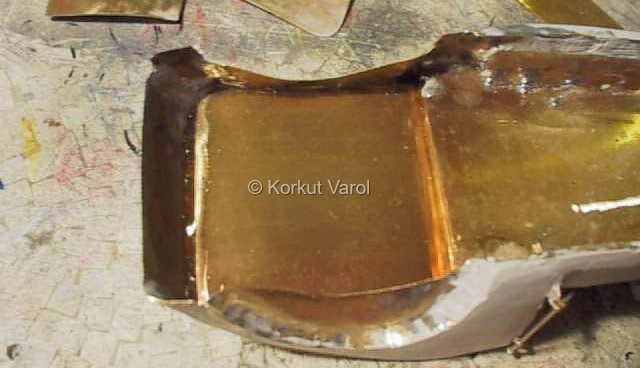
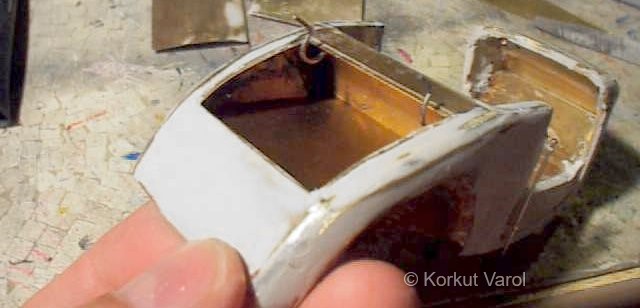
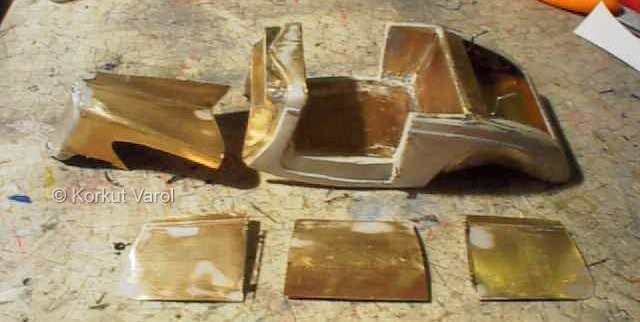
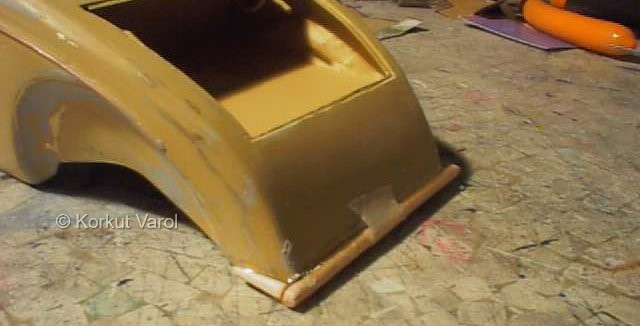
| The bottom boot panel was now put into place and glued with 5-minute epoxy. The two pictures show the panel from the bottom and from the top. |
 |
 |
|
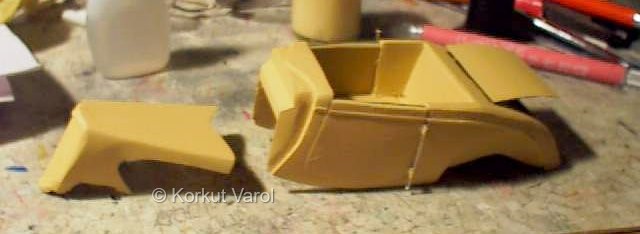
| The protruding contour of the body was given by glueing a 0.5 mm dia. copper wire on the body. |
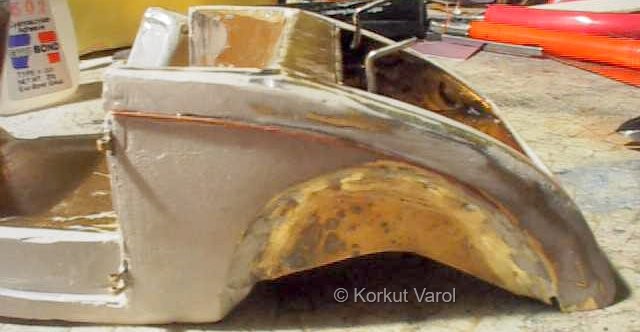 |
| To make the profile transition smooth, automotive polyester putty was applied along. |
 |
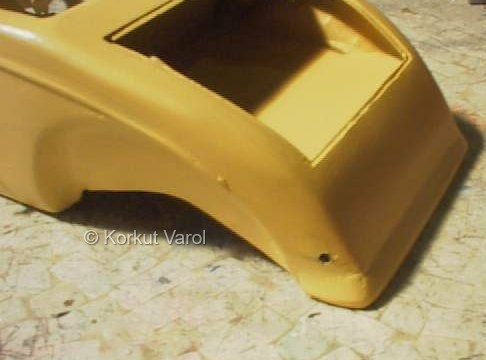
| The body parts were sanded down smooth for the first primer coat to be applied. |
 |
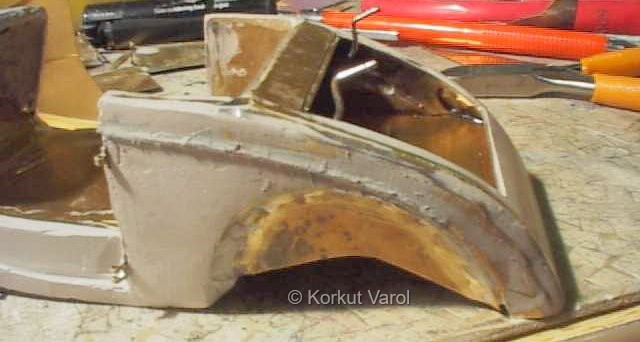
| The front grille was maked with masking tape, then the first primer coat was applied. Automotive filler primer ( cellulosic based ) was used for the purpose. Remember that, if you apply cellulosic based primers or filling elements, then you can apply either synthetic or cellulosic based coats on. However, if the primer elements are synthetic based, then you will be limited to synthetic coats only. |
 |
| The irregularities were seen after the primer and putty was applied on. This examining and smoothing out operations went on for a couple of times, taking about one week. |
 |
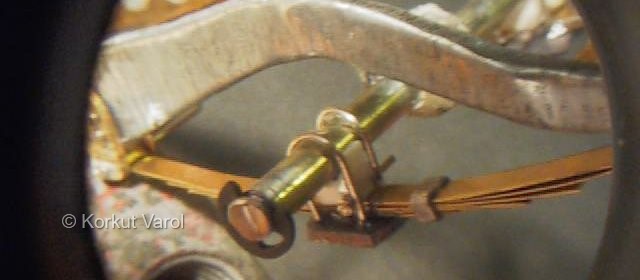
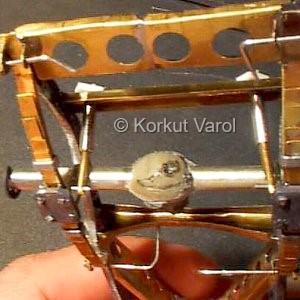
| Back to the rear suspension again. The lower mounts of the rear shock absorbers were made by inserting two pins cut to 8 mm length between the rubber block and the U-bolts. The pins were secured by applying 5-minute epoxy around them. |
 |
| For the upper mount of the shock absorbers, a new cross-member was made for the chassis. Two holes 1 mm dia. wewre drilled on the cross-member at a convenient position so that the shocks would go straight between the the two mounts without interfering with anything. The positioning of the cross-member was made with the same criterion. |
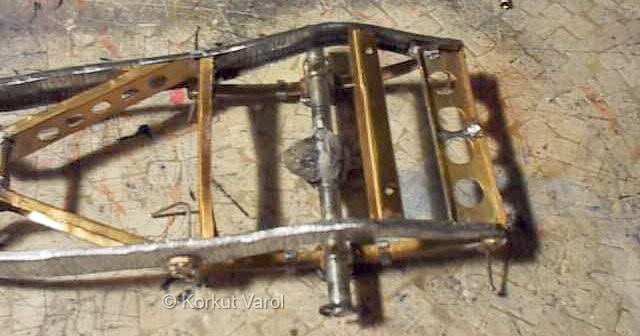 |
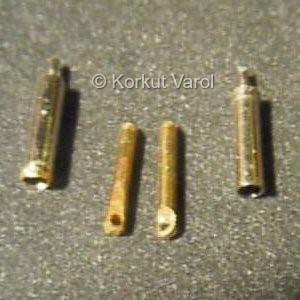
| The shock absorbers were prepared. The upper parts were cut from ball-point pen refills. Pins cut to 3 mm length were glued with CA glue to their top. They were to go through the two holes on the recently made cross-member. The lower parts were made from 1.5 mm dia. brass wire. The ends were flattened with light hammering, then holes of 1 mm. dia. were drilled on the flattened portions. Then these parts were machined to have a proper look. Next, a temporary assembly was made for testing purpose. |
 ... ... |
| The rear skirt profile was too sharply finishing in the air, so it had to be smoothened. For the purpose, a toothpick was used and stuck to the body by 5-minute epoxy. |
 |
| Then automotive polyester putty was applied over the toothpick and then sanded down to shape. Two holes of 1 mm. diameter were drilled for inserting the support bars of the rear lamps. The rear lamps were formed from the parts box. The body was once the mirror of some model. Lucky that they had given twin mirrors! |
 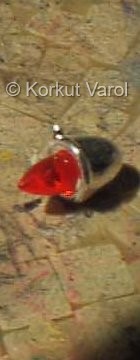 |
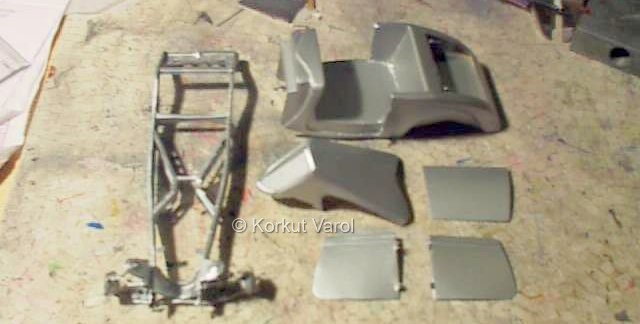
| Aluminium acrylic base paint was applied on all the parts. The car is going to be amber. Clear amber will be applied over this aluminium base coat.However, it will be applied later, when all the necessary and excessive handling of the body parts are over for manufacturing tailored parts for the car. |
 |
 |
|