| Building Period: 30 March 1999 - 30 June 1999 |
CONSTRUCTION
STORY OF
SCRATCHBUILT
STREET ROD
|
 |
THE FIRST PUTTYING AND THE HOOD
| Building Period: 30 March 1999 - 30 June 1999 |
CONSTRUCTION
STORY OF
SCRATCHBUILT
STREET ROD
|
|
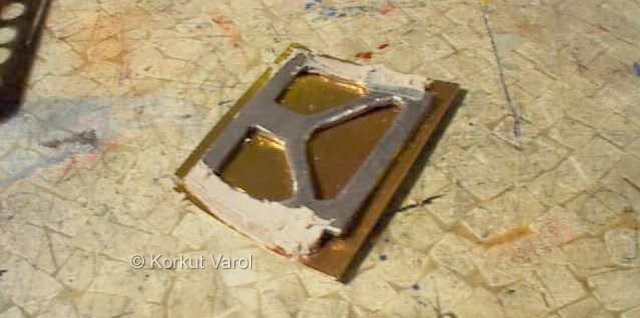
| The cavities between the doors and the floorpan skirts had to be filled with polyester putty, so that the floor would end where it met the door. To prevent sticking to the door, a piece of double-sided transparent sticking sheet was applied on the inside of the door without removing the protective slippery sheet. Then adequate putty was applied and the doors closed, defining the final shape of the putty. |
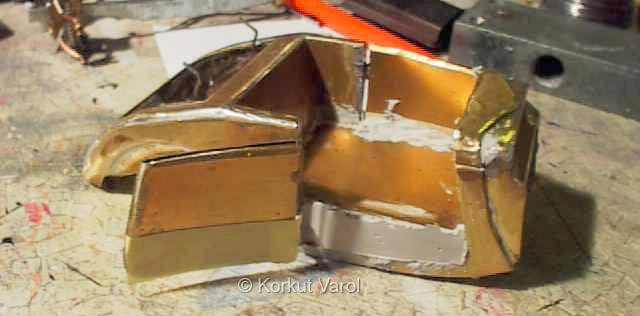 |
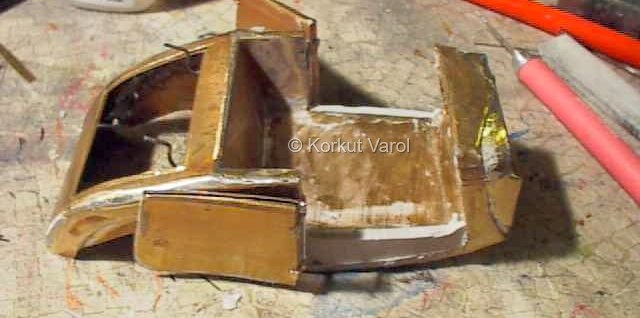
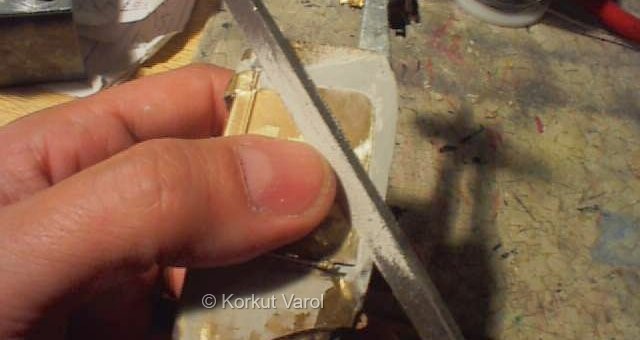
| Excess putty was trimmed with hand filing. Now the floorpan is complete from door to door. |
 |
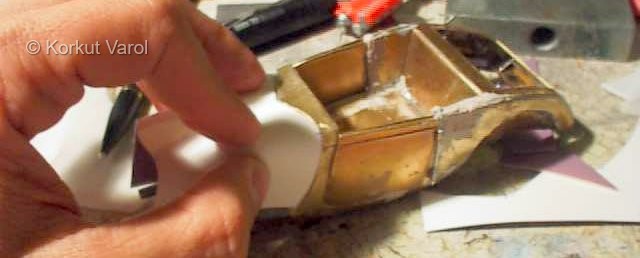
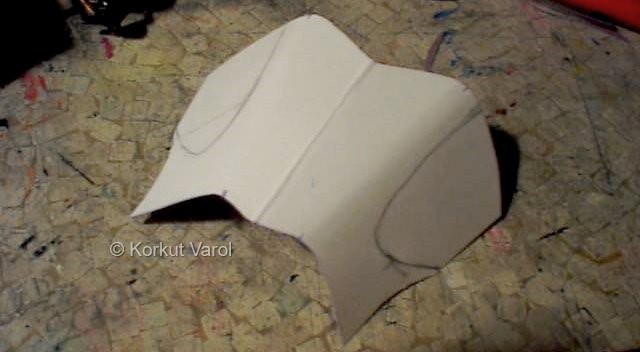
| The template for the hood was traced on a transparent paper, then transferred to a cardboard. Primary bending of the cardboard and making retouches to the contours were necessary till the proper development profile was reached. |
 |
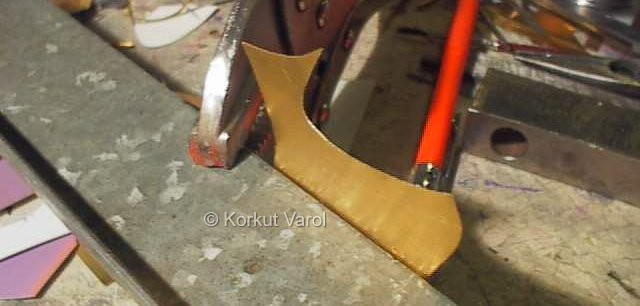
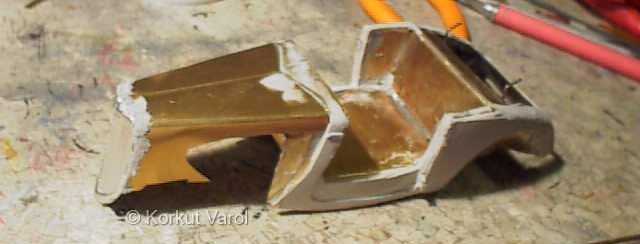
| The hood is designed as a unitary part with the front grille and to be tilted forward. The sides of the hood were given a custom cutout profile and tested on the model. then the development was carried on to the brass sheet. |
 |
 |
|
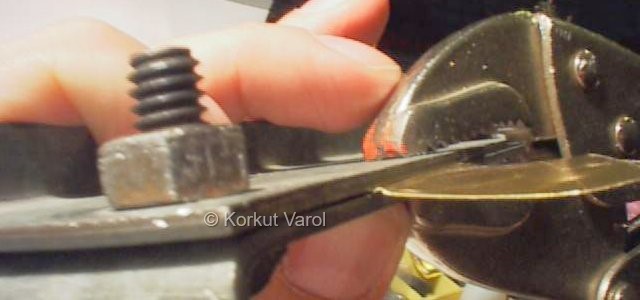
| The center line embossing was given to the metal as was done with the doors. That is, three consequent alternating close bends. |
 |
 |
|
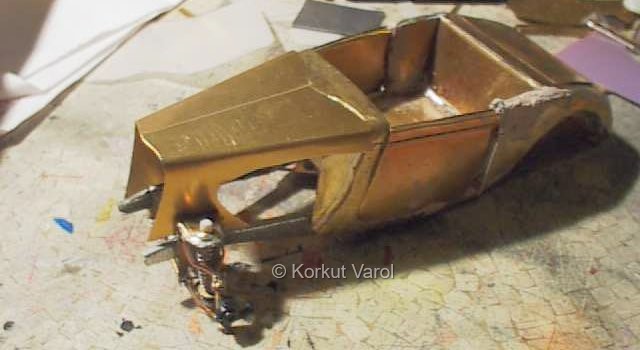
| The metal hood was put on the model after primary bending. Irregularities were overcome by re-bending and blending in by hand. Pliers or other tools may also be used for bending the hood curves, but then there will be tool marks left on the metal which will require further machining or putty treatment. |
 |
| The mismatches in the levels of the mating edges of the doors and the body were done with the application of polyester putty and filing down to the same level. |
 |
| The necessary places under the boot lid were also treated with polyester putty so that they would look unitary when sanded. |
 |
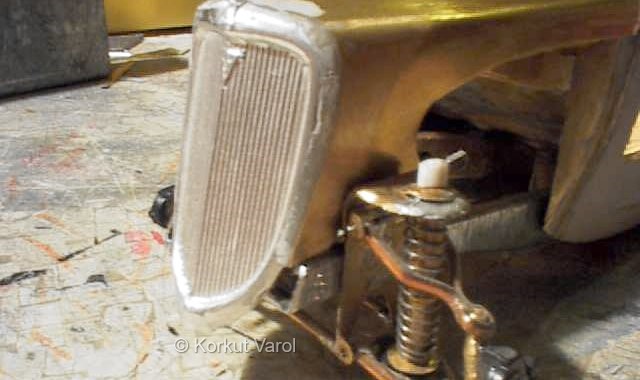
| The front grille was glued to the hood with 5-minute epoxy. |
 |
| A general view showing that putty was applied almost all over except for the surface of the hood. |
 |
| The hood was put on the chassis, and the front end profile was cut in parallel with the front grille inclination. |
 |
| The bottom fronts of the chassis were opened up with pliers so that the side plane of the chassis was extended to front lower part. Then one hole 1mm dia. were drilled on each side. Next, this latter formed parts were bent back again, but with an angle with the chassis at first, then given the next opposite bend to form a drilled bracket hanging down the inner sides of the chassis. |
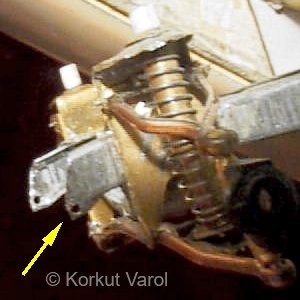 ... ...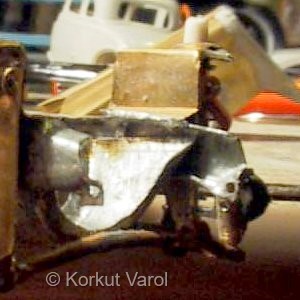 |
| Two L-shaped brackets were made from brass sheet and glued with 5-minute epoxy from the inside to the hood. Then the hood was placed on the chassis again, matching with the body, and secured with masking tape to preserve relative positions. Then the holes were drilled on the hood brackets using the holes on the chassis as drilling jigs. |
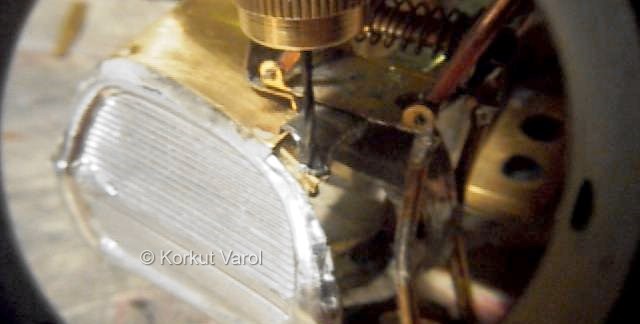 |
| This is how it looked after the holes were drilled. To smoothen the level difference of the hood and the pivoting bracket, putty was applied and sanded down to smooth transition. |
 |
 |
|