| Building Period: 30 March 1999 - 30 June 1999 |
CONSTRUCTION
STORY OF
SCRATCHBUILT
STREET ROD
|
 |
THE BOOT LID AND HINGES
| Building Period: 30 March 1999 - 30 June 1999 |
CONSTRUCTION
STORY OF
SCRATCHBUILT
STREET ROD
|
|
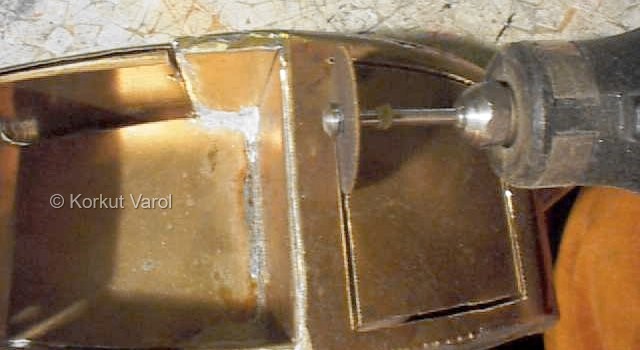
| The boot lid was traced on the metal and cut away with Dremel. A new boot lid was made because the gap due to cutting tip was too large in scale. |
 |
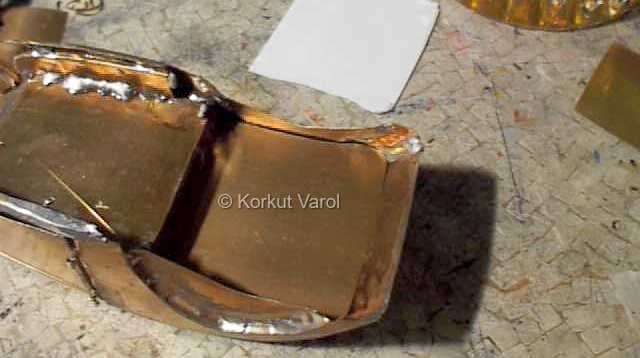
| The boot floor panel profile traced on to paper template (seen above the car body) and carried on to metal, then cut. The panel is shown while test fitting. It will be fixed into place after the boot hinges are made and installed. |
 |
|
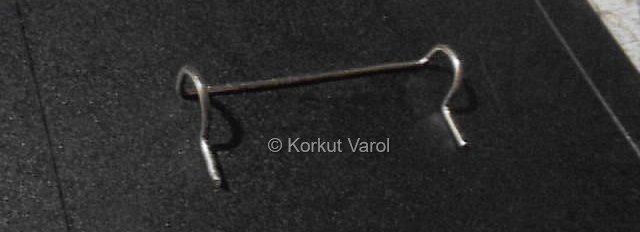
The boot hinge
was made from a paper attach
wire.
|
 |
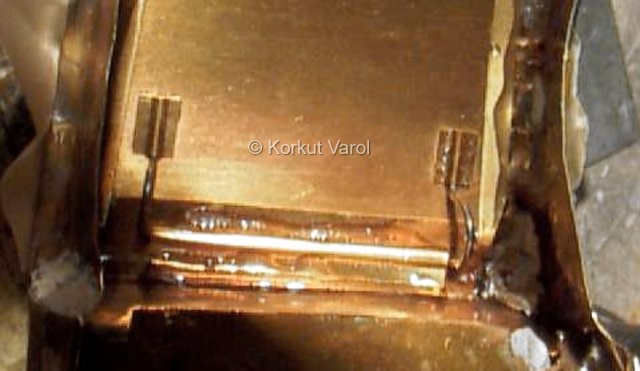
| Thin strips were cut from brass sheet and glued to the body on the inside, at all edges, to serve as the flanges that the boot lid will rest on. |
 |
|
|
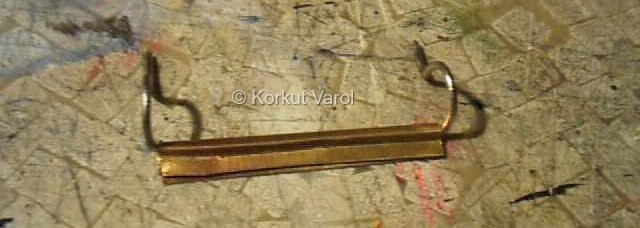 |
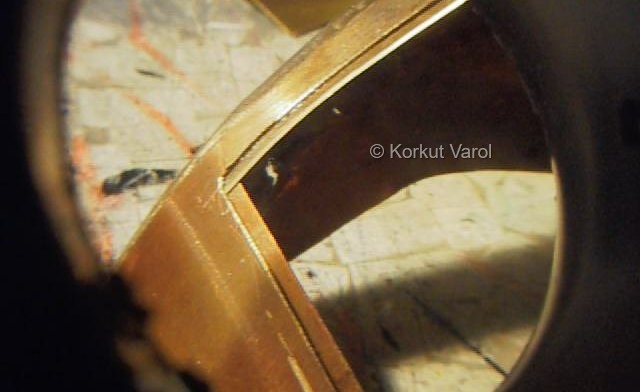
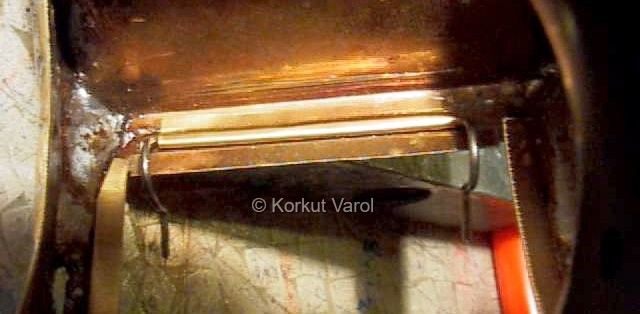
| The hinge assembly was glued into place with 5-minute epoxy. After it dried, the profiles of the hinge legs were checked that they fit the body contour. Some adjustments in bending angles were necessary to make it parallel with the body profile. |
 |
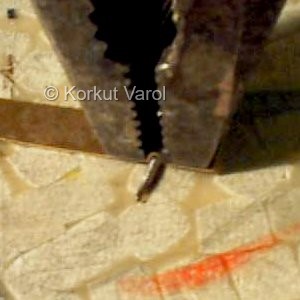
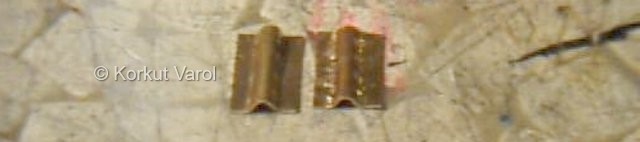
| It was possible to put on the boot lid and then apply glue to fasten it to the boot hinge. But then, it would be impossible to detach the boot lid if ever it became necessary during construction. So, small housings for the legs were built from brass sheet as shown. A strip was put on a wire and pliers pressed upon. The final pressing is shown aside. |
 ... ...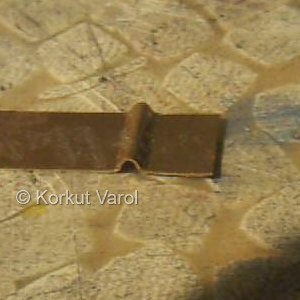 |
| Two housings were prepared as shown. |
 |
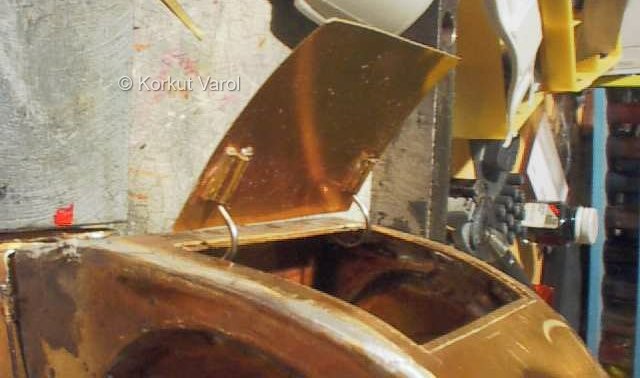
| The bootlid was put on the body, the hinge made to touch the boot lid and the housings stuck on the boot lid with CA glue. After this, the housings were secured on the boot lid better by applying 5-minute epoxy. The boot lid was taken away from the body to make sure that the epoxy glue did not accidentally flow and stick to the hinge legs. |
 |
| So, here is how it works. |
 |
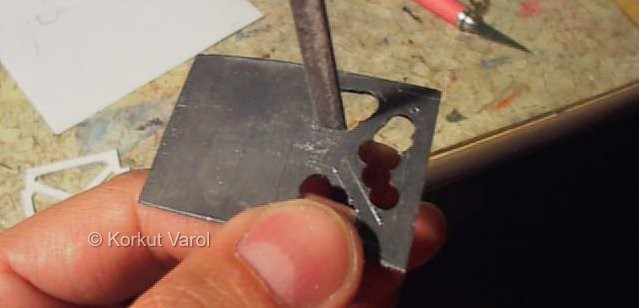
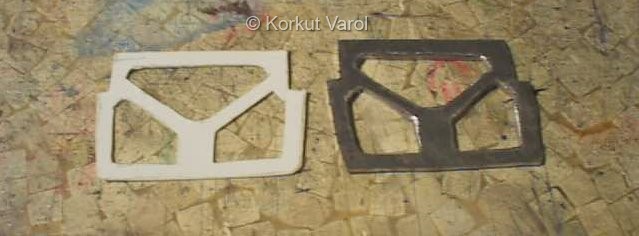
| No lids are complete without reinforcements. A template was drawn on paper and carried on to a 1.5 mm thick lead sheet and the recesses were pre-cut by a paper punch. |
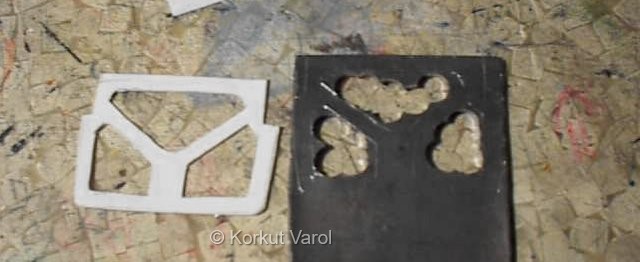 |
| The recesses were put to shape by hand-filing. |
 |
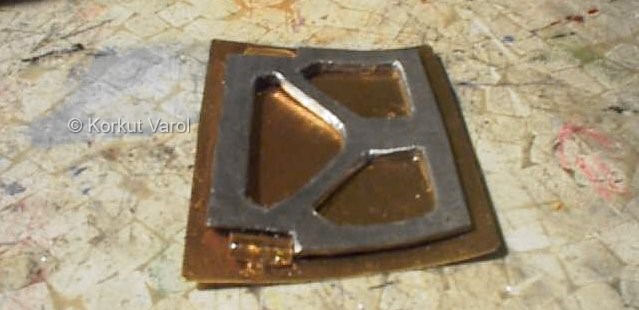
| The edges were smoothened and part made ready for assembly with the boot lid. |
 |
| Proper curvature was given by hand to fit the lid's curvature and the two were stuck together with 5-minute epoxy. |
 |
 |
|