| Building Period: 30 March 1999 - 30 June 1999 |
CONSTRUCTION
STORY OF
SCRATCHBUILT
STREET ROD
|
 |
THE DOOR HINGES
| Building Period: 30 March 1999 - 30 June 1999 |
CONSTRUCTION
STORY OF
SCRATCHBUILT
STREET ROD
|
|
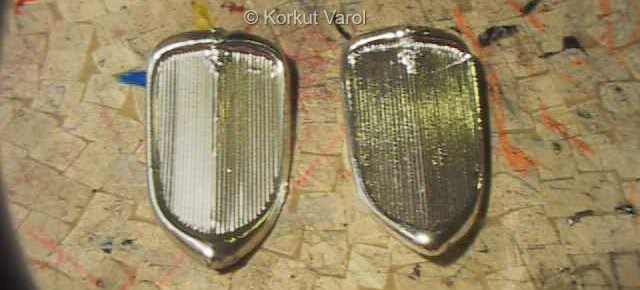
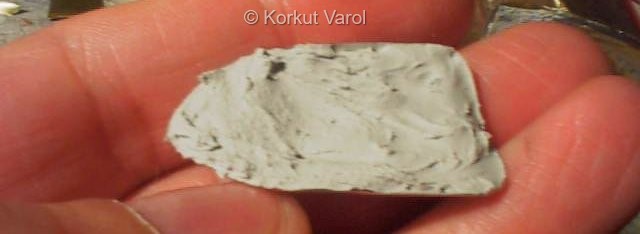
| A break for the body. The front grille is duplicated by rubbing and pressing a 0.1 mm thick aluminium sheet on the original part until all the contours are seen on the duplicate. The grille rods are traced by a toothpick. Then the parts are taken apart and polyester putty (to be ground to better surface contour later) applied at the back so that the part will have enough strength. |
 |
 |
|
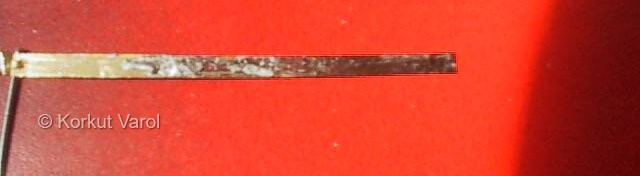
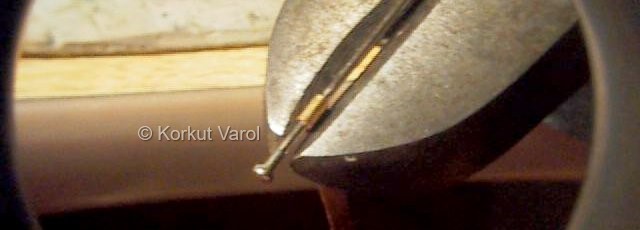
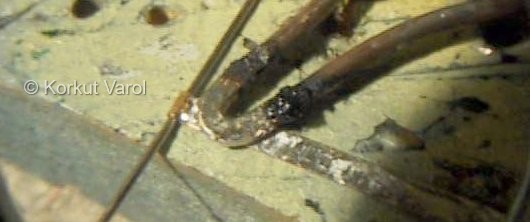
| Now the story of the door hinges begin. A strip was cut from 0.2 mm brass sheet, with a width of 2.5 mm. One side was covered with a thin layer of solder. This will serve in holding the metal together after the eye of the hinge is formed. The eye is formed by squeezing the strip around a pin with the aid of pincers. |
 |
 |
|
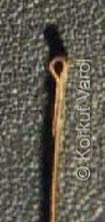
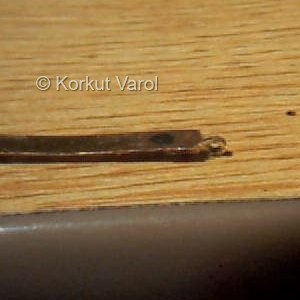
| The eye is defined by pressing the soldering iron on the metal, thus melting the pre-soldered layer in between. |
 .. .. |
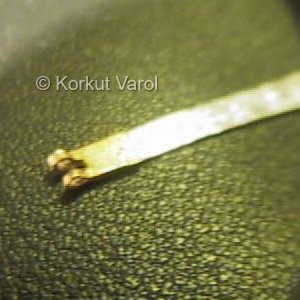
| The mid part of the eye is ground by cutter tip of Dremel to make recess for the mating part of the hinge. |
 |
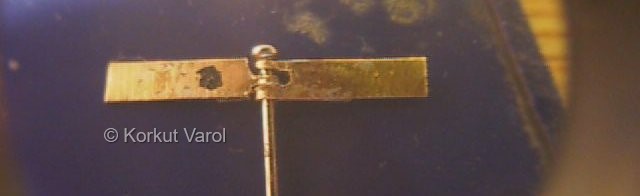
| The finished mating parts are shown here. The second part is made in the same manner as described above, but with the difference that the sides of the eye are ground to leave the center part to fit in the recess of its mate. |
 ... ... |
| The mating of the two parts of the hinge is shown here. The two leaves of the hinge will be cut to proper length to fit in its place in the body. Two for each door, total of four hinges were made. |
 |
| Preparing the hinges before assembling to the body. The working axes of the hinges are defined to be coaxial by using a common pin for assembly purposes. Later, the pin will be replaced by two separate ones. |
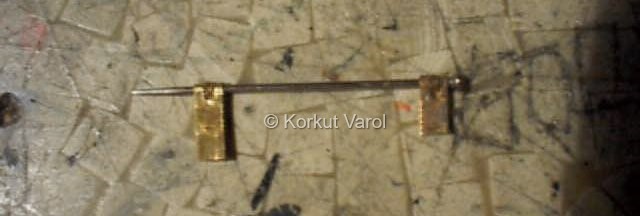 |
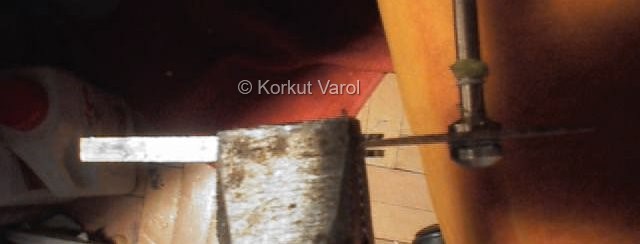
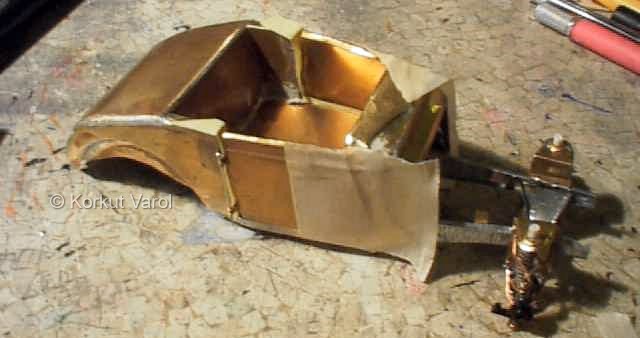
| The perpendicularity of the turning axis is checked before final glueing. 5-minute epoxy was used to fasten the hinges to the body and doors. |
 |
| A precaution was taken with masking tape in case the glue would stick to the other leaf of the hinge. They will stay in place until the door is glued also. One good thing with these hinges is that the doors can be removed in the process of preparation for painting, and painting itself. |
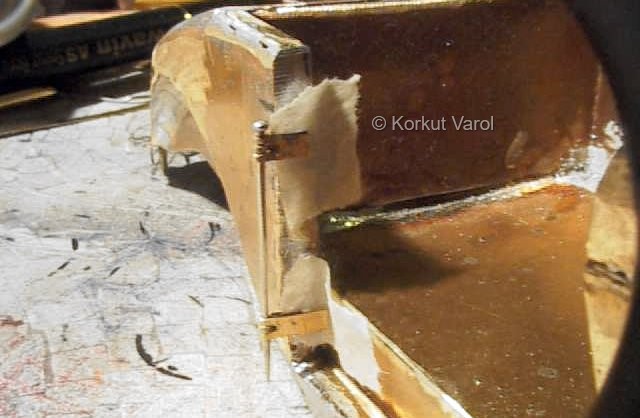 |
| The doors are put in place (after final assembly testing with the hinges) and 5-minute epoxy glue applied to the doors, at the points where the hinges are. The doors were secured to the body with masking tape until the glue was dry. |
 |
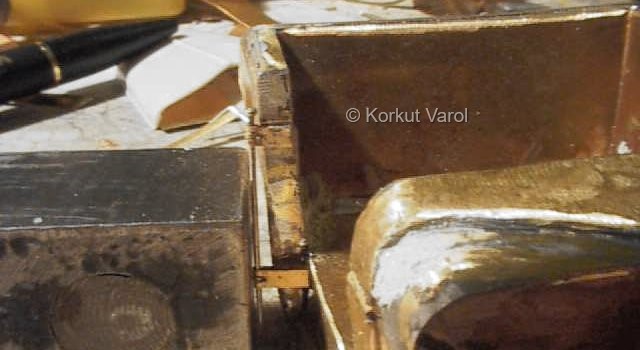
| A close-up of the hinge while drying. Note that the masking tape used here is the protective cover of a double-sided transparent sticking sheet. The paper is waxed, so it is impossible for any glue to stick to it. |
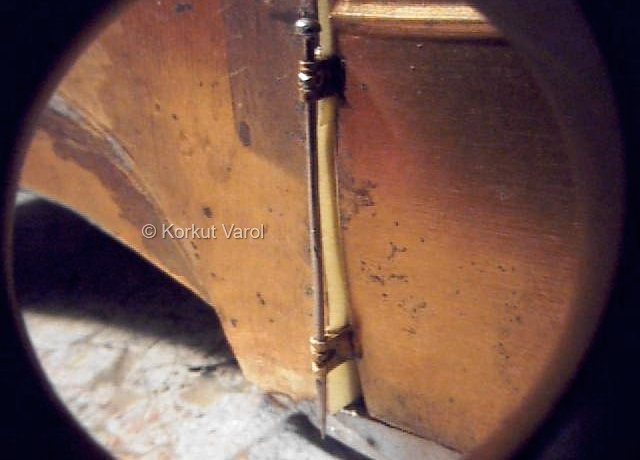 |
| Here it works! The excess part seen on the hinge was cut away with Dremel cutter tip. |
 |
 |
|