| Building Period: 30 March 1999 - 30 June 1999 |
CONSTRUCTION
STORY OF
SCRATCHBUILT
STREET ROD
|
 |
THE BODY - 3
| Building Period: 30 March 1999 - 30 June 1999 |
CONSTRUCTION
STORY OF
SCRATCHBUILT
STREET ROD
|
|
| Templates for the firewall surrounding panels are traced on tracing paper. |
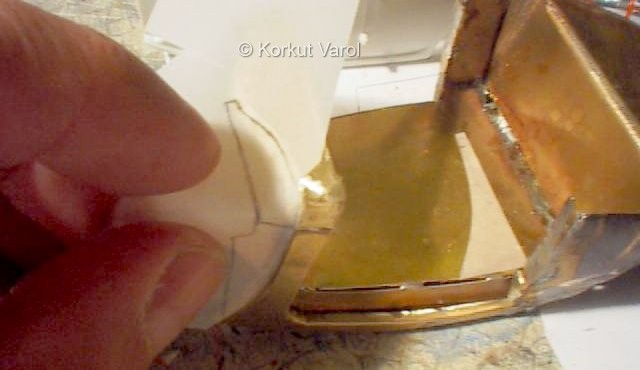 |
| The drawn template is cut out and tested on the body, where it is suposed to fit. |
 |
| Now the same profile is carried on the metal and cut. |
 |
| The metal panel is bent to profile by hand and test-fitted. The same procedure is done for both sides. |
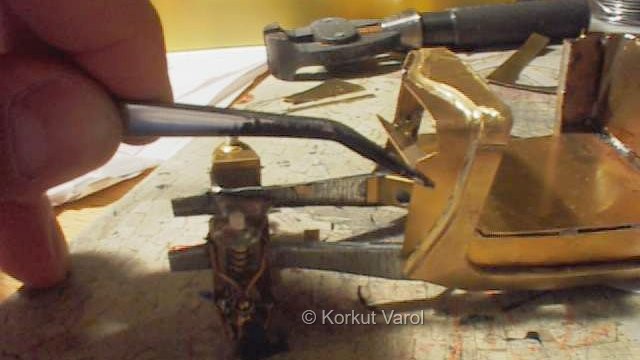 |
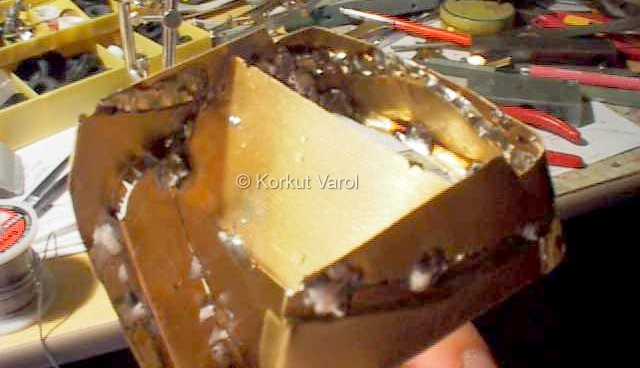
| The panels are point-soldered to the body to secure in place. The main soldering will be done on the back side. |
 |
| The back side is fully soldered. |
 |
| The firewall is traced on paper and carried on to metal and cut in the same manners described above. |
 |
| After a couple of test-fittings and necessary trimmings, the firewall is soldered into place. |
 |
| Finishing is with Dremel again, but with a metal grinding tip. You have to press against solder in this situation and regular cutting tip will immediately break into pieces. You may use a thick grinding tip, but the metal tip has a flexibility so that it will not dive into metal if pressed excessively. So you can have a smoother finish. |
 |
| Here the parts are finished smooth. |
 |
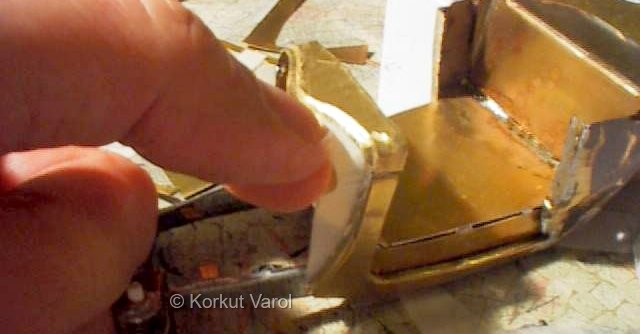
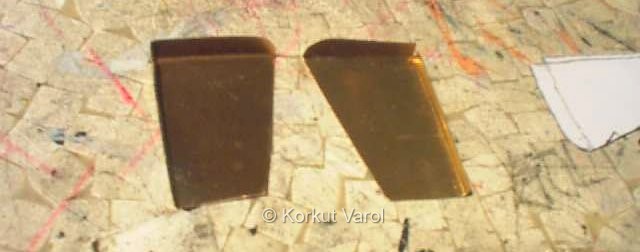
| The two internal panels that will fit behind the door in the cockpit are prepared by paper-tracing and carrying on the metal. The bends are made by pliers. |
 |
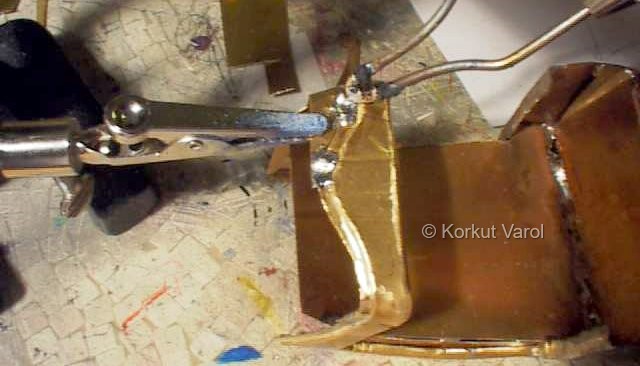
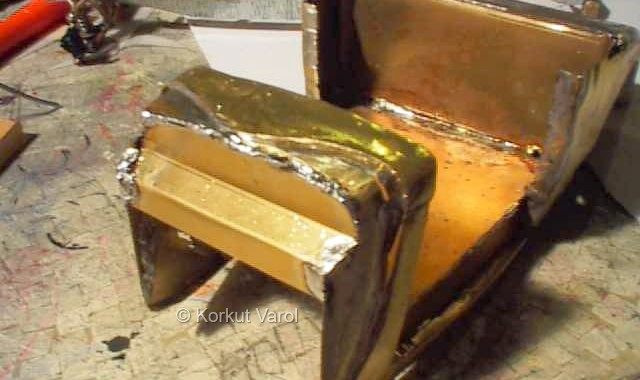
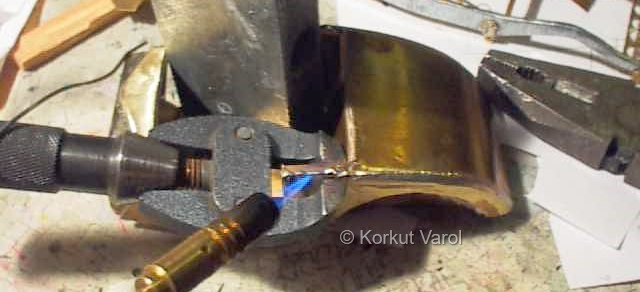
| Solder was applied at the meeting edges but the soldering iron proved to be weak for this area, so the solder was melted along the seam with the aid of a torch. Parts should be held close with some means as shown. |
 |
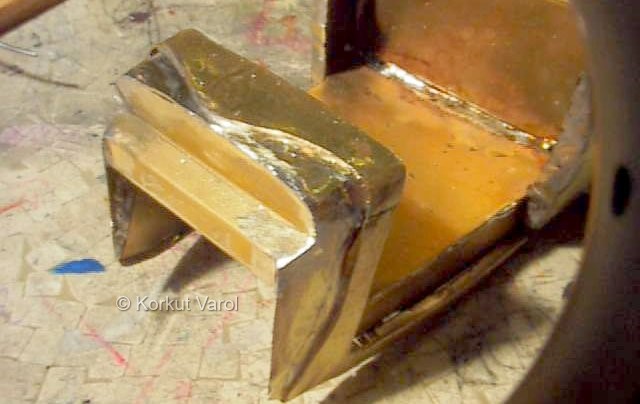
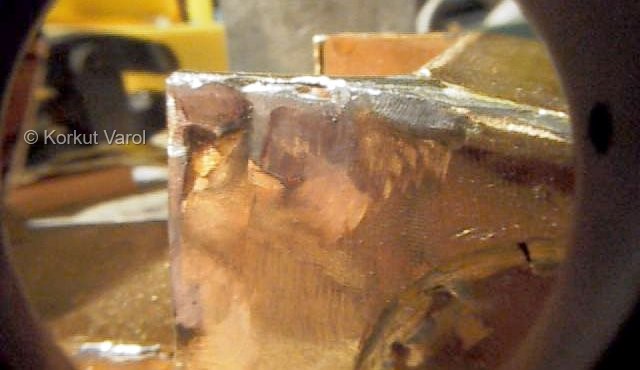
| OOOPS ! The flame of the torch was too heavy for the poor metal. You see how the metal shrinked? There are two ways to repair the situation: Either fill more solder in the cavity created, or leave it to the time of the polyester putty. I preferred the second choice. |
 |
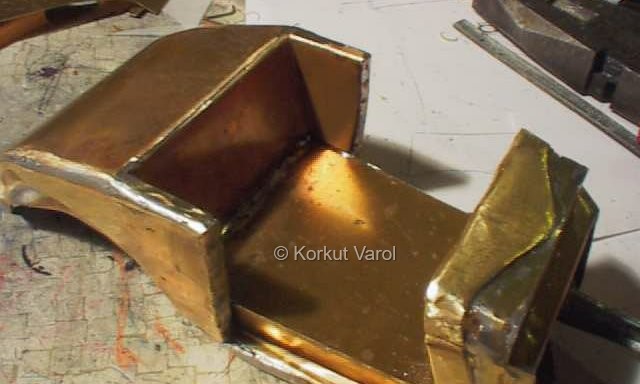
| The two internal panels are now soldered into place and ground smooth. |
 |
 |
|