|
|
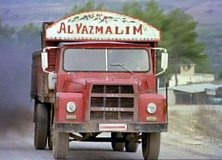
(Selvi Boylum Al Yazmalim) |
 |
 |
|
|
(Selvi Boylum Al Yazmalim) |
|
|
Scale : 1/24
Started:
12 December 2007
Finished: 04
May 2016
Page 5 / 9
|
03
April 2016:
I made the safety chain (to prevent shaft drop in case the universal joint breaks) across the chassis. 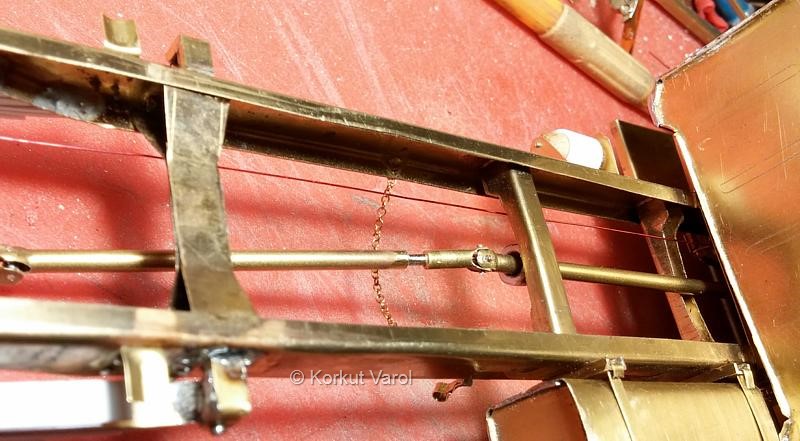
|
I made the step plate on the left side of the bumper. The vehicle in the film had the right side absent so I did not manufacture it. 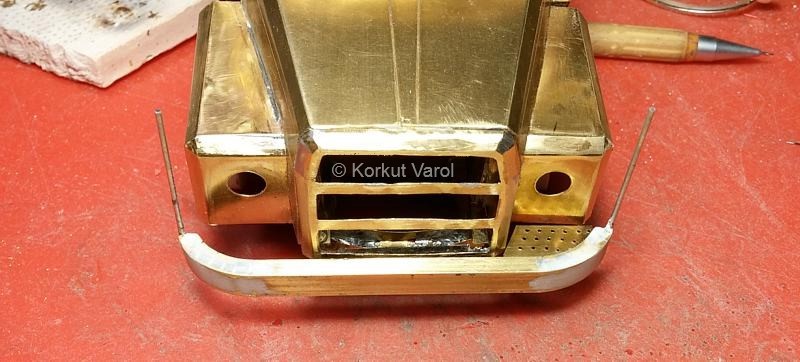
|
04 April 2016: I positioned the door hinges and fixed with epoxy glue. However, it did not hold well, so I scraped the epoxy residues and fixed the hinges with solder, taking extreme care that heat did not melt the solder in close areas. To guarantee that hinges remain coaxial, I inserted a 0.5 mm drill through the hinges. 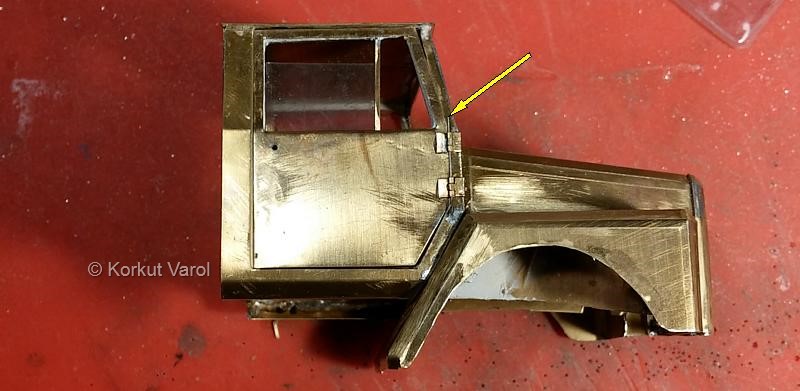
|
The doors in open position. 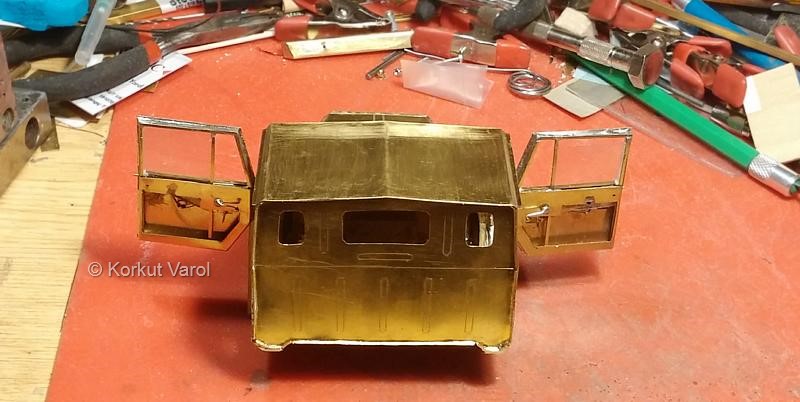
|
06 April 2016: I worked on the steering wheel. In the actual vehicle, the spokes are made of four wires at each spoke. The only way to manufacture it is photoetching, however, since I had no possibilities I made the spokes from styrene sheet and covered them with aluminum duct tape. I scribed channels and made a blackwash. I made the ring from copper wire. 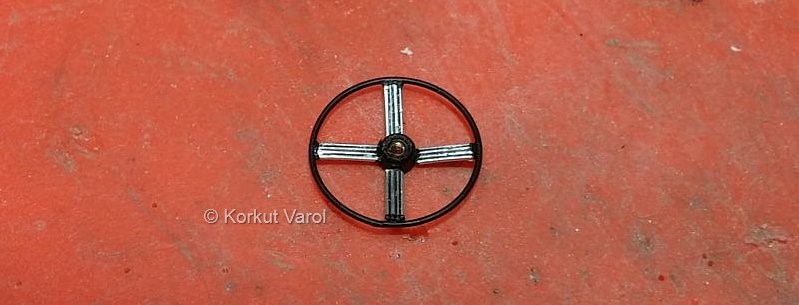
|
07 April 2016: I manufactured the side ventilation intakes from brass sheet and glued them on the cab with CA glue. 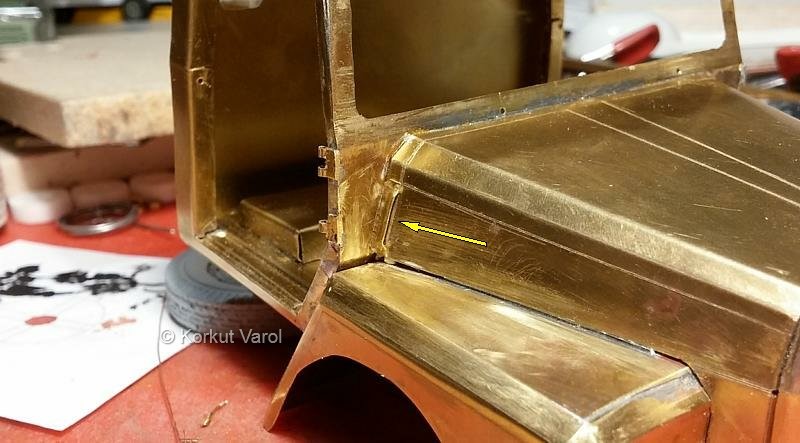
|
I made the raw seats from balsa. 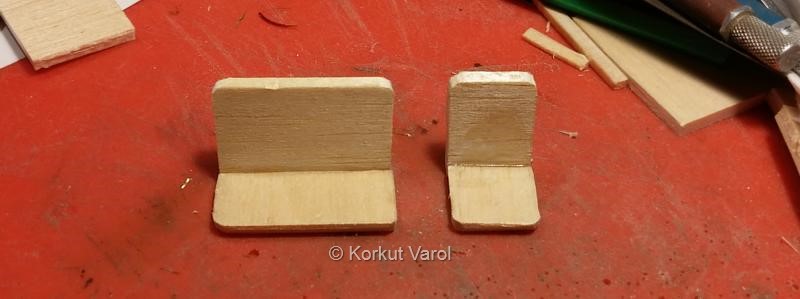
|
For the front grille, I took 0.1 mm thick aluminum sheet and formed channels by a toothpick tip. 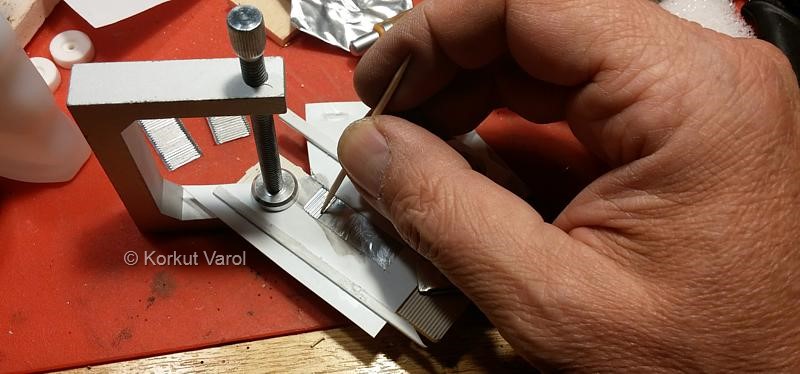
|
The three parts of the front grille are ready to be joined. 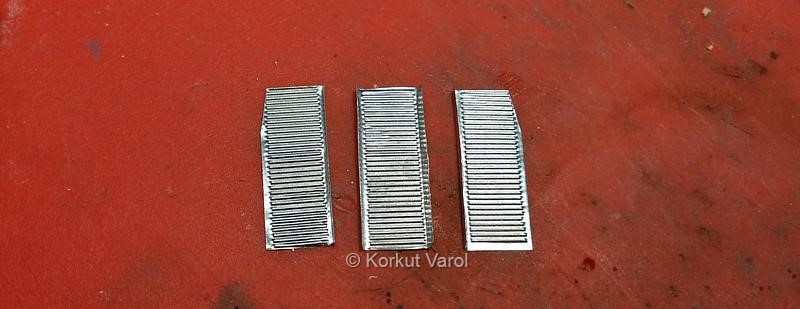
|
I glued the three parts at their bent sides by CA glue. 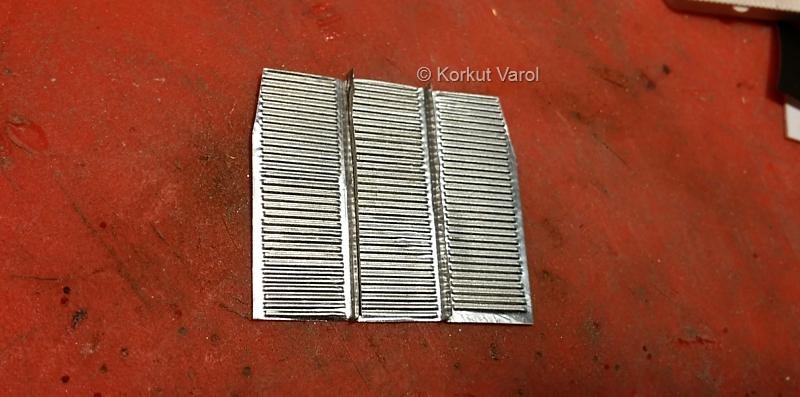
|
08 April 2016: A temporary fitting test. 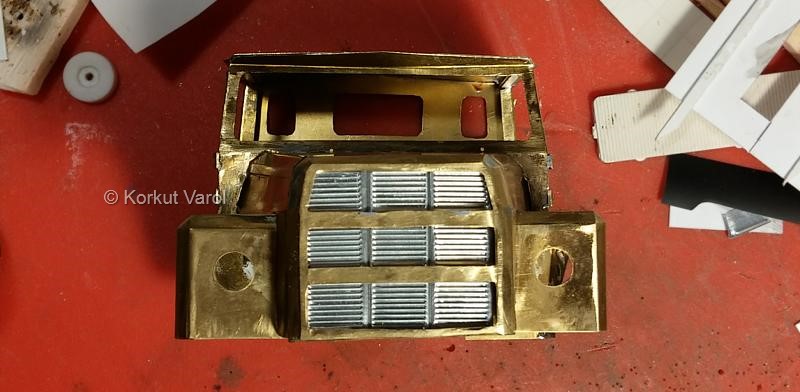
|
09 April 2016: I painted the chassis, installed the engine and drivetrain and the exhaust pipe. 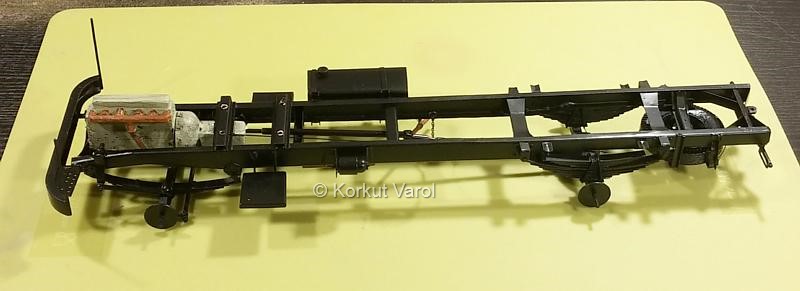
|
I applied a trial first coat of paint. 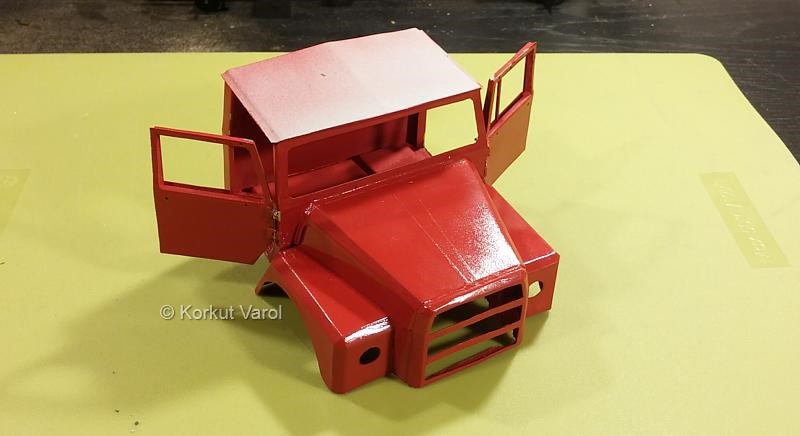
|
Some clearances turned to be too small, even with the first coat of paint, rubbing and chipping points appeared. I will take care of these points later. 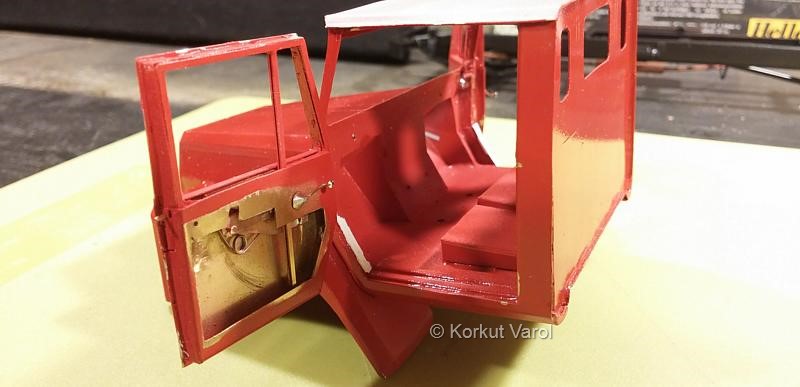
|
The cab put over the chassis. 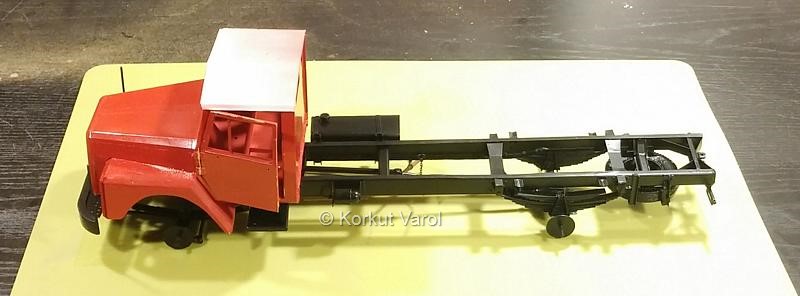
|
10 April 2016: I prepared the dashboard and painted the wheels, applied rust effects. 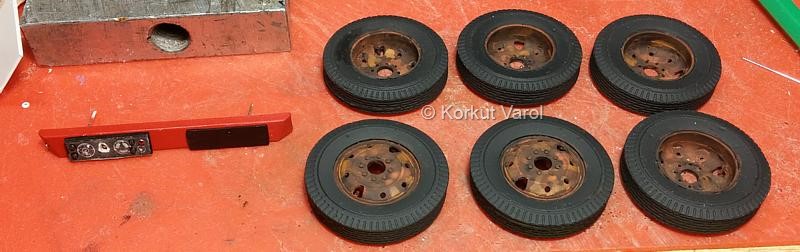
|
11 April 2016: Completion of the seats. I prepared the developments for the seats from flat black sticky folio and scribed the seat patterns with a blunt scriber. 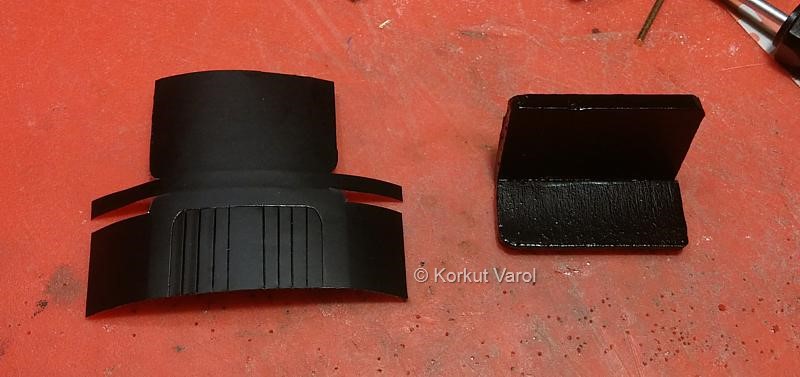
|
I fixed pieces of sponge on the base of seats. 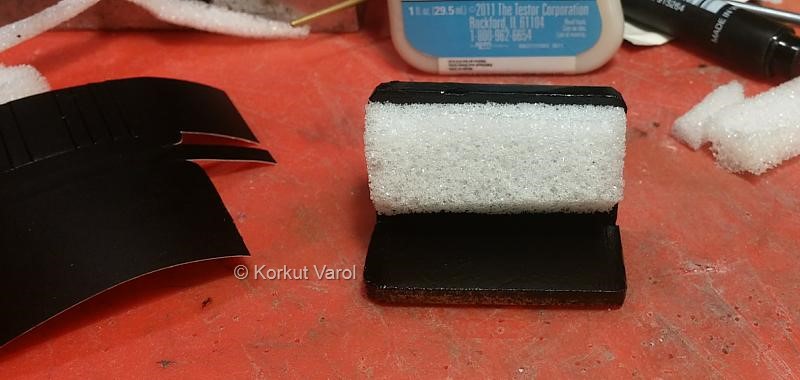
|
I made the same procedures for the rest, and wrapped the development around the base. For the rug on the bench, I printed a two-sided rug pattern, glued them back-to-back, folded, crushed and got rid of the paper looks. 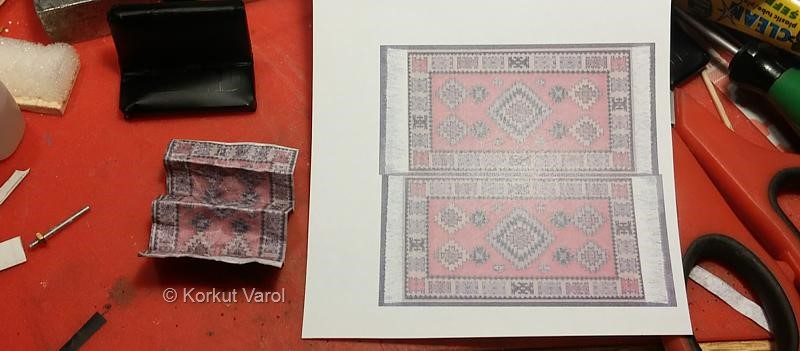
|
I glued the folds of the rug to one another and glued the finished rug on the bench part. 
|
 ............................. ............................. .......... .......... |