|
|
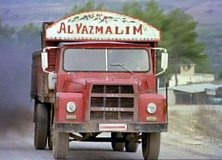
(Selvi Boylum Al Yazmalim) |
 |
 |
|
|
(Selvi Boylum Al Yazmalim) |
|
|
Scale : 1/24
Started:
12 December 2007
Finished: 04 May 2016
Page 8 / 9
|
29
April 2016:
I prepared the decorative panel over the rear wheels from brass sheet. I printed the patterns on sticky paper, put it on the brass sheet and used Dremel engraver for the patterns. 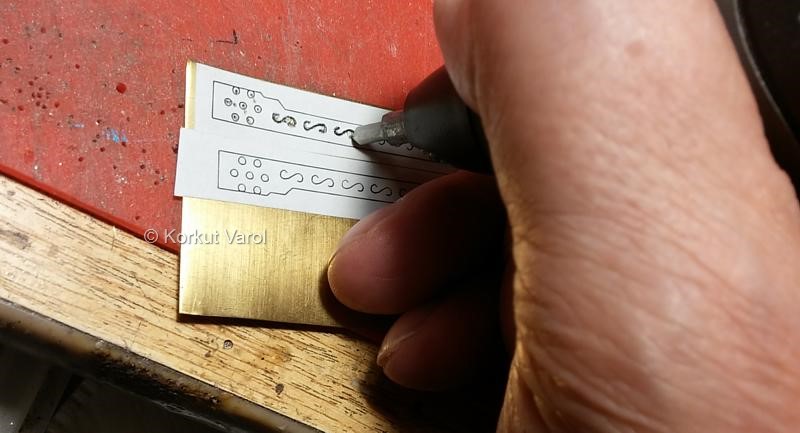
|
The other side is now embossed. 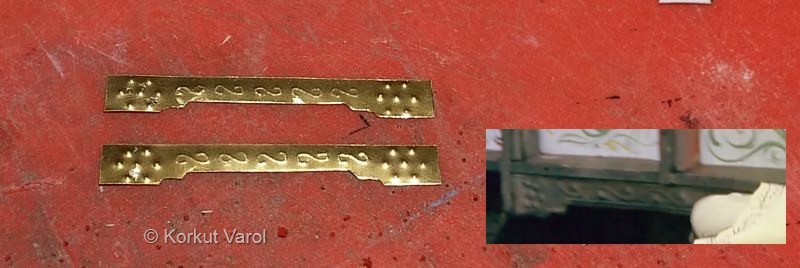
|
I dirtied the bottom of superstructure a bit. 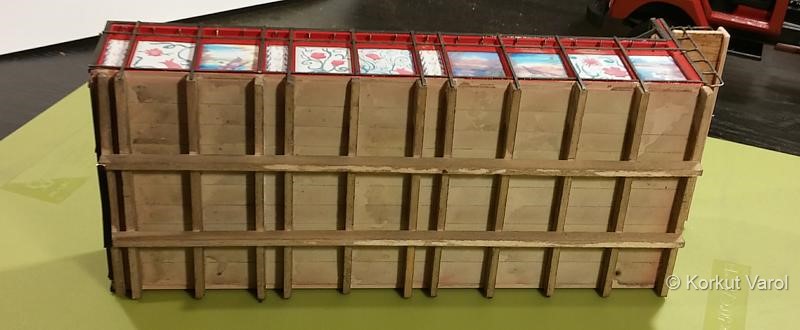
|
I painted the iron cage around the superstructure, applied some light rust effects and glued the whole in place. I prepared the face panel supports of the front overhang from wood and glued in place. 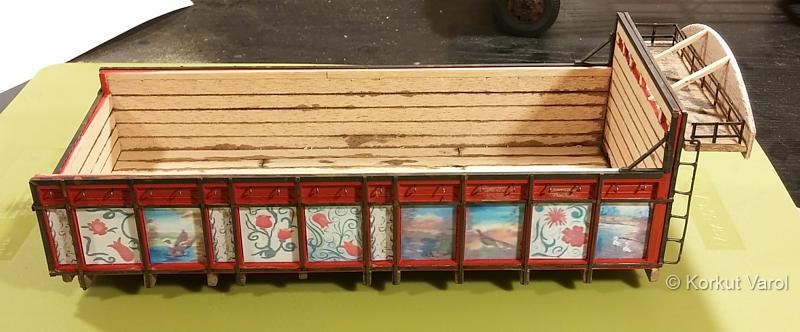
|
I painted the rear decorations of the superstructure and glued the iron cage as well. 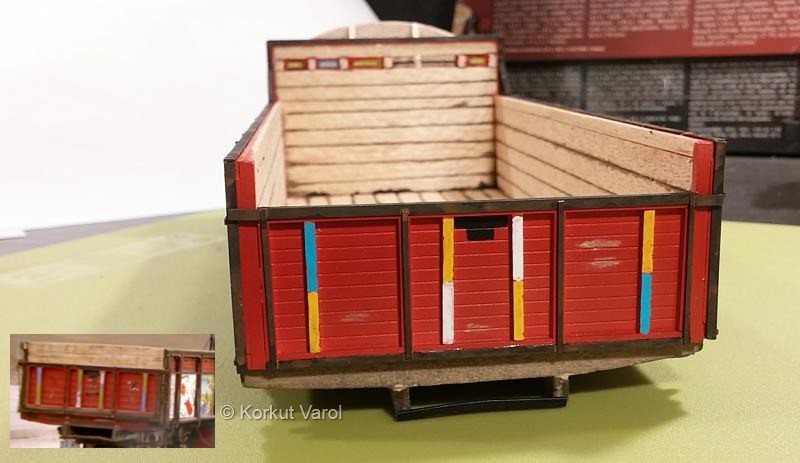
|
I printed the "Al Yazmalim" panel and glued over the face panel. 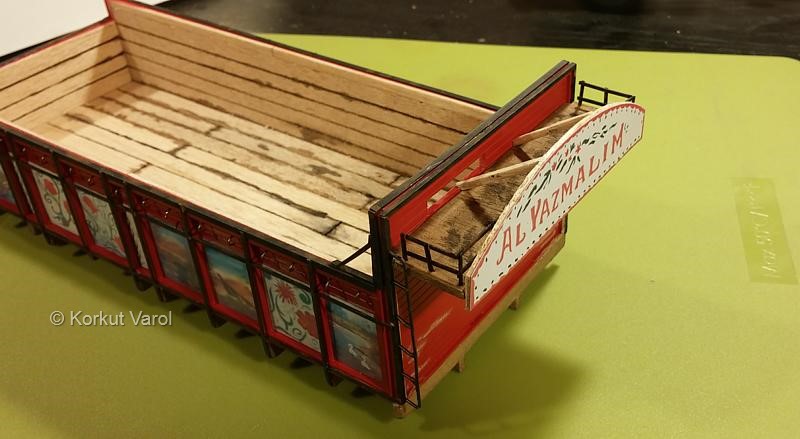
|
I made the rope hooks along the superstructure from steel pins. To prevent shine, I burned them with flame and inserted through the holes I opened in the sides. They still have a little shine under light, I will try some blackening. 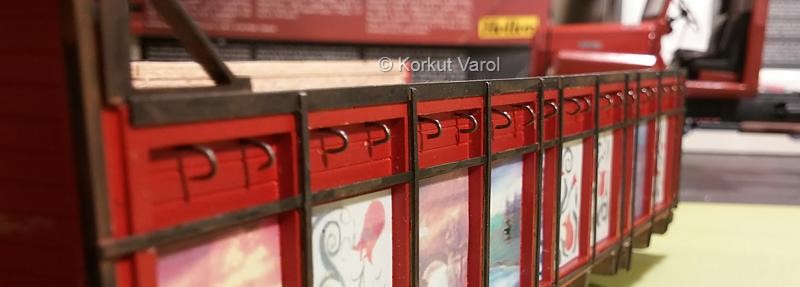
|
I prepared the chains for the rear lid and fixed in place with burned and cut headed pins. 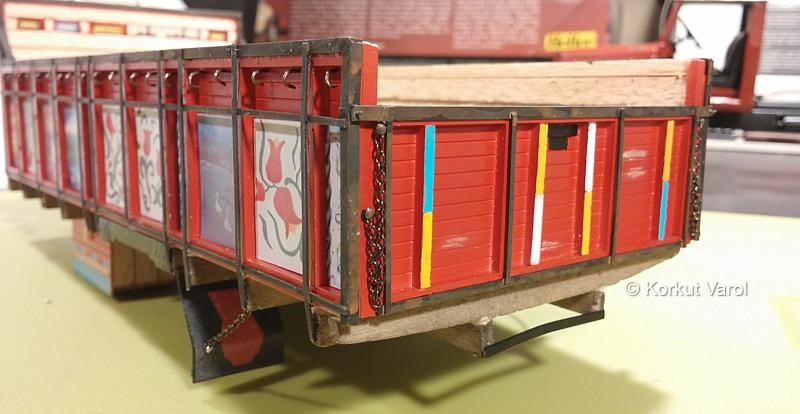
|
I made the mud flaps from styrene sheet and painted. I prepared the central pattern from red foil and stuck on. Then I applied matt clear cote and airbrushed some little dust. I also prepared the chains for the mud flaps and fixed in place. 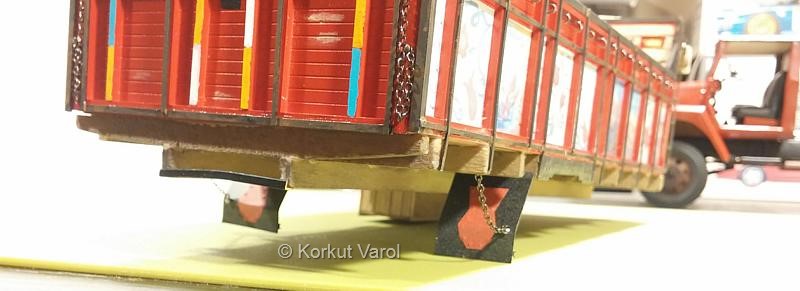
|
The bottom view of the superstructure. 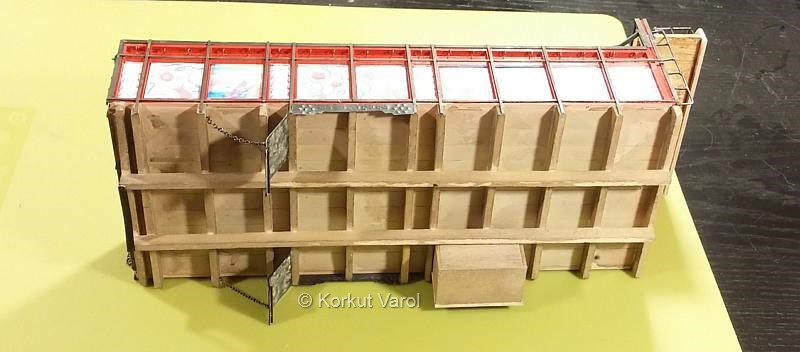
|
01 May 2016: I prepared the batteries from resin. I made the tie bar and rods, painted and rusted and dusted with pigments. Then I glued them on the step panel. The overflow, rusting and dusting effects are also seen on on the fuel tank. 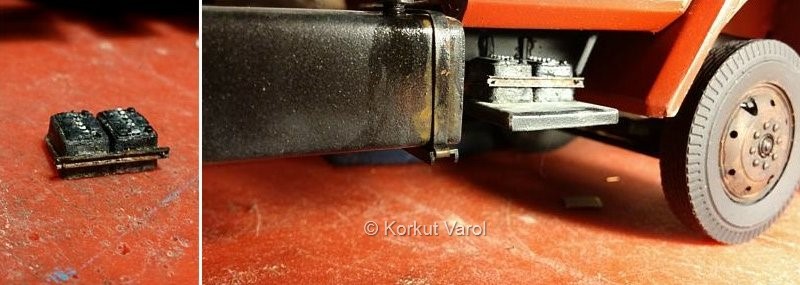
|
I made dust effects on the front grille with pigments. I prepared the front and rear licence plates and applied aluminum duct tape at the back. I directly glued the front on the bumper. I made hanging hooks for the rear plate and fixed it free-to-sway on the plate bar. I applied dried mud effect on the back side of the rear plate. I also installed the previosly made rear lights in place. 
|
For the plastic jerry can hanged between the cab rear and the superstructure, I built one frm styrene sheets. To imitate some water inside, I first painted the can white, then applied some yellowish tone, and coated with translucent white glass paint. 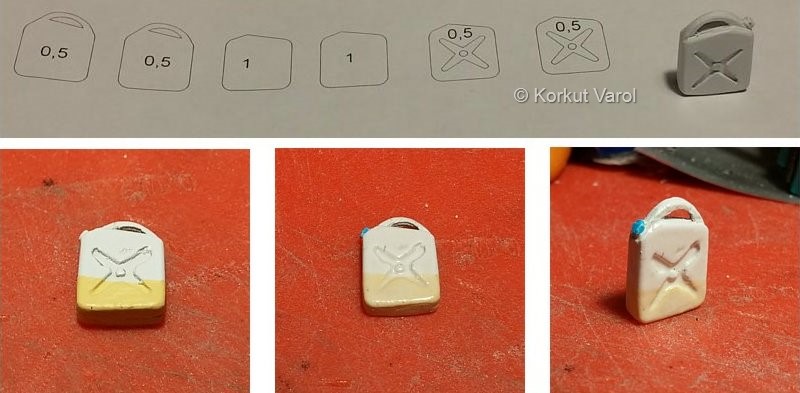
|
02 May 2016: I prepared the hook for the jerry can and glued the whole on the front surface of the superstructure. The jerry can is a bit tilted but the "water" inside is horizontal... 
|
I made the support brackets for the overhang and glued them in place. 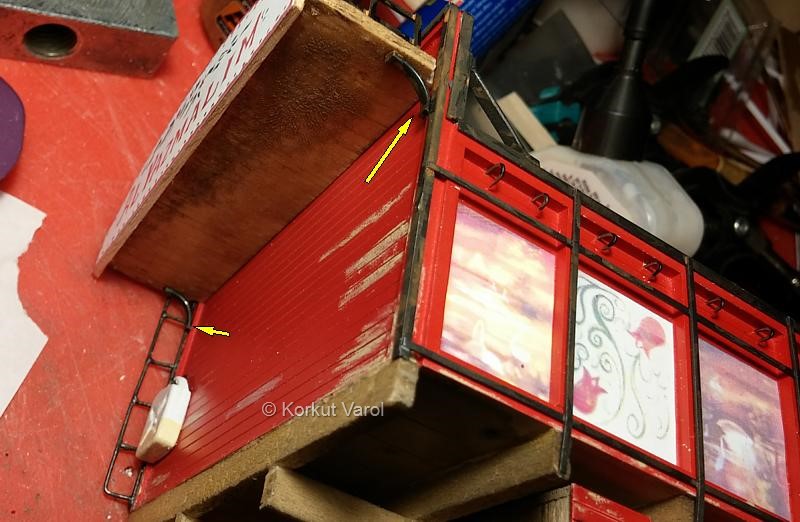
|
I made the VIN label and glued it in place. 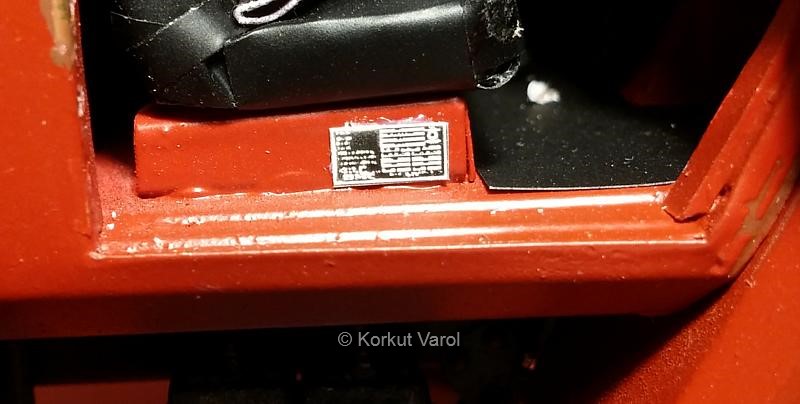
|
I made the hood retainer handles from hot melt black plastic with a glue-gun and fixed in place. 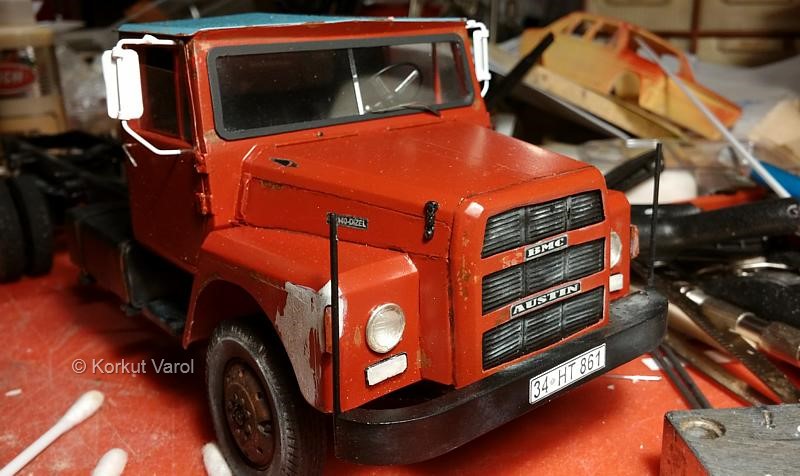
|
The finished photos are on the next page. |
 ............................. ............................. .......... .......... |