|
|
(Selvi Boylum Al Yazmalim) |
 |
 |
|
|
(Selvi Boylum Al Yazmalim) |
|
|
Scale : 1/24
Started:
12 December 2007
Finished: 04
May 2016
Page 7 / 9
|
19
April 2016:
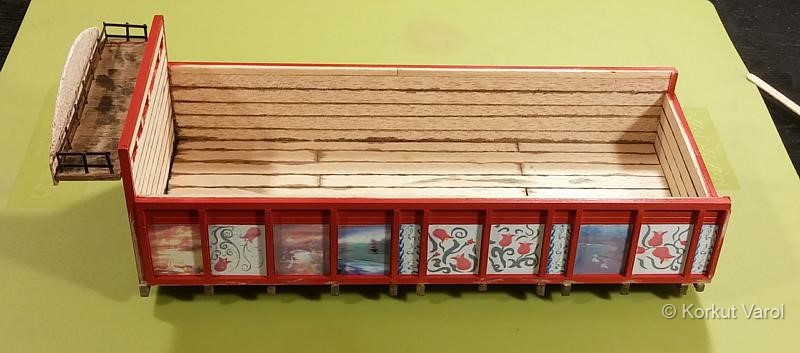
I painted the "decorative" patterns in the spaces on the front face of the superstructure. 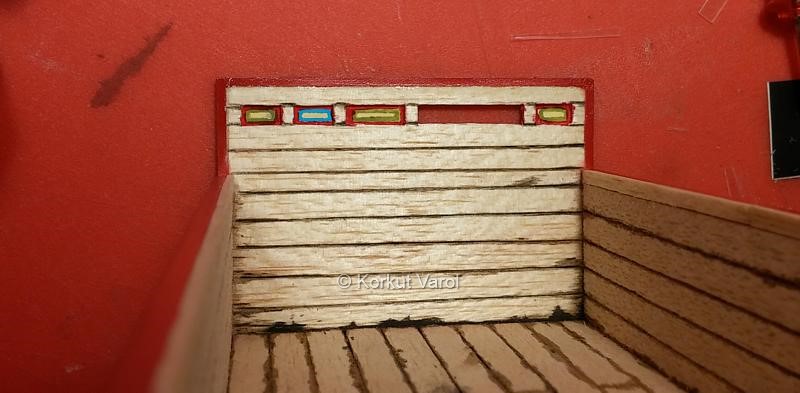
|
20 April 2016: I manufactured the toolbox. The casing is from balsa sheets, and the cover plate from V-groove styrene sheet. I also made the door internal linings in the same manner that I did for the cab back and roof linings. I painted the door inners green and applied clear black glass paint to give some darkening. 
|
The toolbox is finished. 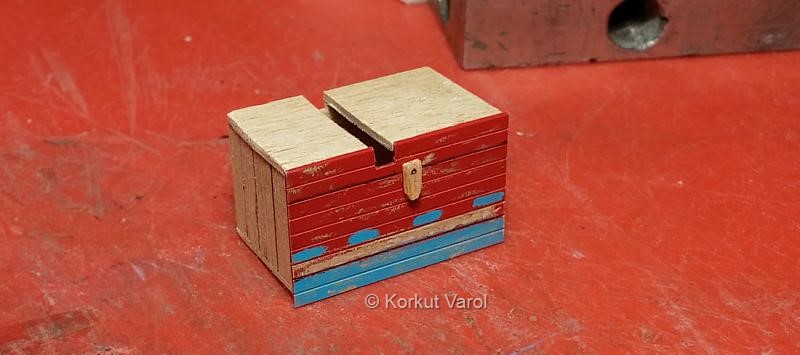
|
I made the transverse and longitudinal beams from balsa sheet and glued them in place with CA glue. 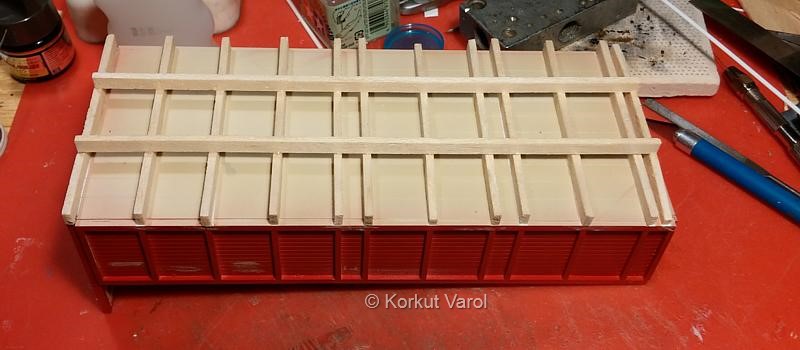
|
21 April 2016: Manufacturing of iron reinforcing cage around the superstructure. Since it would be different color, I chose to make it separately and install after painting. Taking utmost care for the glue not to contact the painted superstructure, I formed the cage around from styrene strips. Meanwhile, I glued the inner door linings in place, they are in the background. 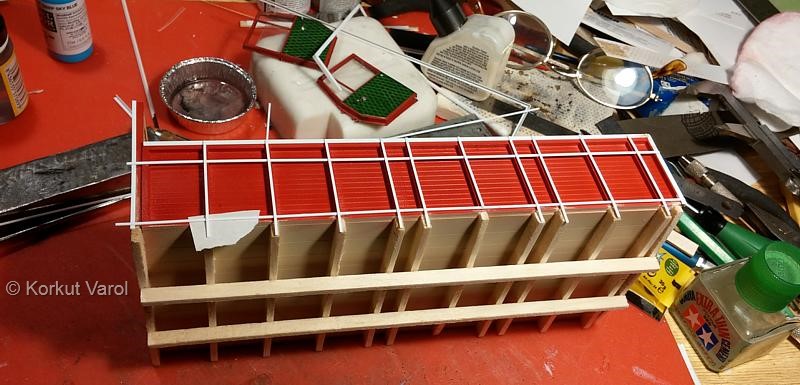
|
The cage finished and removed from the superstructure. I manufactured the ladder from wire and fixed with CA glue. 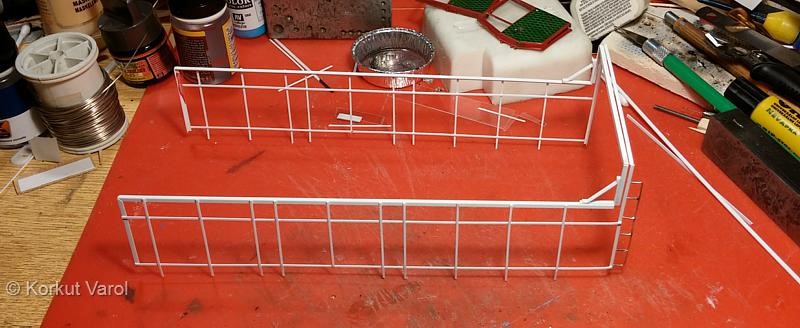
|
22 April 2016: I manufactured the front overhang of the superstructure from balsa sheet. I made the iron guards from styrene strips. 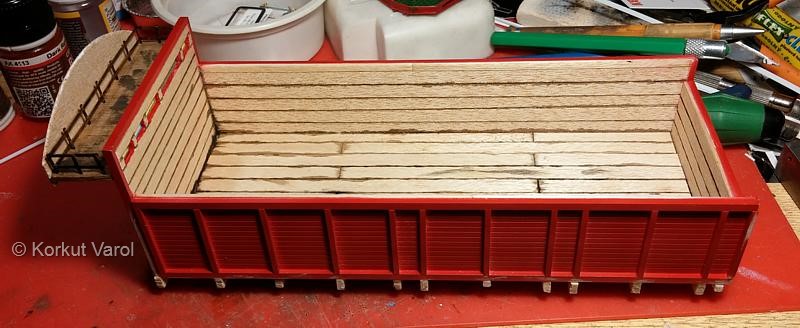
|
23 April 2016: I manufactured the front glass strip from styrene sheet, the glass from clear styrene and the chrome central upright from chrome foil. 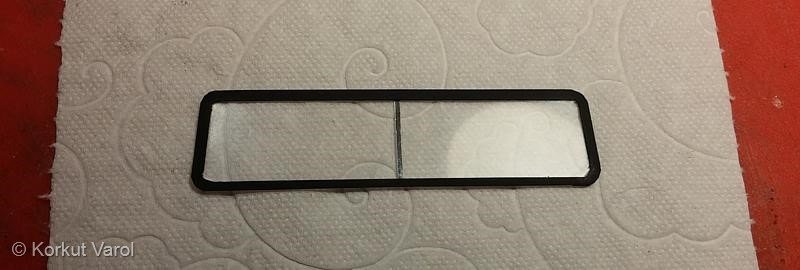
|
I made the headlamp reflectors by forming 0.15 mm thick aluminum sheet. I used LED-UV curing nail builder gel for the lenses. The bezels are from 0.8 mm dia. wire. 
|
24 April 2016: For the turn signals on the mudguard, I made masters from styrene, took a silicone mold and cast the clears from nail builder gel as above. I painted the corner lamps clear orange. To give a feded effect, I applied a coat of white glass paint to all, which ended up with a milky shade. I prepared the bases from styrene strips. 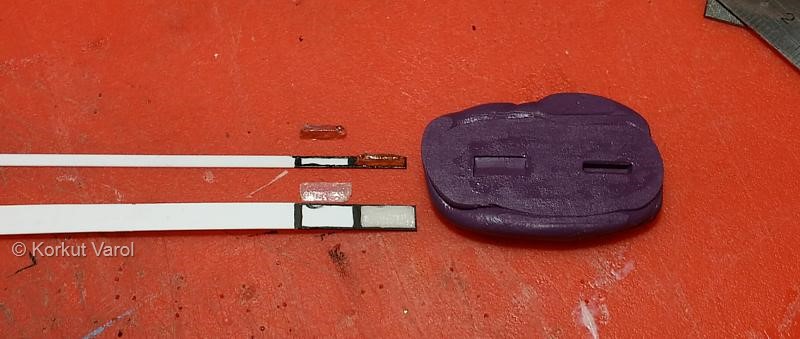
|
I glued the windshield in place. I prepared the scripts by printing on chrome foil, then applied a matt clear cote. I glued in place the front grille, headlamps and turn signals. The right corner signal is placed above its normal place, as in the original vehicle. The front white ones seem a bit taller than normal, I will check the dimensions and rebuild if necessary. 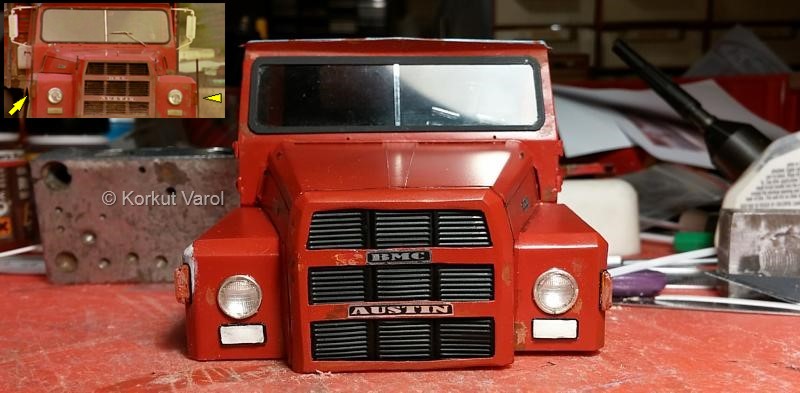
|
I imitated the putty on the right mudguard with paint. 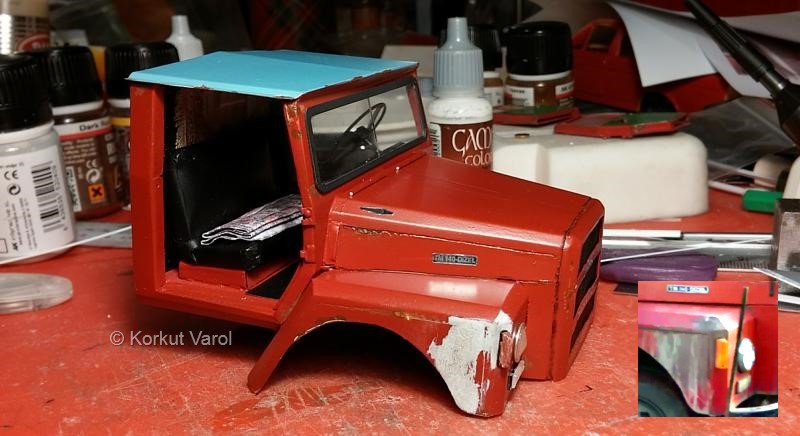
|
25 April 2016: For the door handles, I used a 1 mm dia. steel wire, filed it to square cross-section and shaped again with file. 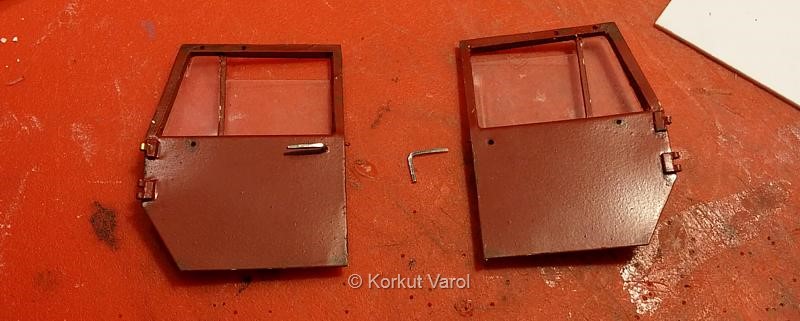
|
The production of mirrors: 1- I cut a blank brass sheet 2- Bent the edges 3- Filled the corners with solder 4- Files the outside of corners to give a radius 5- Etched the corner insides with Dremel to form a uniform bent edge. 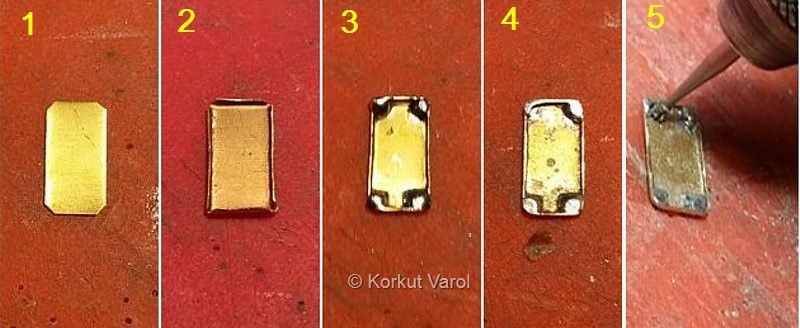
|
I cut the mirror blanks from styrene sheet, and formed the arms of the mirror holder from 0.8 mm dia. wire by soldering. 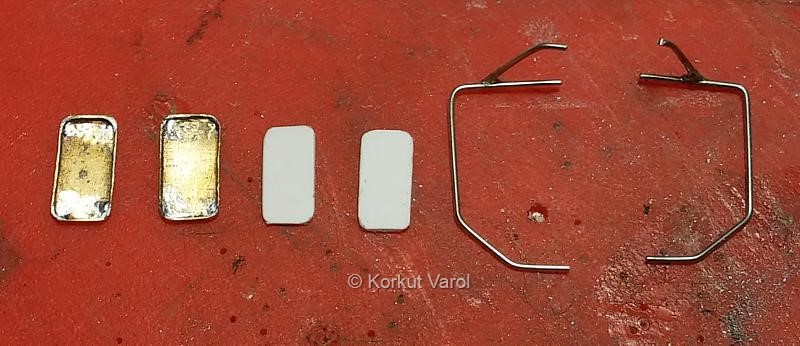
|
To mount the mirrors on the arms, I drilled pieces of styrene rods, passed the arms through the holes, and fixed them on the mirrors with epoxy glue. After curing, I fixed the mirrors in the correct angular position with CA glue. 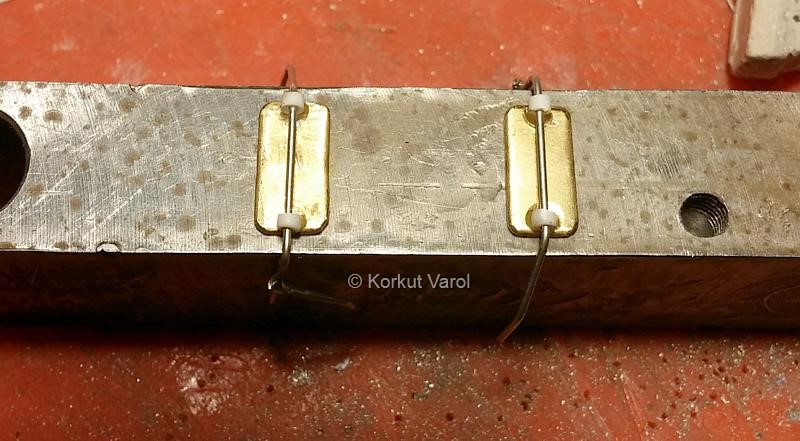
|
I painted the mirror assemblies, applied chrome foil on the styrene backings and glued the mirrors in their housings. 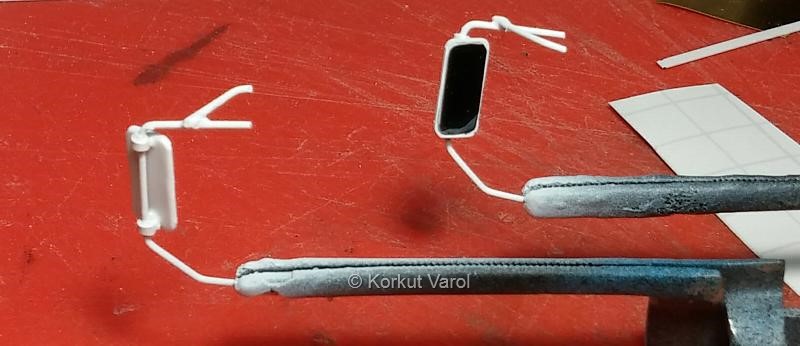
|
28 April 2016: For the paintings around the superstructure, I copied them by framing of the film and worked on them on the computer. Some were not printable in good quality, so I drew them on the computer and made printouts, cut and glued them around the superstructure. 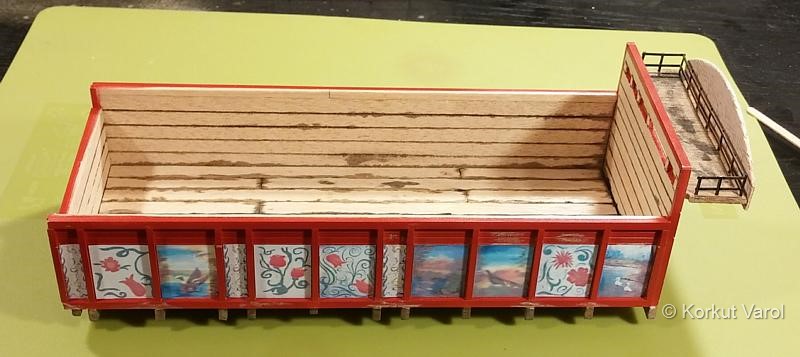
|
|
 ............................. ............................. .......... .......... |