 |
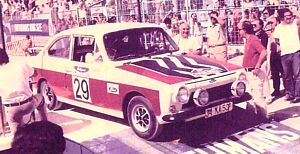
34 KA 501 Renç Koçibey's Car |
 |
 |
Scale
: 1/24
Started:
1 December 2010
Finished: 23
February 2011
Page 3 of 3
I
made the brake and clutch master cylinders by installing pieces of
plastic rods at the ends of steel wire pieces, then inserted and glued
them in place. I made the battery from a piece of rubber eraser, the
cell caps and the battery poles from pieces of steel pins. I tied two
cables at the poles and let them hang down.
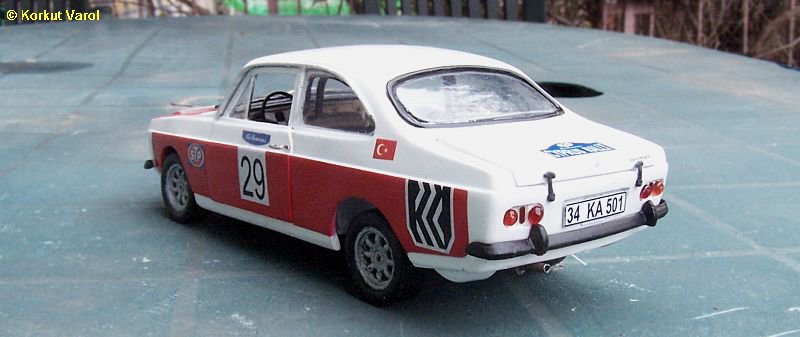
I printed the decals I prepared on the computer on white decal sheet and applied them on the body parts. Then I applied a protective clear coat.
I printed the decals I prepared on the computer on white decal sheet and applied them on the body parts. Then I applied a protective clear coat.

21 February 2011:
I
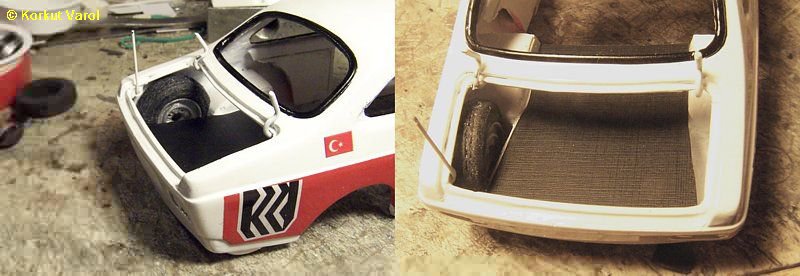
made the boot floor cover by painting a patterned business card. I also
made the spare wheel but had to cut at its underside since it was a bit
larger than the housing. Anyhow, it is beyond sight :-)
Disaster!
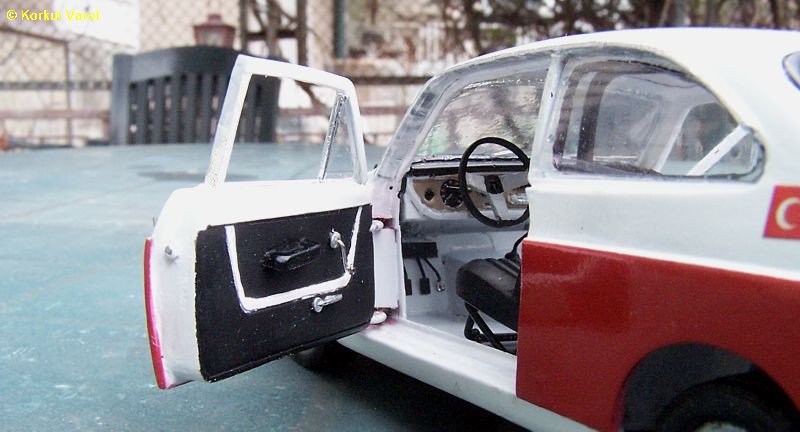
While painting the inside of the doors, I had masked the
outside.
Though I had weakened the sticky side, when removing the masking tapes,
the decals came off too... The clear coat was not firm enough then...
So I had to make and apply the door decals again.
The moral from the story: If a decaled surface has to be masked, a piece of paper is better be put between the tape and the decal.
The moral from the story: If a decaled surface has to be masked, a piece of paper is better be put between the tape and the decal.

23 February 2011:
For
the spotlights, I used some suitable ornament parts that I saw at a
store. I drilled at the bottom, inserted a pin and cut to suitable
length. I opened the channels to put the pins in, then fixed with
superglue.


I
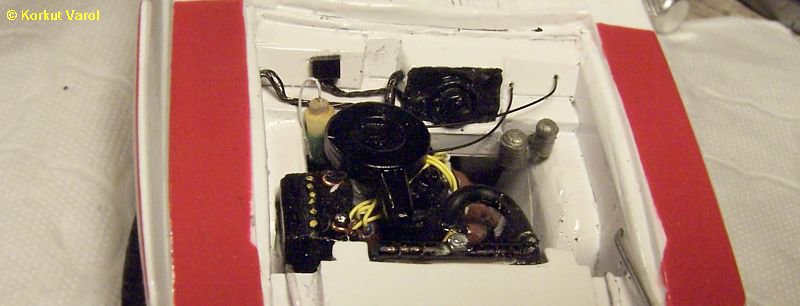
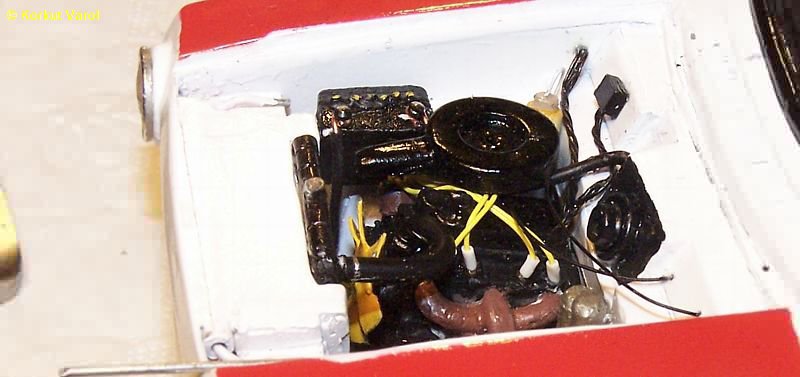
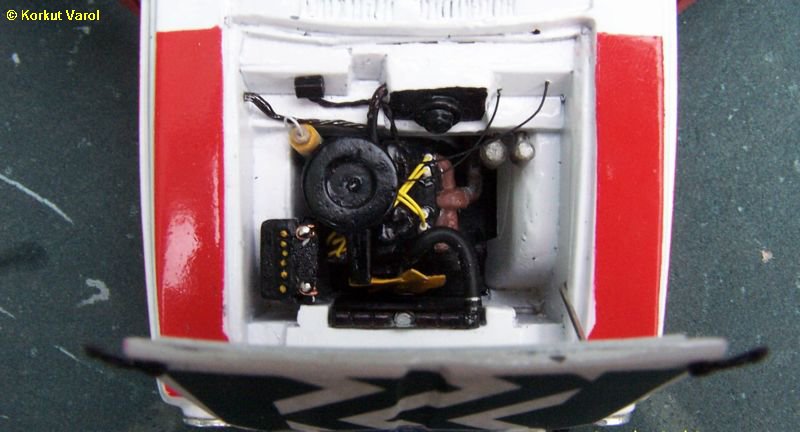
went on detailing the engine bay. For the heater and radiator hoses, I
used solder wires of different thicknesses. I made the clamp look by
scratching the black paint. I used 0.35 mm wires for the speedometer
and throttle linkages. I also used the same 0.35 mm wire for winding
the groups of cable harnesses and fuse box. For the screen
washer
bottle that I made from plastic rod, I mixed clear green and flat white
for the liquid part. After drying, I made a white mist over and got a
realistic look.
Manufacturing the rubber security
locks for the hood and boot lid:
1- I engraved a female mold within a resin part.
2- I applied hot melt black plastic with a glue-gun tothe mold.
3- I cut off the excess from the surface with a knife.
4- The part is ready to be taken from the mold.
5- Parts taken off the mold.

1- I engraved a female mold within a resin part.
2- I applied hot melt black plastic with a glue-gun tothe mold.
3- I cut off the excess from the surface with a knife.
4- The part is ready to be taken from the mold.
5- Parts taken off the mold.

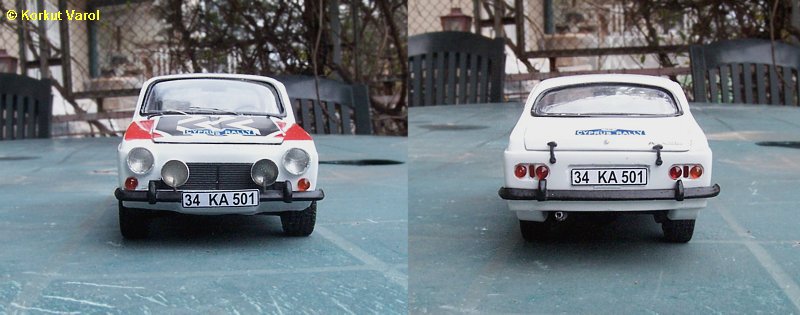
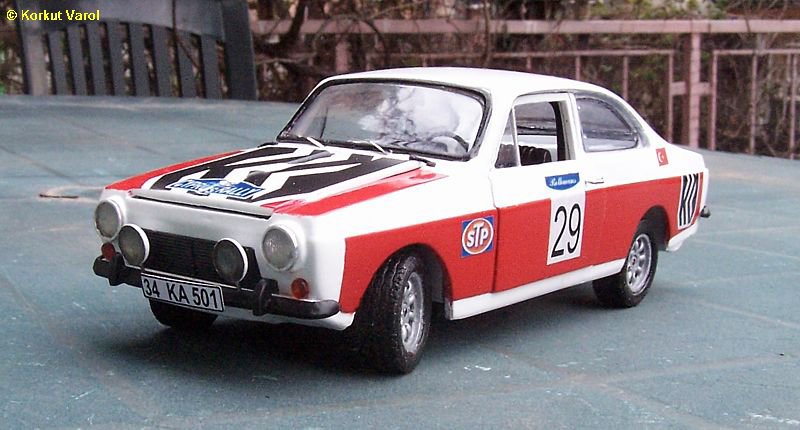
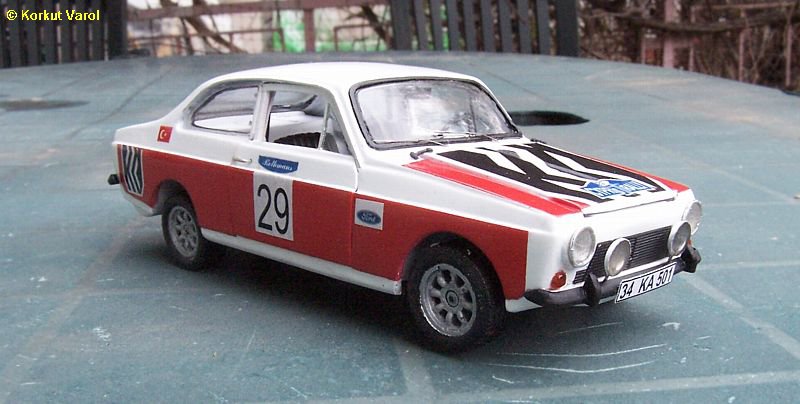
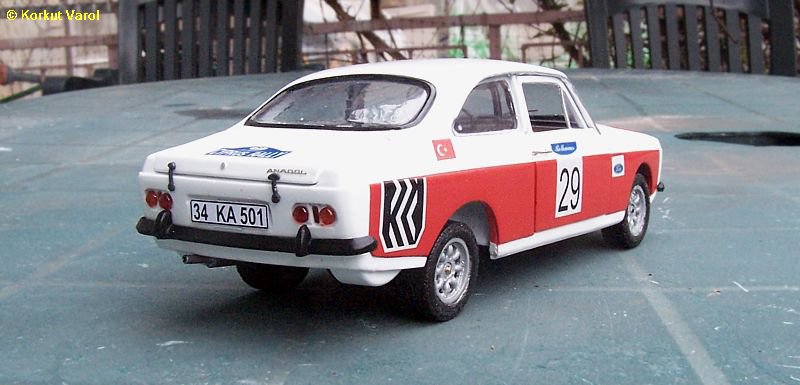
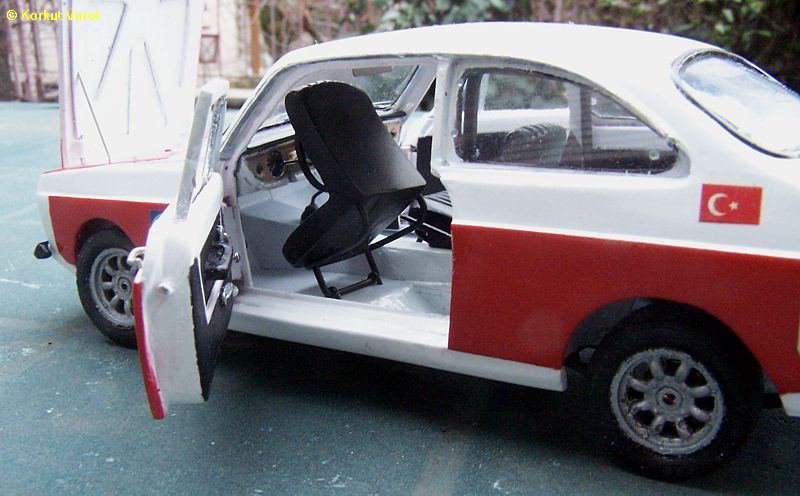
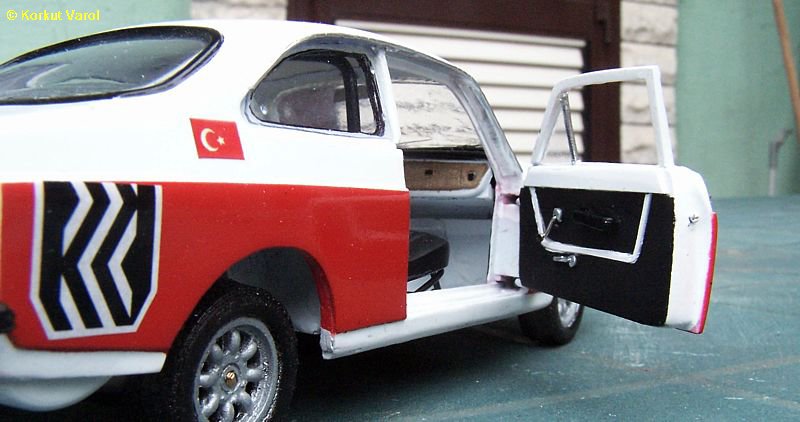
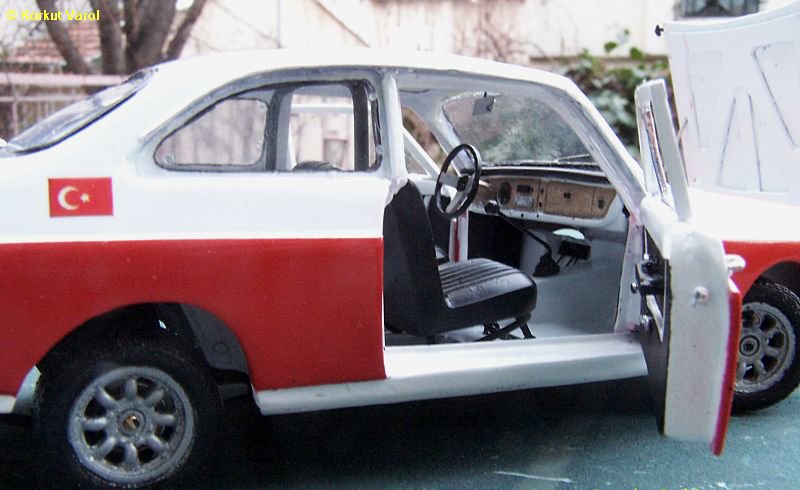
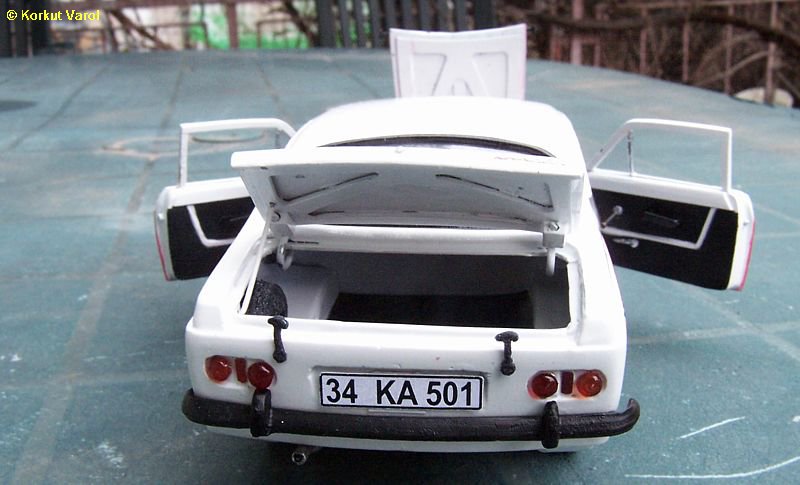
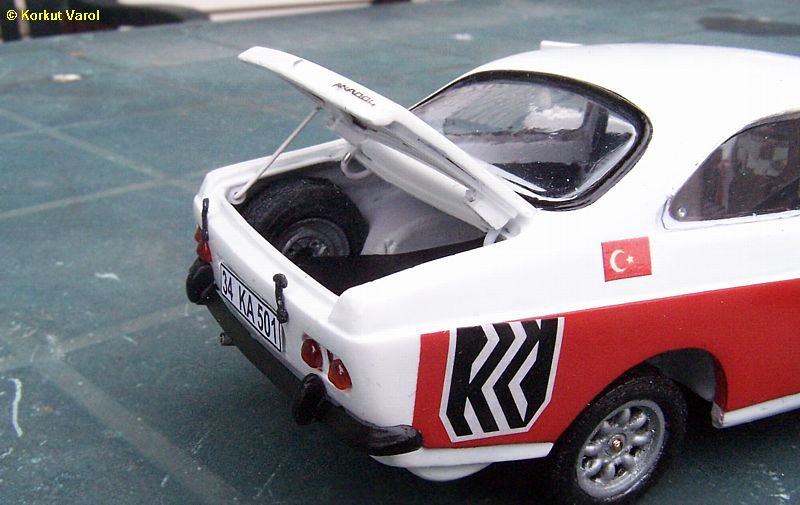
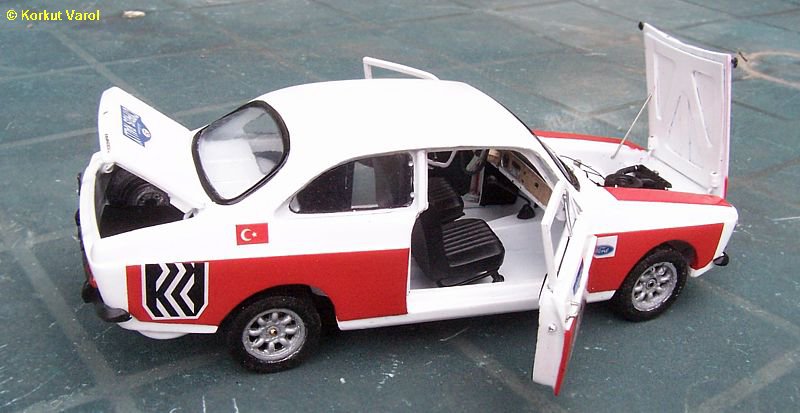
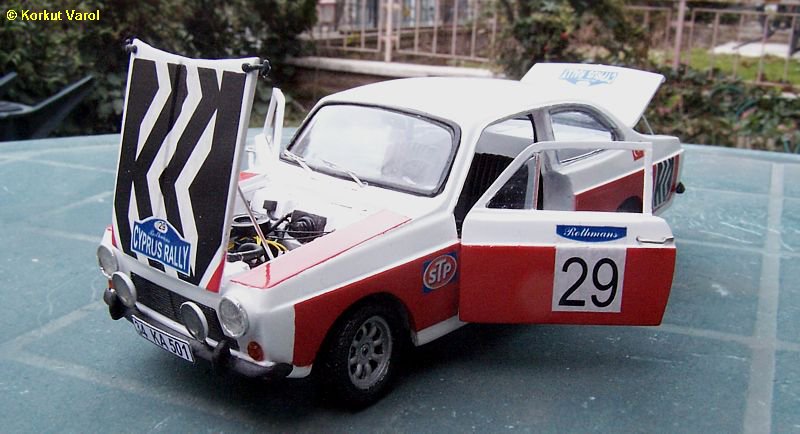
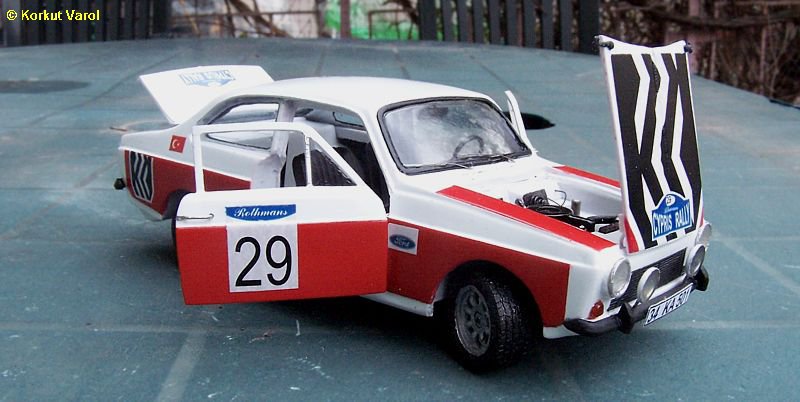
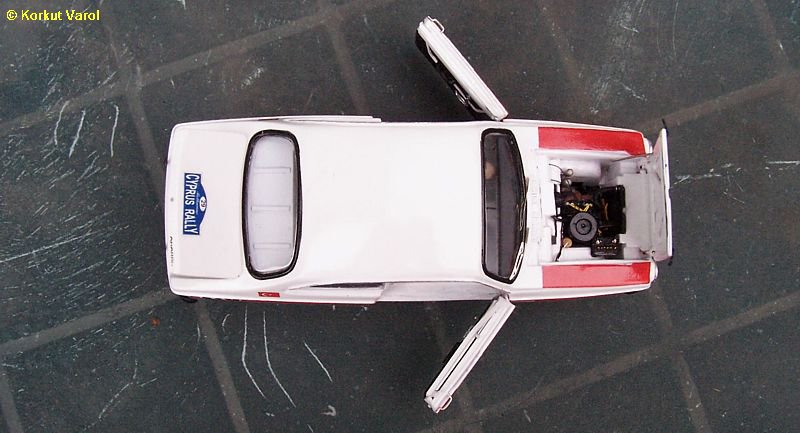
And the happy end...
 .....................