|
|
 |
|
|
|
Scale : 1/87
Start: 14
October 2013
Finish: 27
December 2013
Page 1 / 3
|
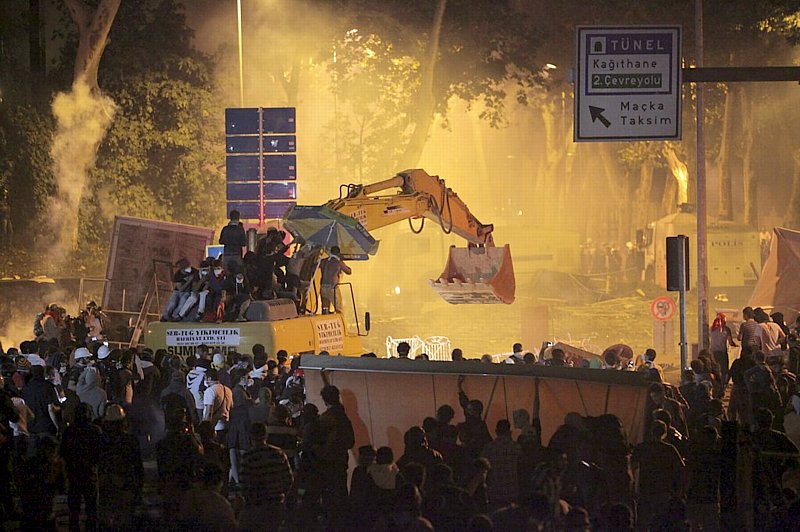
14 October 2013:
First,
I had to find models suitable for the purpose. Mercedes Atego vehicles
are used for construction of TOMAs, I bought a fire engine
model
from SIKU. For the excavator, the actual one was Sumitomo SH290, but no
models were available so I bought a similar looking one. However, the
one I bought was much bigger than the actual in scale, so I had to make
the excavator from scratch.
I ordered the 1/87 figures from China, they were carelessly painted so each had to be painted over. 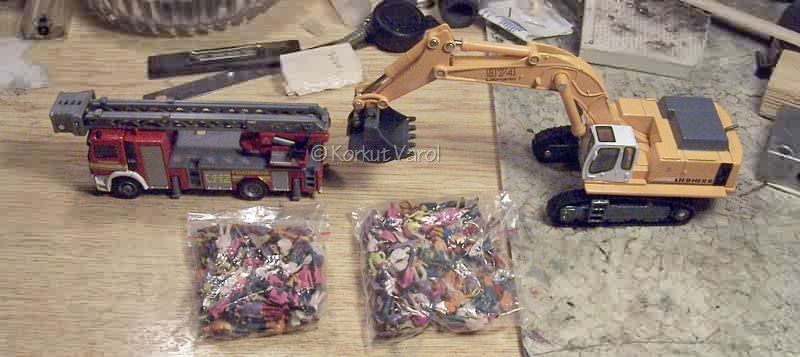
|
|
|
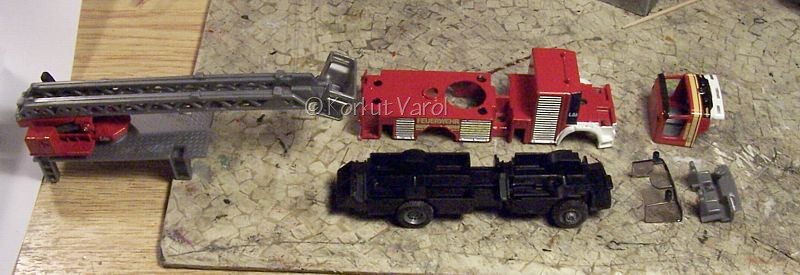
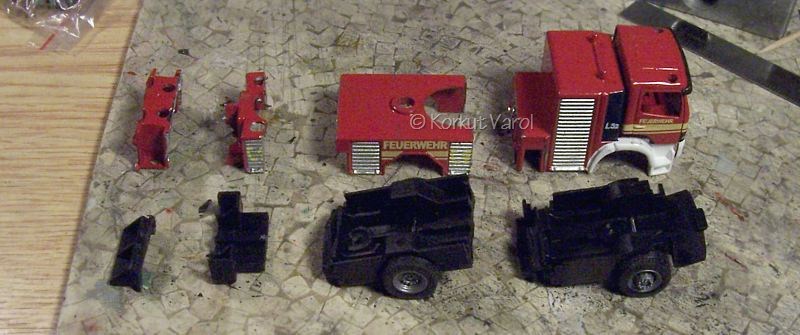
I cut the chassis and the body
to meet the scale wheelbase of TOMA.
|
|
I glued the body halves with epoxy, the parts taking care that they stayed orthogonally aligned. 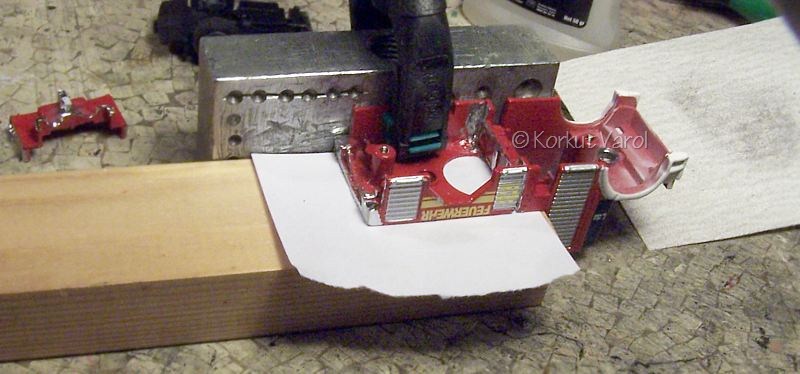
|
|
The view of the body and chassis after joining. 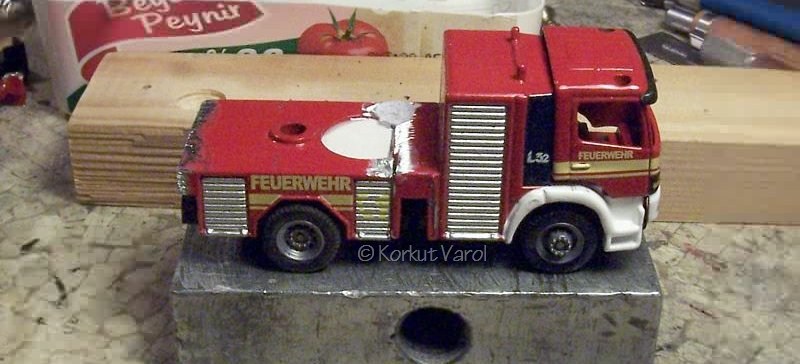
|
|
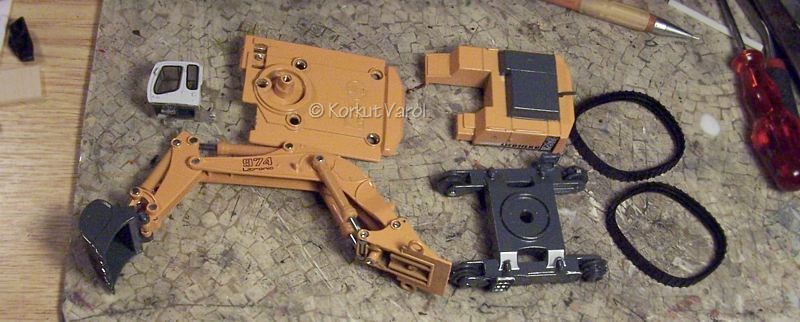
16 October 2013: I
disassembled the excavator. I figured out that I could use the operator
cabin as is, and the chassis and tracks after some cutting. The rest
was useless.
|
I modified a figure by heating, in sitting position and placed it inside the cabin. 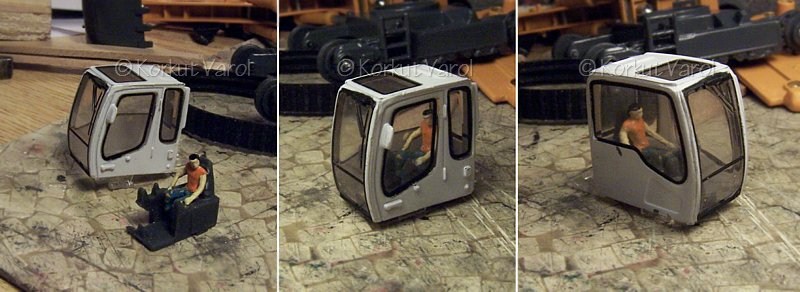
|
|
I had to shorten the chassis in both axes. I cut the chassis as in the first photo. The track arms came to proper length but for widthwise, I had to install a balsa block. 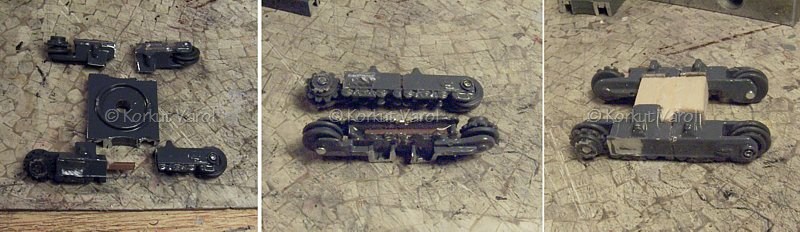 |
|
I made the upper part of the body from balsa sheets and applied putty. 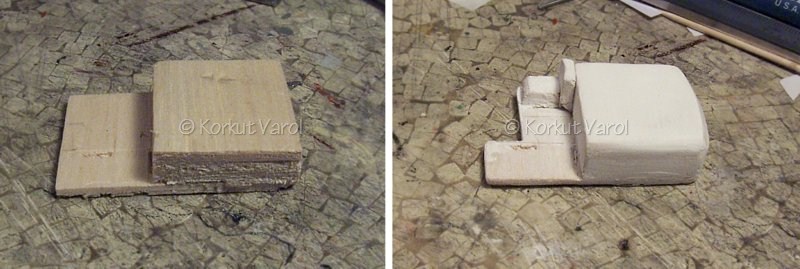
|
|
Returning to TOMA, I made the rear part from beass sheet. 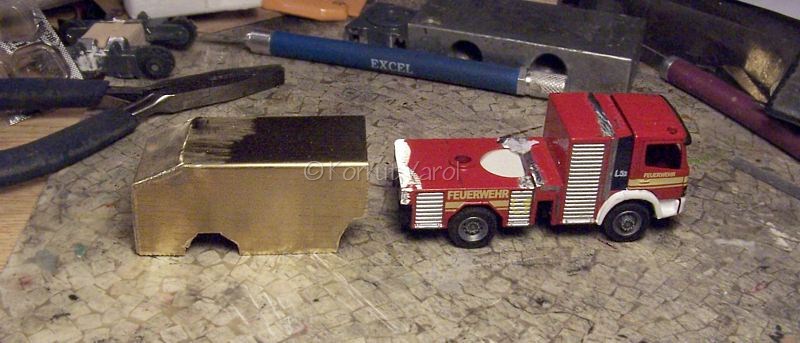
|
|
17 October 2013: 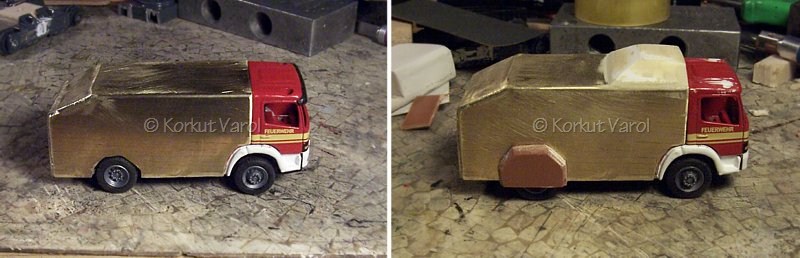
|
|
I made the bulldozer blade from
styrene.

|
|
18 October 2013: 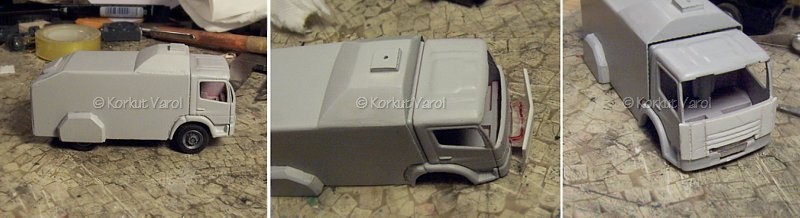
|
|
24 October 2013: 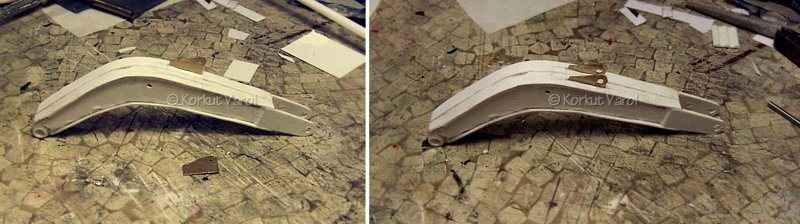
|
I made the cylinders from styrene tubing, the piston rods and eyes from brass rod and tubing with solder. I painted them chrome silver. 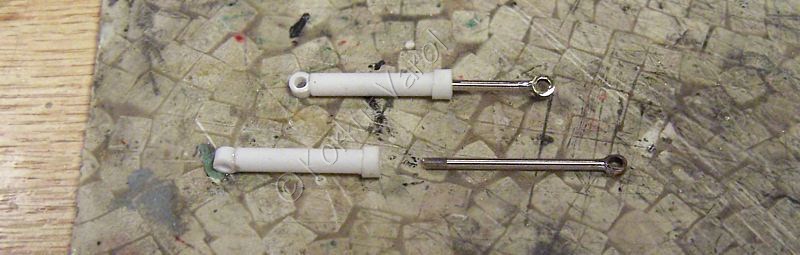
|
|
26 October 2013: 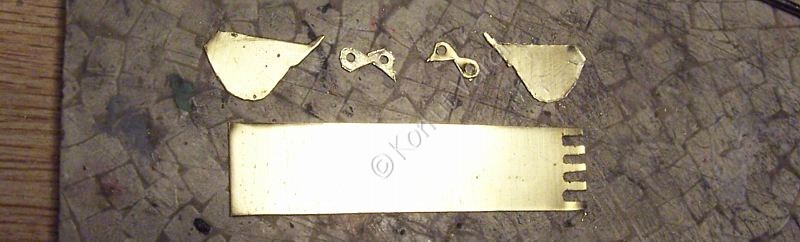
|
I first soldered the central part to blank sheets at the sides, then cut along the soldered line and smoothed with a file. Finally, I soldered the brackets. 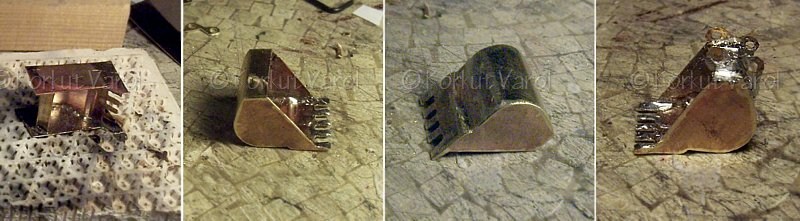
|
|
27 October 2013: 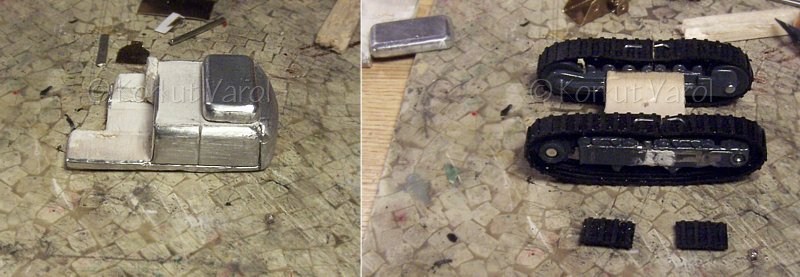
|
|
28 October 2013: 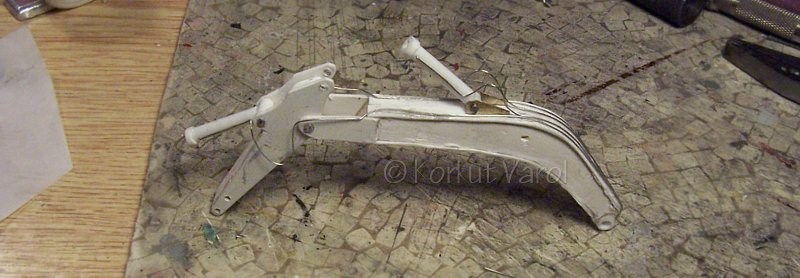
|
|
29 October 2013: 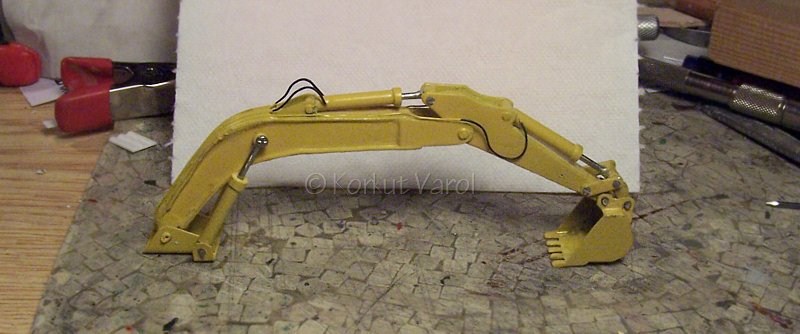
|
 |
 |