|
|
 |
|
|
|
Scale : 1/87
Start: 14
October 2013
Finish: 27
December 2013
Page 2 / 3
|
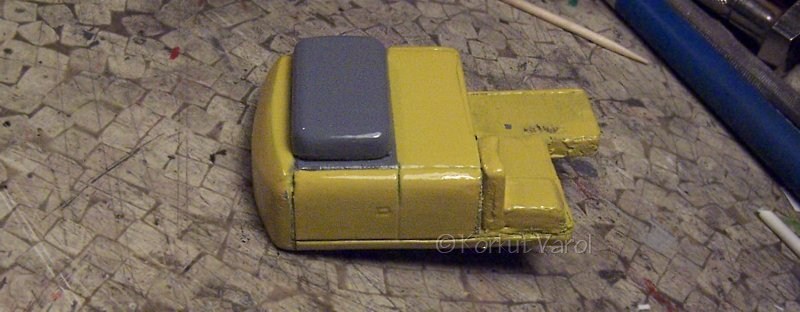
I painted the upper body.
|
|
I painted the TPMA too. I applied the decals I prepared on both. 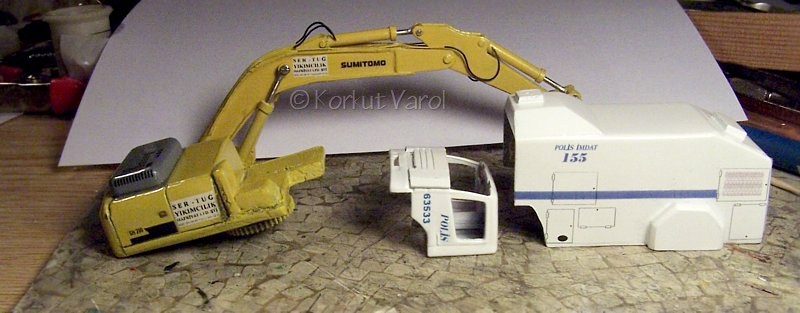 |
|
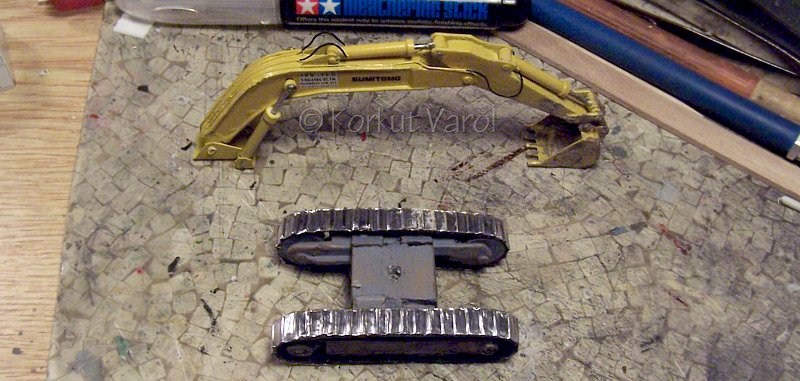
I
made dried mud effects with Tamiya pastels. The rubber tracks did not
hold the pastels, so I covered them with aluminum duct tape and applied
the pastels over it.
 |
|
The umbrella was used as a protection from pepper gas capsules. I prepared the inside and outsides with mirror imaging and glued them against one another. I airbrushed a faint white dust on the inside to represent the underside appearance of the cloth. 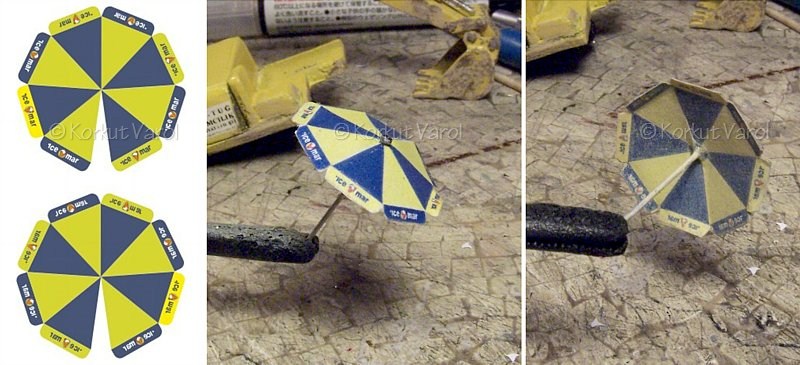 |
|
I finished the dirtying of the tracks, fixed the chassis and the body with epoxy, made a wire mesh and fixed in in front of the cabin. 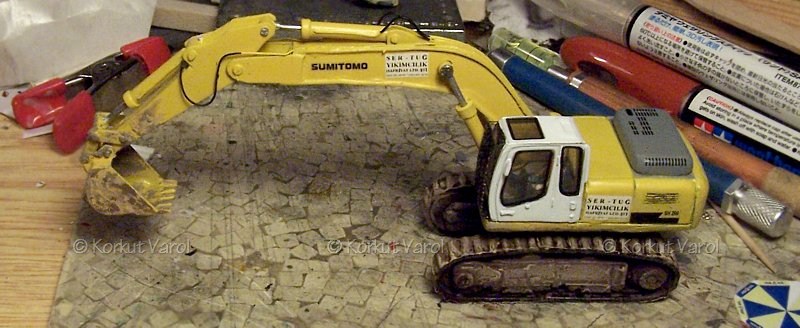 |
|
30 October 2013: 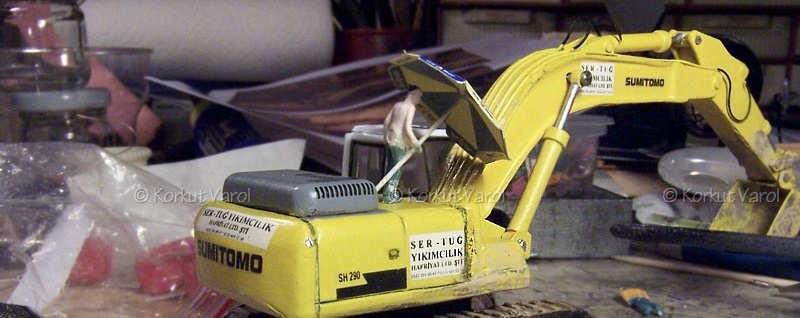
|
|
31 October 2013: 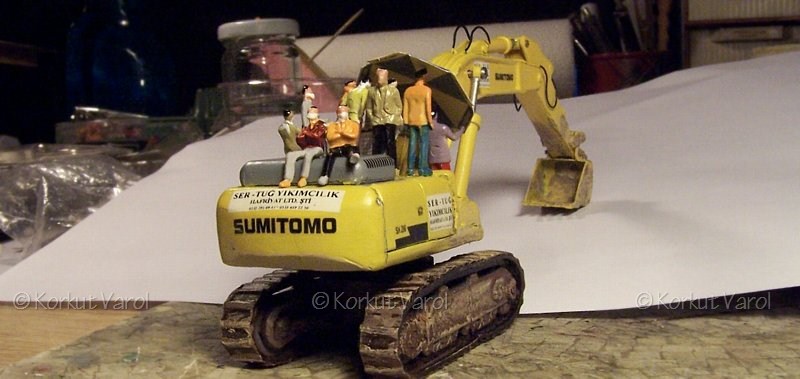
|
|
The finished POMA. 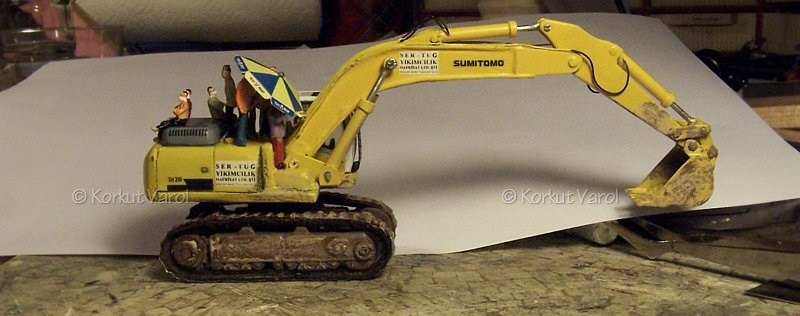 |
|
And the finished TOMA. Though not seen, two figures are sitting inside... 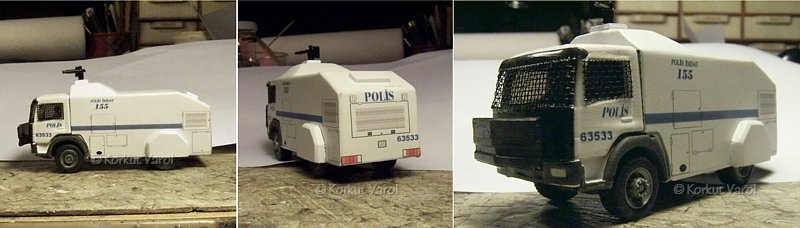 |
|
20 December 2013: 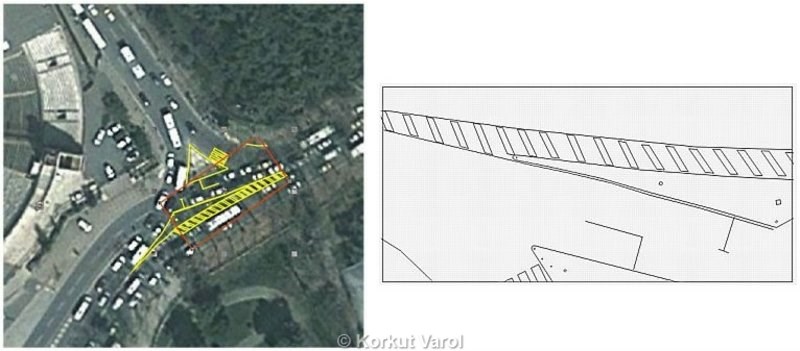
|
I prepared the road signs on the computer and printed them. To prevent painting the back side of the paper, I also prepared the backs on the computer and printed, then glued the front and back sides together. 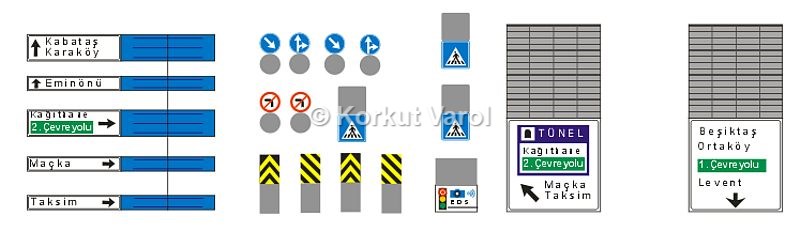
|
I cut the base from plywood and glued no.2000 sanding paper and painted to asphalt grey. Then I made stencils from sticky paper and airbrushed white road lines. 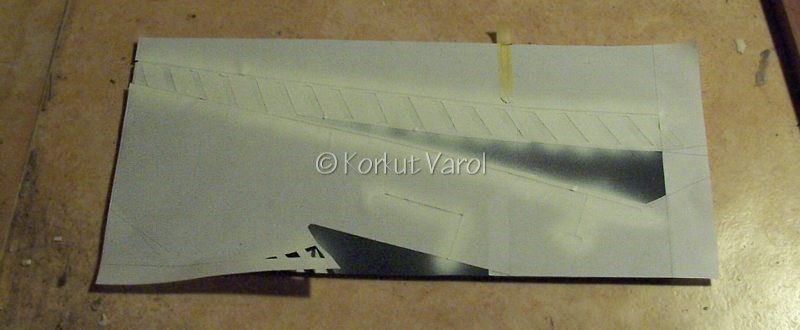
|
|
22 December 2013: 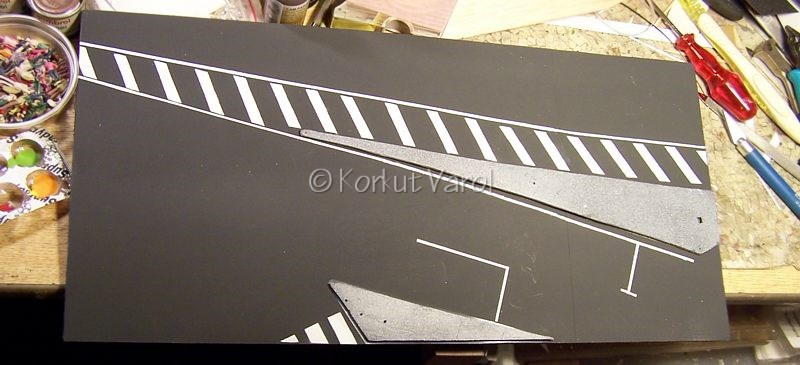
|
I made the big road sign post from brass square tube by soldering. I made a female thread in the bottom, it will be fixed on the base with a screw. I made the base and support brackets from styrene. 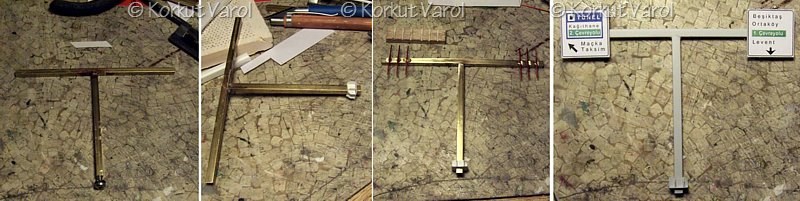
|
I prepared the pavement border blocks from 2 mm thick styrene. I painted half of them yellow and began fixing on the base. 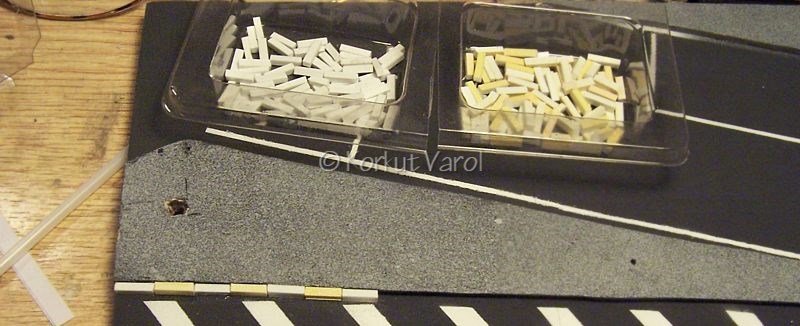
|
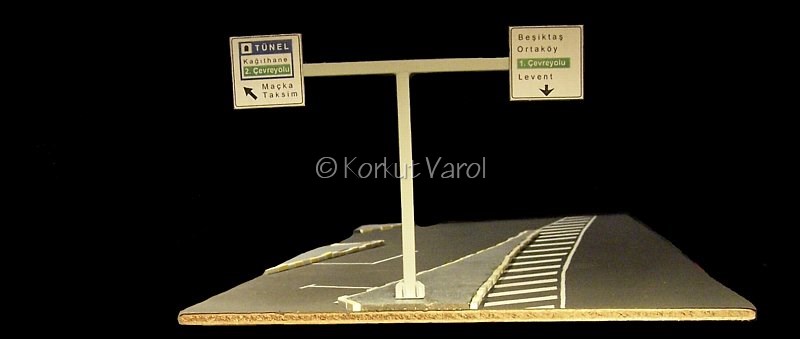
The base with border blocks and
the big post fixed.
|
|
23 December 2013: I made the traffic light body from styrene. I printed the front panel and applied UV-curing nail builder gel at the lamps. The sunshades were cut from a pipette. 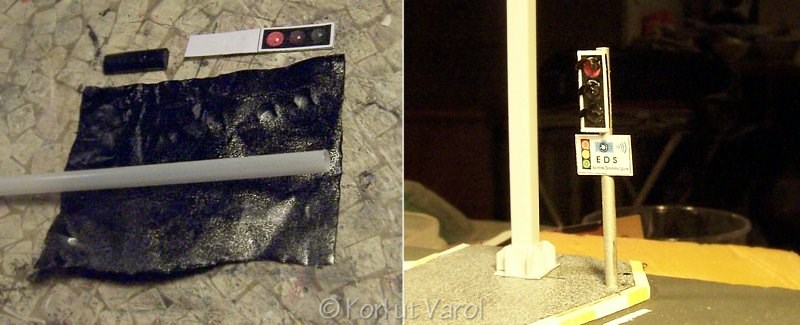
|
|
24 December 2013: I used UV-curing nail builder gel for the lamp clear part. I painted them with aluminum metalizer paint. 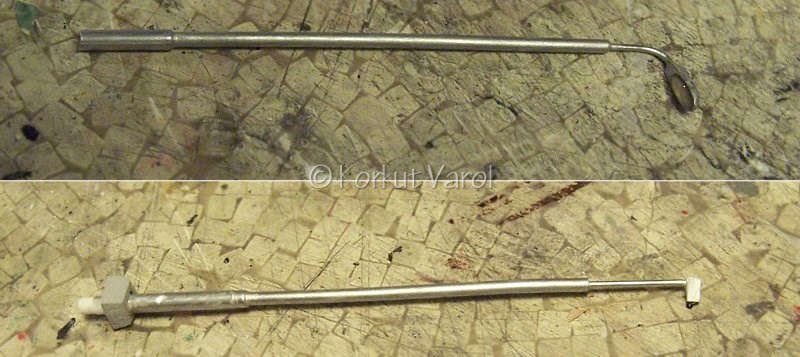
|
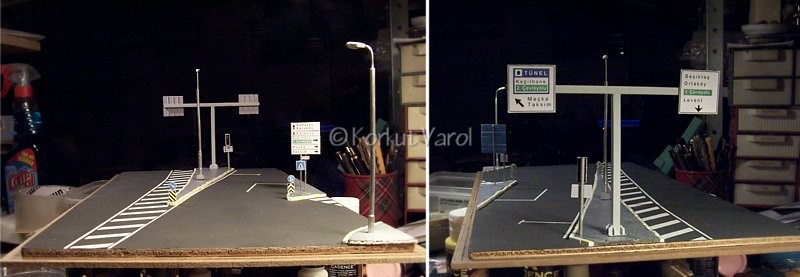
The posts and road signs in
place...
|
I positioned the POMA and the TOMA on the base and fixed with epoxy glue. Then I airbrushed a light dust coat on the road, etc. 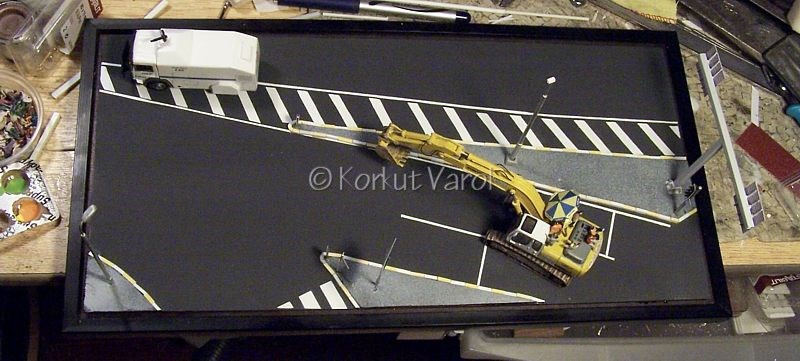
|
|
25 December 2013: 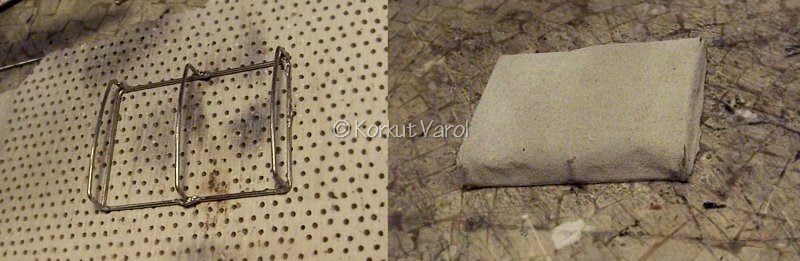 |
 |
 |
 |