

| The Lynx ProjectLincoln-Mercury’s Lost Dream Car | |
|
BUILDING THE DC-8 PLANE
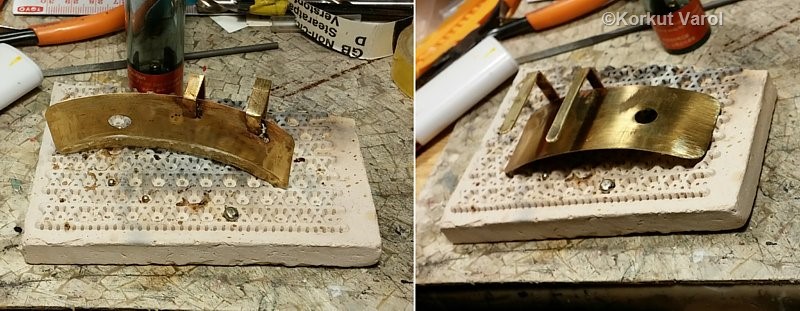
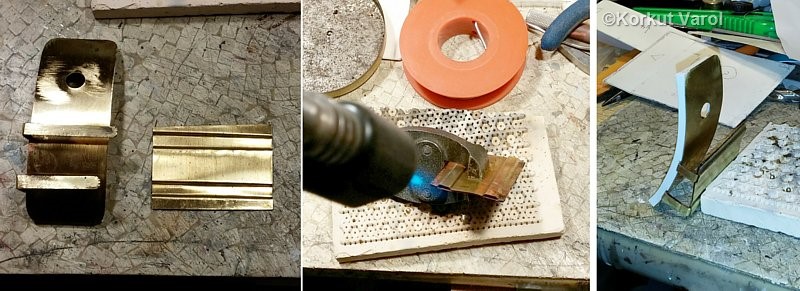
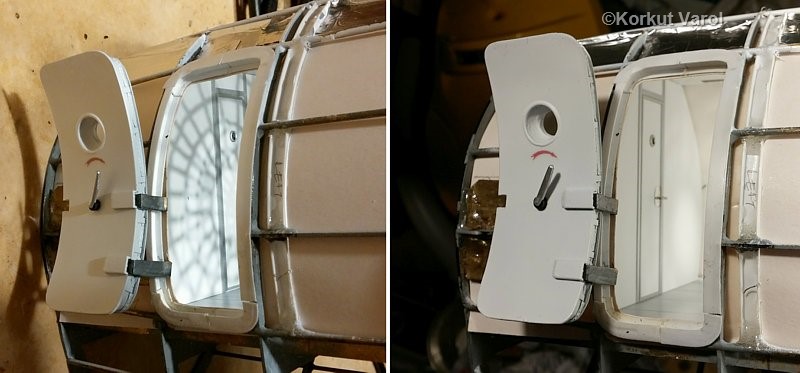
Time to prepare the door. I began with manufacturing the hinge arms from brass sheet and soldered them to the door panel. The door will not be operable, and will easily be mountable and dismountable by the aid of slides, during building process.
30 May 2014:
Now
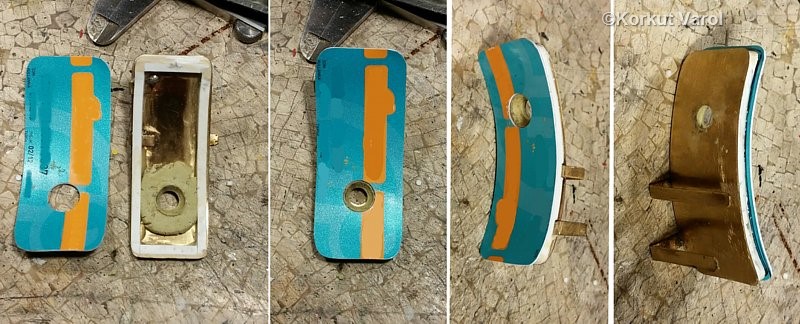
more steps with the door. I had prepared the thickness frame from
styrene slabs before. I manufactured the inner door panel from an old
credit card and used milliput for the conical window frame.
02 June 2014:
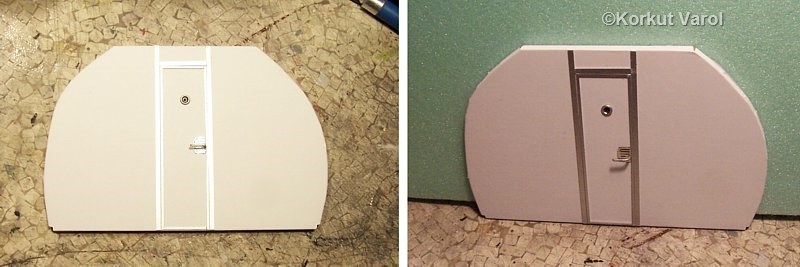
I
painted the door, printed the turning arrow as a decal and applied it
on the inside of the door. Then I fixed the lever handle I had prepared
before.
05 June 2014:
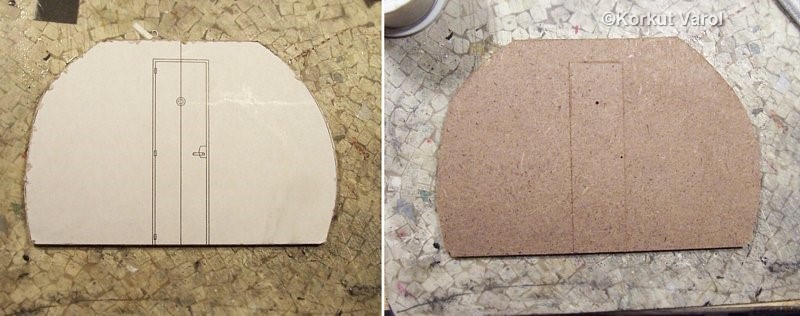
I
drew the cockpit bulkhead template on the computer, printed on sticky
paper and cut the bulkhead from plywood. I scribed the door edges.
08 June 2014:
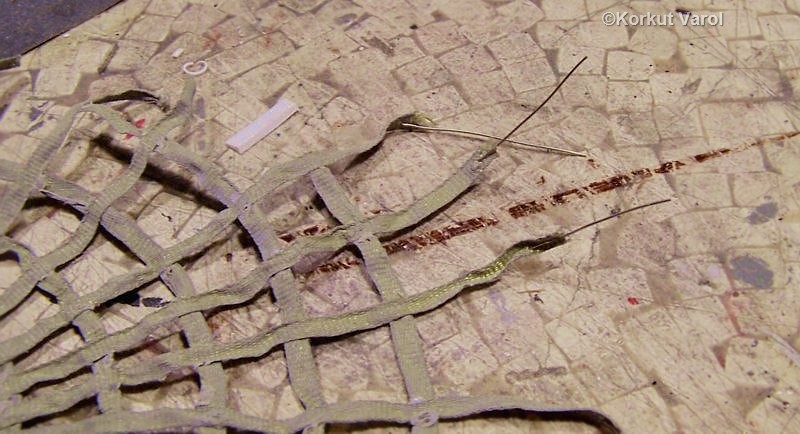
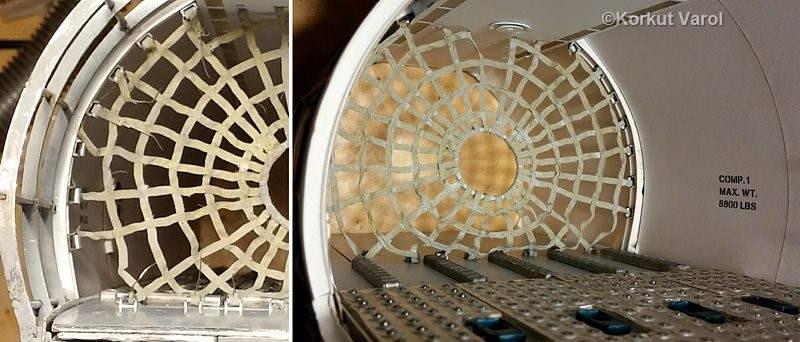
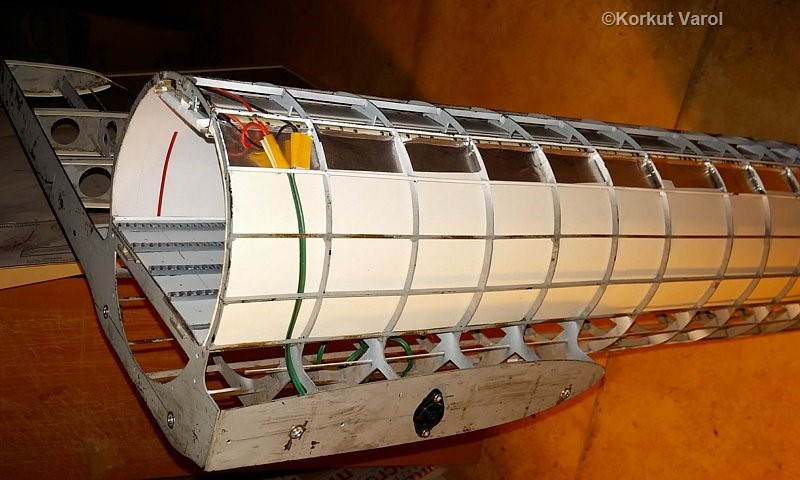
I
passed the net edges through the rollers and fixed them with CA glue.
Then I cut off the excess parts. This process took a full day.
10 June 2014:
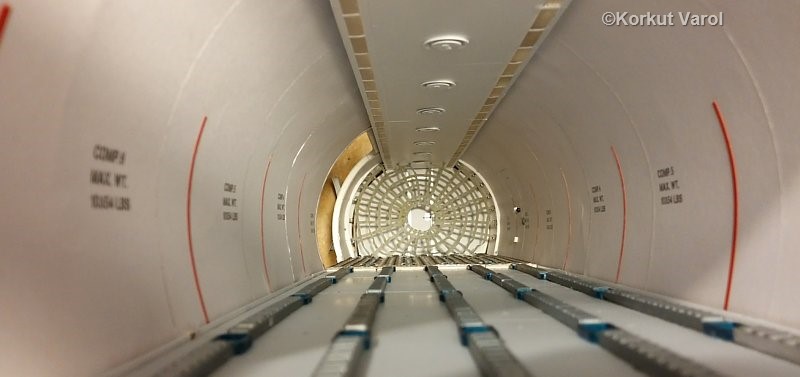
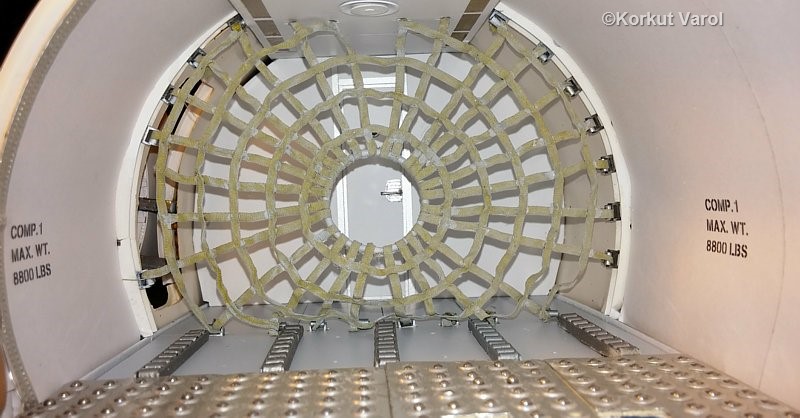
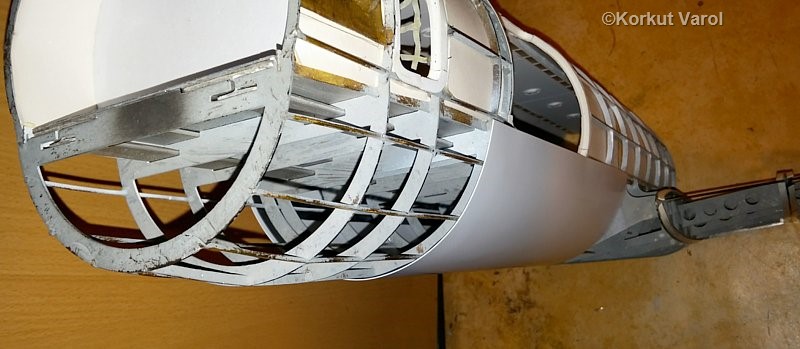
I installed the bulkhead inside the fuselage.
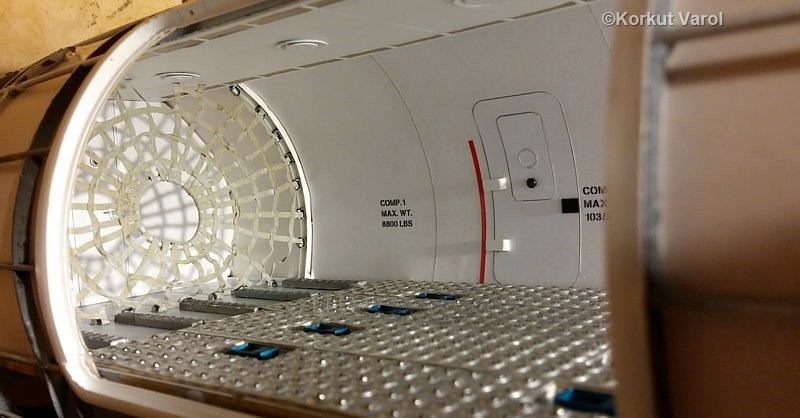
I temporarily installed the cabin door and watched how it looked like...
12 June 2014:
I routed the LED wiring to the right wing section to form the electrical inlet by a female jack.
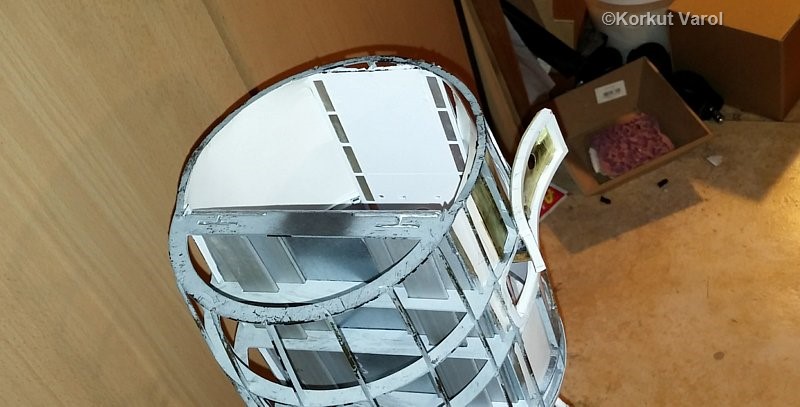
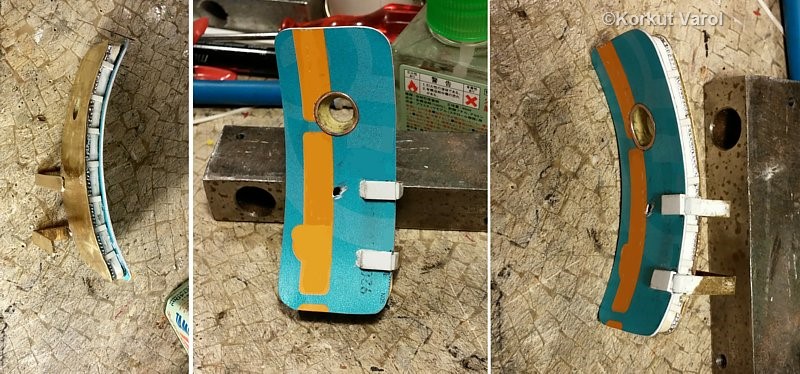
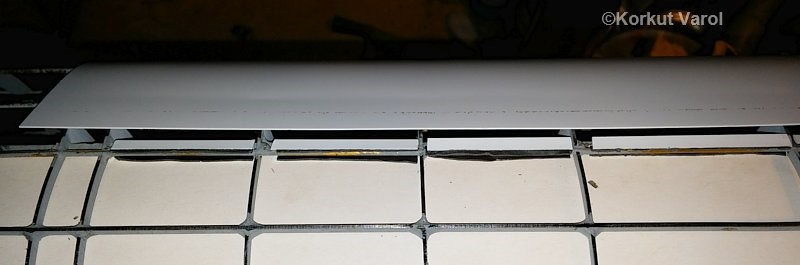
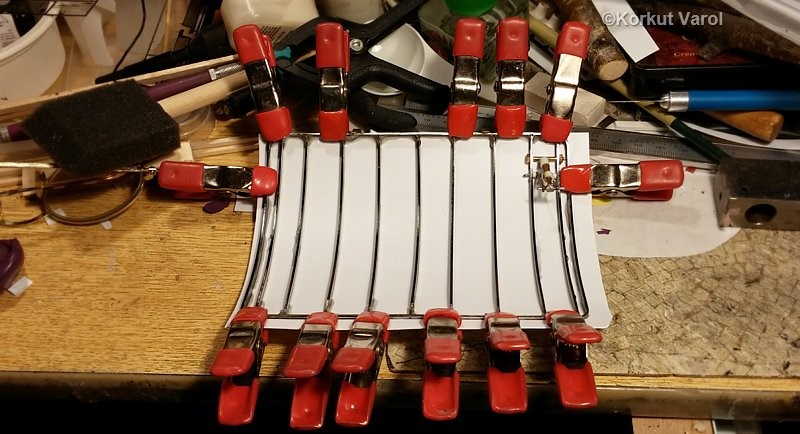
A trial for the fuselage covering. I partly formed a styrene sheet by heating over a metal cylinder. Did not take the actual curvature, but close to it.
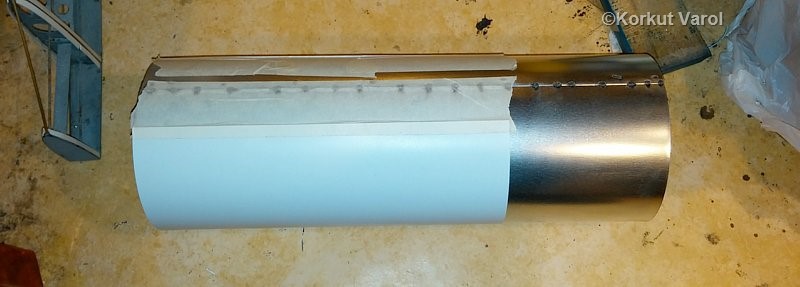
I used 3M's VHB double-sided sticky tape for fixing the fuselage covering.

23 June 2014:
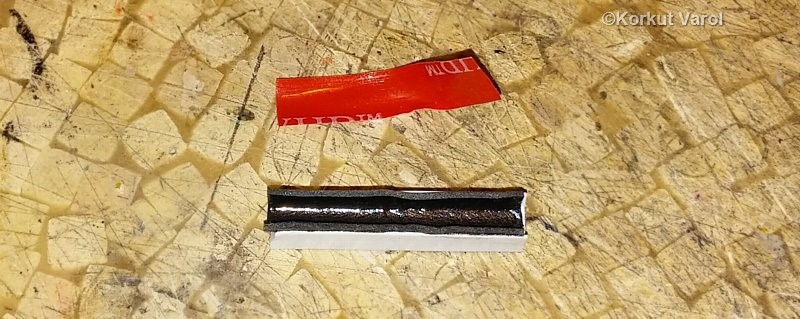
However,
the stringer wires proved to be too thin for the tape to stick, and the
styrene lifted off at some points. So I thought of adding some surface
for the tape to stick. I took styrene H-section and covered one side's
inside with the tape. This formed a U-groove in which the stringer
wires will rest.The sticky tape will be stuck on one of the sides of
the H-section.
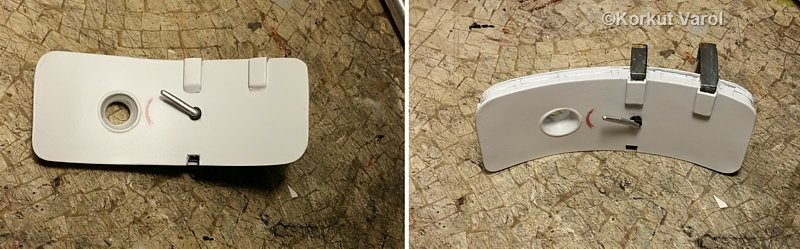
28 July 2014:
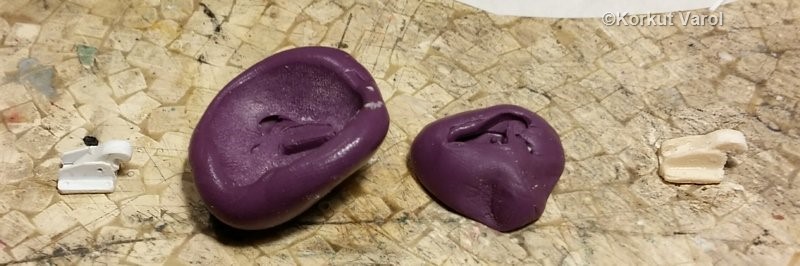
Went
on to manufacturing the cargo door elements, the first one being the
door latches. I made a master from styrene and duplicated 7 items from
marble cement by making a mold.
| GO TO: | |||
| Lynx - index |  |
|  |
