The Lynx ProjectLincoln-Mercury’s Lost Dream Car


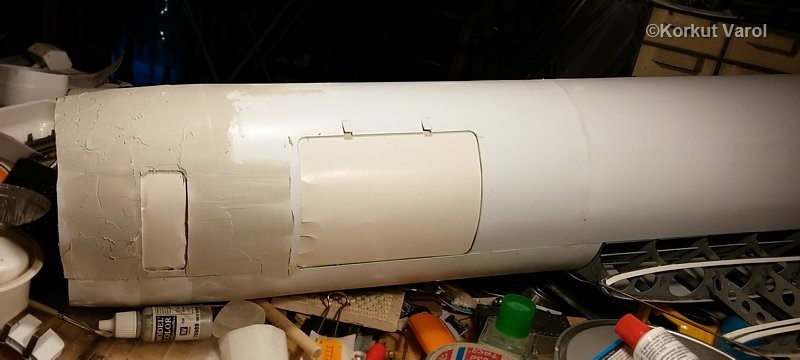
BUILDING THE DC-8 PLANE

Page: 7 of 11

30 July 2014:

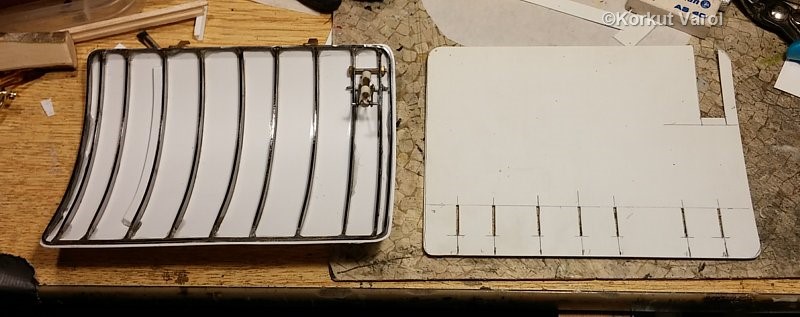
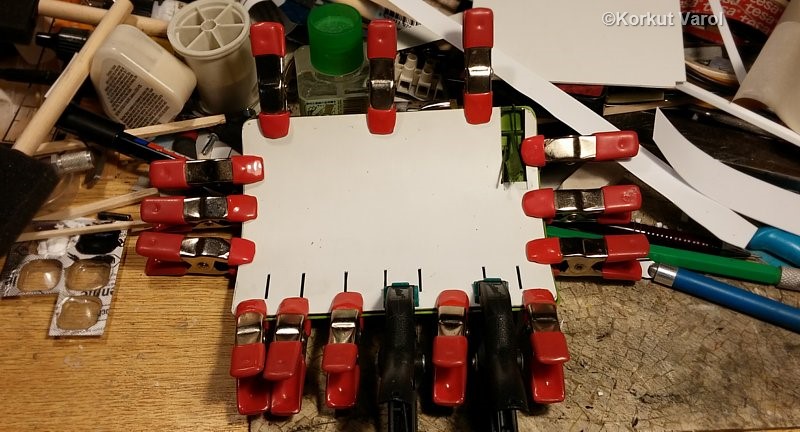
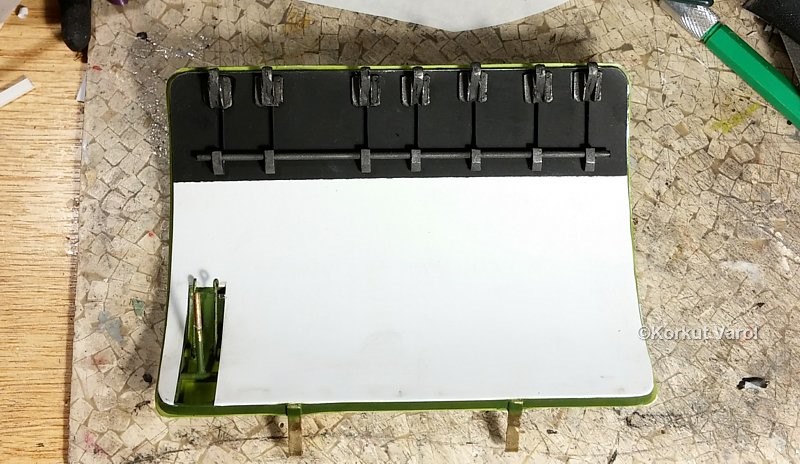
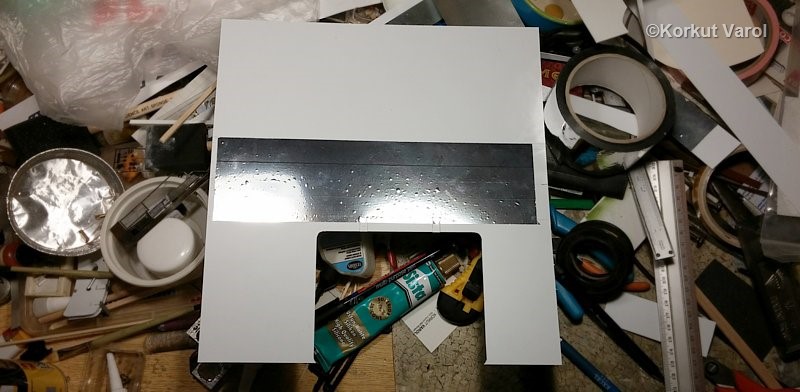
I trimmed the outer skin of the cargo door. Then I tailored the inner skin.


I glued the inner skin in place. 


31 July 2014:

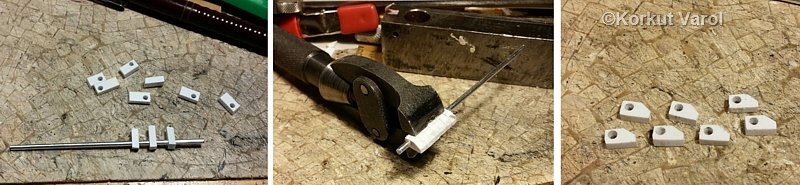
I began manufacturing the common actuator shaft and bearings. I cut the bearing blocks from styrene, drilled the shaft holes. Then I placed them along a 2 mm dia. rod, and trimmed all together to shape. I got all 7 bearings identical.


01 August 2014:

I painted the inner skin partly black (as in the original photo). I also painted the actuator shaft+bearing assembly and the lock latches dark iron metalizer.


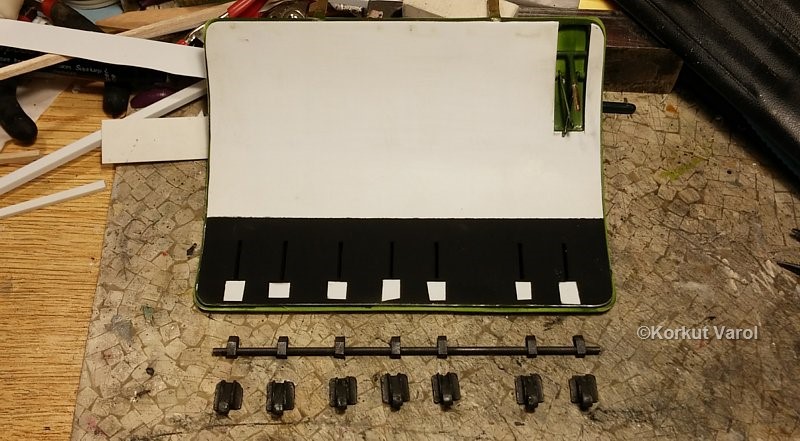
I glued the items in place on the inner skin of the cargo door.
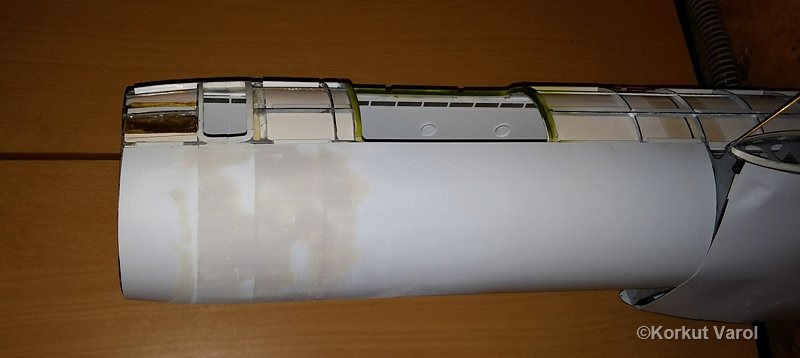

07 August 2014:
I covered the bottom half of the fuselage with styrene sheet and started applying polyester putty on the mating edges of the panels.


10 August 2014:
I began preparing for covering of the upper fuselage. I fixed a styrene strip to serve as a backing support at the mating edges of the outer skin panels. I cut the backmost panel, applied aluminum tape to serve as a reflector for the LED strips.


I glued the rearmost outer skin on the fuselage.


07 September 2014:
I prepared the central part of the fuselage, again applying aluminum tape for light reflection.


I glued the central part of the outer skin on the fuselage.


I connected the power to the LEDs to see internal views.


With a sample car inside


And a peek through the cargo door opening...


10 October 2014:

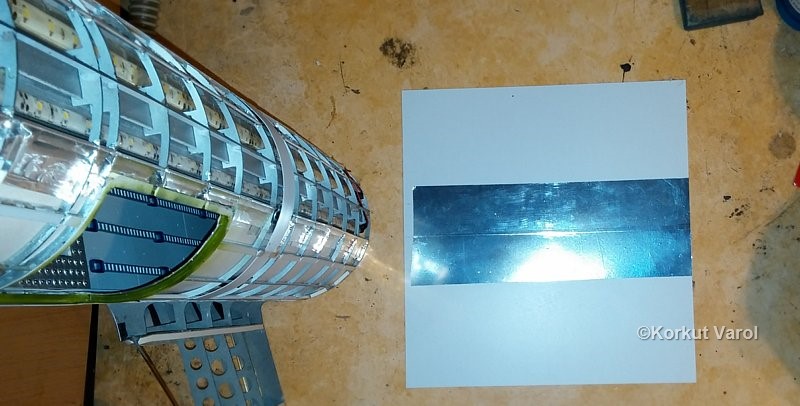
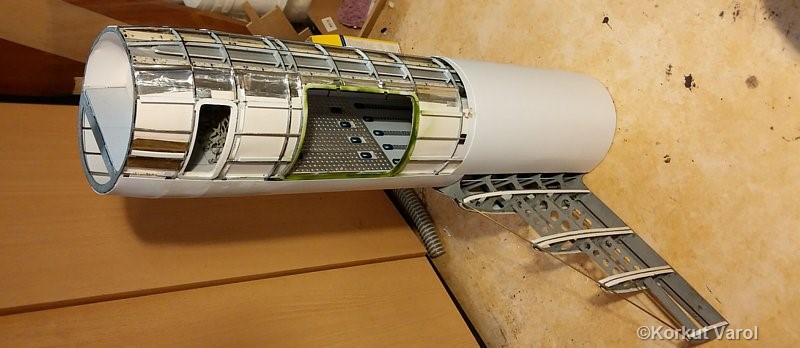
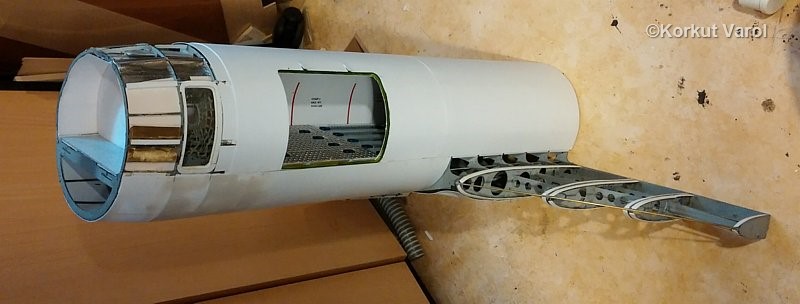
I completed the fuselage skin, then began applying polyester putty. I inserted hard paper shields in the openings to protect the insides.


GO TO:
Lynx - index