| The Lynx ProjectLincoln-Mercury’s
Lost Dream Car
|
 |
  |
|
BUILDING THE DC-8 PLANE
Page: 10 of 11
01 July 2015:I continued covering the lower fuselage.
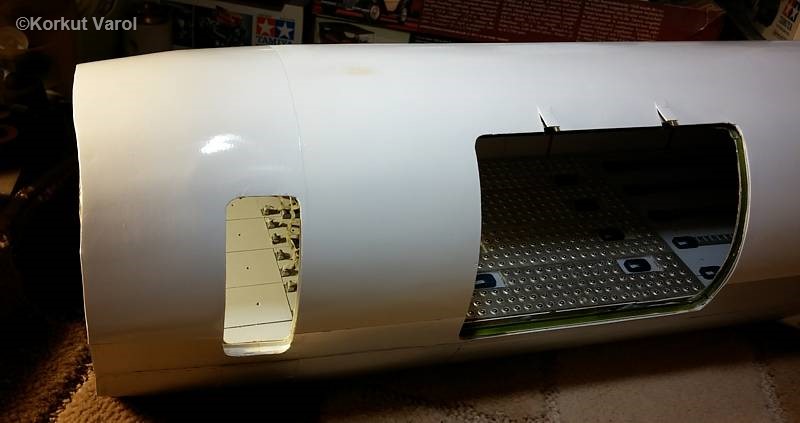
The lower fuselage is finished, I carried on with the lower wing.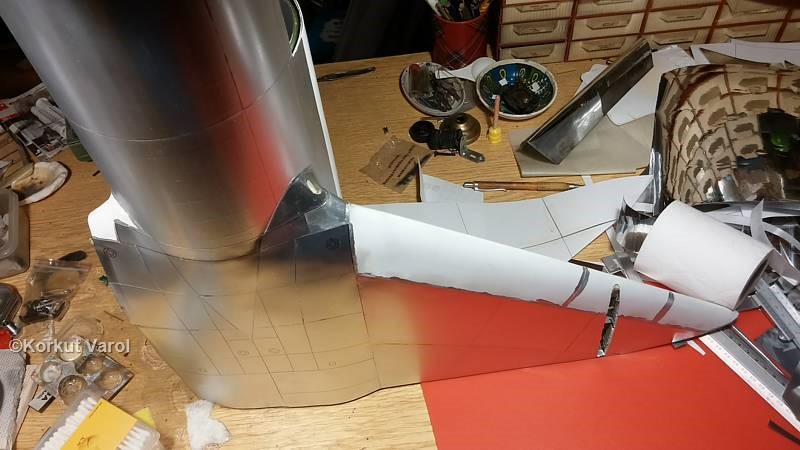
07 July 2015:I covered the upper wing
09 July 2015:
I
prepared the access covers by printing separately, and making embosses
at the screw points. Then I cut theses covers and stuck on the wing.
The access covers stuck in place.
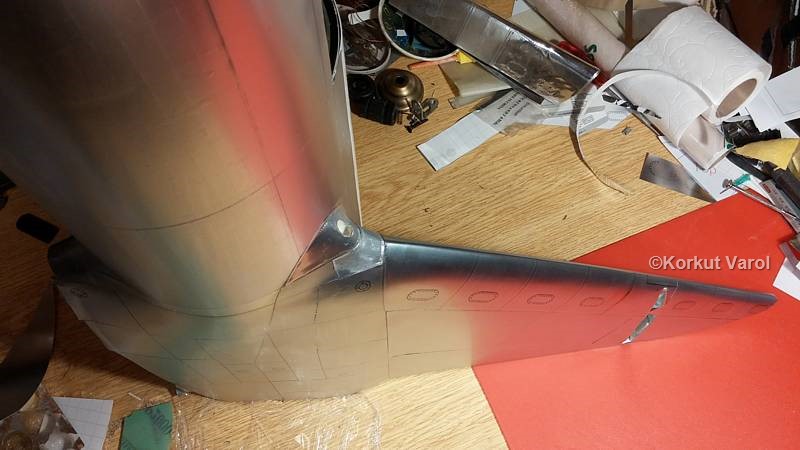
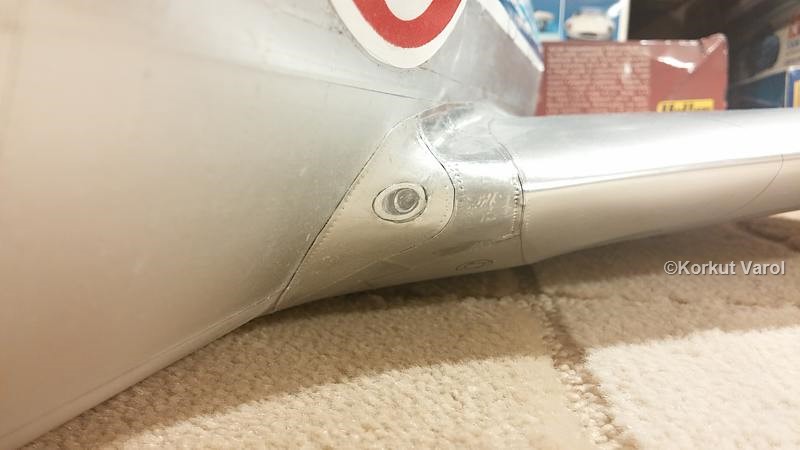
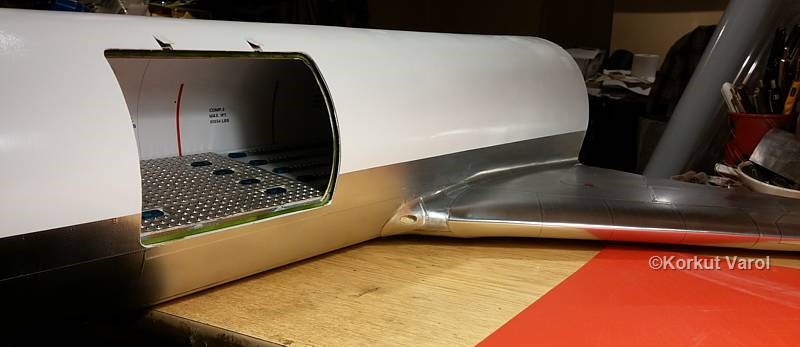
The transition region between the light and leading edge is covered.
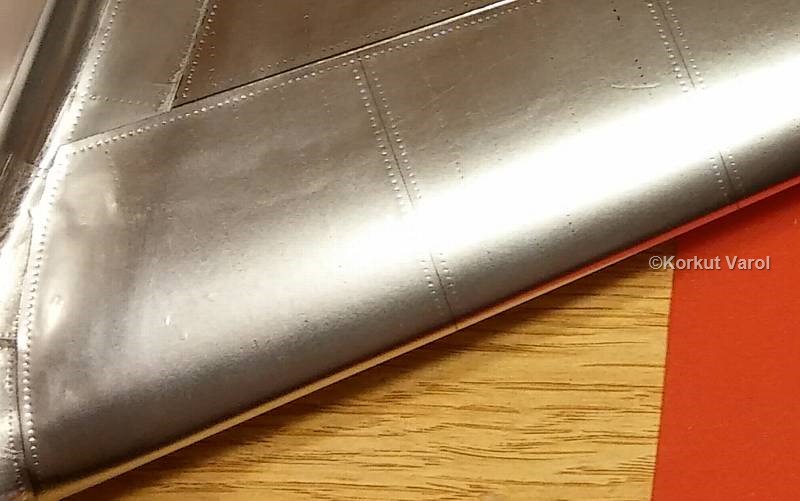
A close-up of the wing leading edge
15 July 2015:
I covered the front part of the upper fuselage by heating and stretching the white foil.
31 August 2015:
I added a semi-elliptical white foil where the "CS" (cargo system) logo will be.
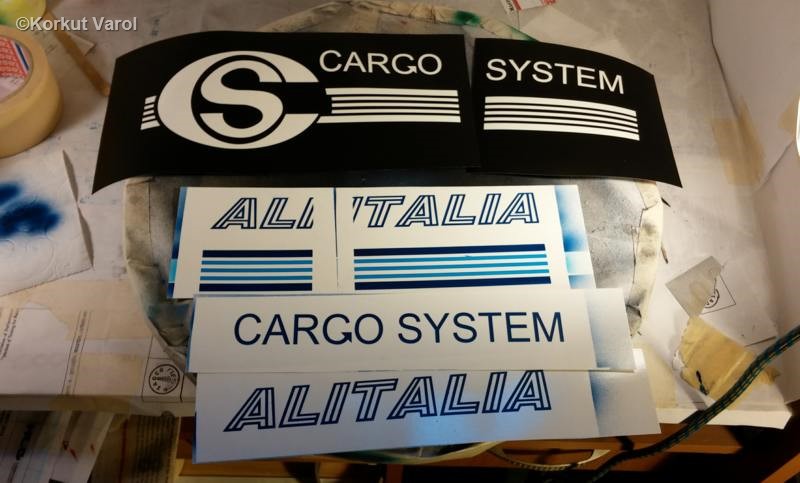
05 September 2015:
First, I made an attempt with
printing on white decal paper. The result was OK, but the white background proved to
have a shade difference with the foil I used. So I shifted to
clear decal paper, however, the printings came out a bit translucent,
it was then I decided to apply masking and paint. I
made stencils for the stripes and logos, and airbrushed on the back
(right) side of the fuselage. The reason was simply, if anything went
wrong, be it on the unseen side.... And it did! The foil turned out to
be too smooth for the paint to stick, and some paint tore off while
removing the masks. Some remedy is on the way...
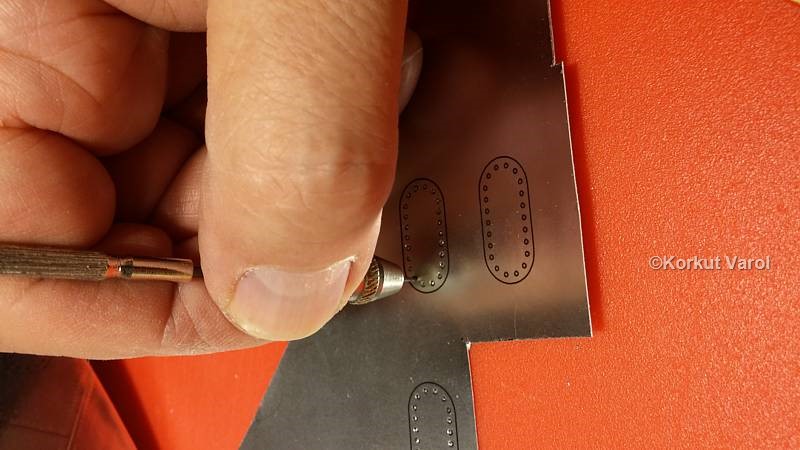
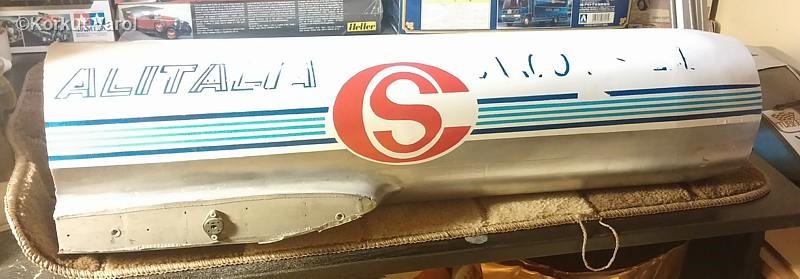
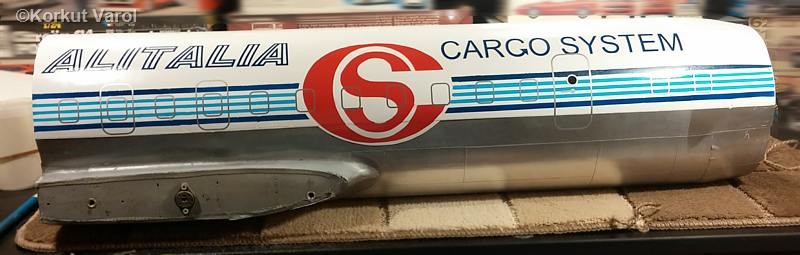
15 September 2015:
I
had new stencils cut on a foil plotter-cutter and applied them on clear decal papers, and airbrushed paint on the
clear decal paper and applied the decal on the fuselage. BTW, the
foil was also much smooth for the decal to stick on, I made some
experiments. I fine sanded the foil, applied a clear
coat and used this clear coat as the base for decal application. I
tried this on some scrap parts and it worked. Then I applied it on the fuselage.
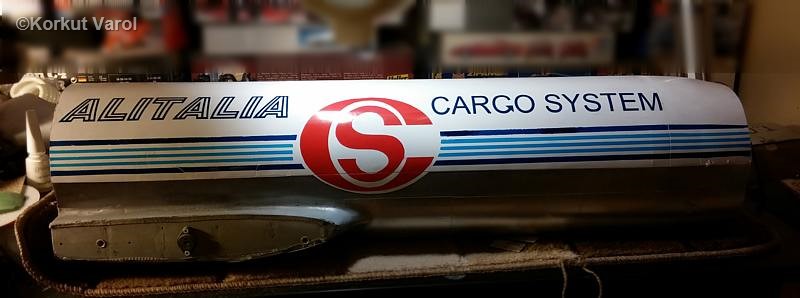
16 September 2015:
The right side after application of decals.
19 September 2015:
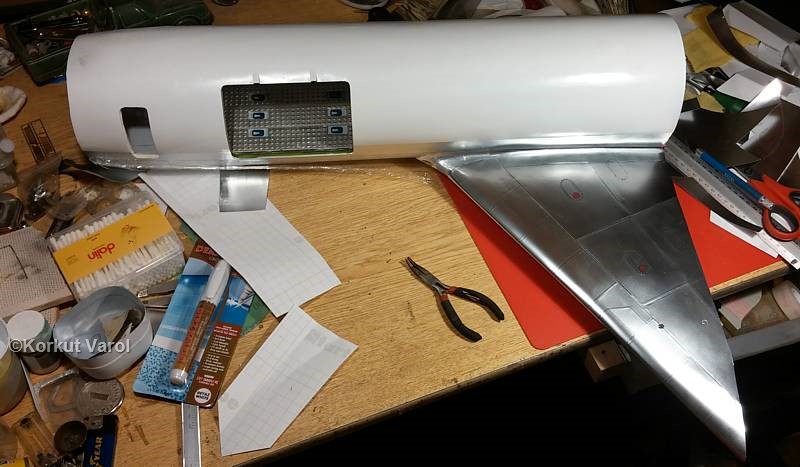
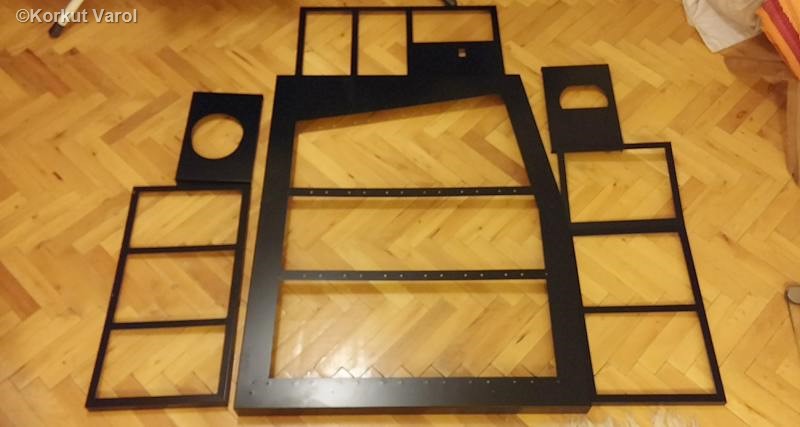
I prepared drawings for the diorama base, had them cut from 1 mm thick steel sheets, formed the parts and painted black.
21 September 2015:
I
made the background walls with cutouts for saving weight. Then I
applied 1 mm thick foamboard inside the gaps to form a full surface.
Then I painted the whole black, and applied black cloth over the walls
tomake a non-reflective background.
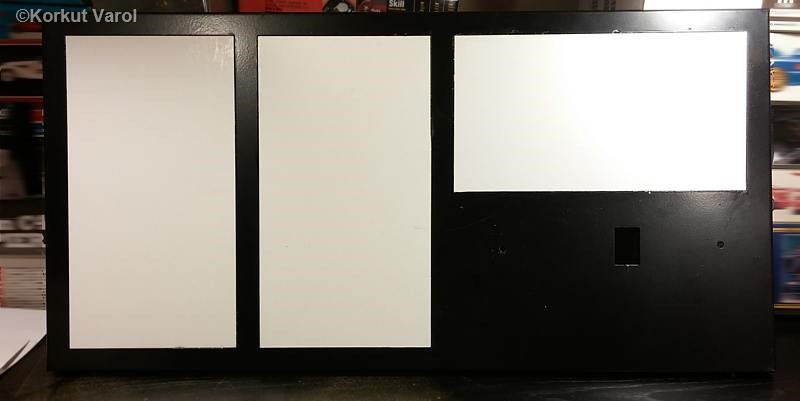
23 September 2015:
I
also had the window frames etc. cut on foil plotter-cutter, and applied them on the right side.
27 September 2015:
I
went on to the left side, and applied the decals and window frames etc. 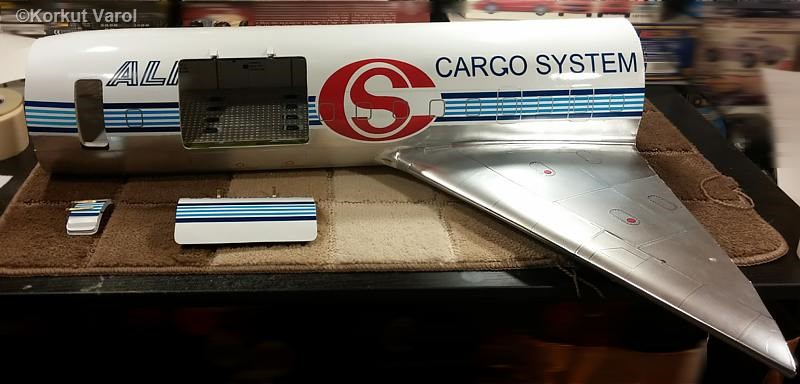
28 September 2015:
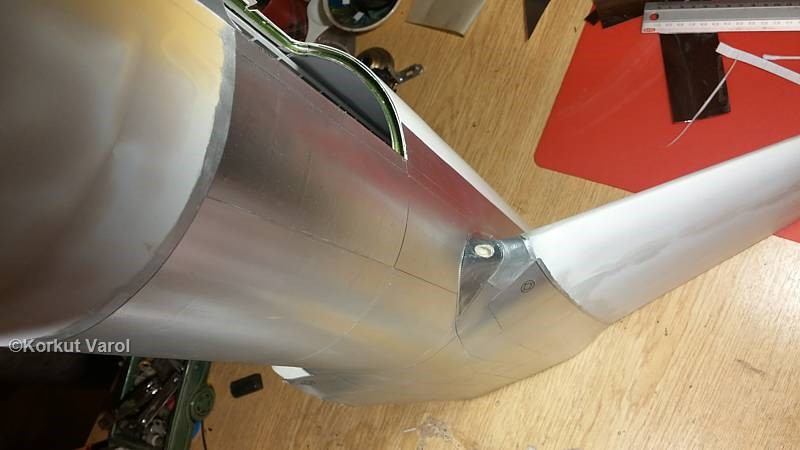
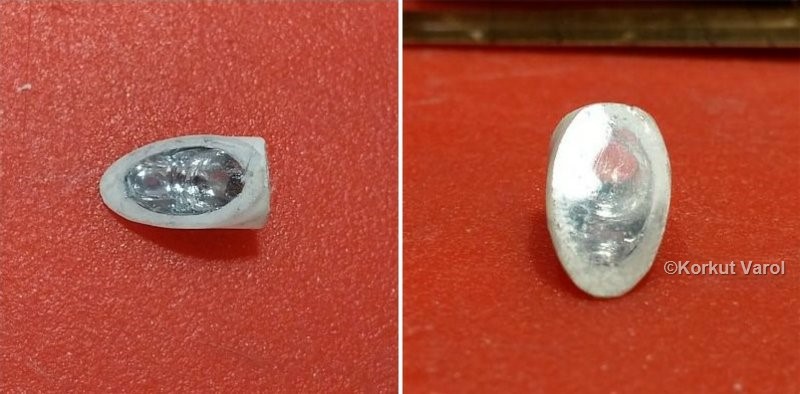
I
built the landing light. Inside the styrene tube that I had prepared
before, I applied chrome foil. For the glass making, I made use of
"UV-curing builder gel" for nails. I made a layer of gel on a
non-sticking paper (backing of sticker foils), pressed the part on the
gel and applied UV light. Then I trimmed the excess gel around the body.
I inserted the landing light in place.