| The Lynx ProjectLincoln-Mercury’s
Lost Dream Car
|
 |
  |
|
BUILDING THE DC-8 PLANE
Page: 9 of 11
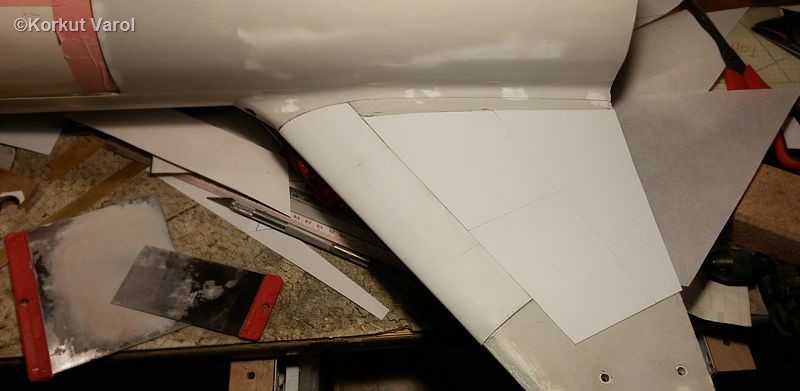
02 March 2015:I continued covering the wing.
07 March 2015:
The
cut part of the wing seemed somewhat short to my eye, so I decided to
extend till the wing reaches the border of the base plate. I shaped a
balsa block and fixed it on the wing.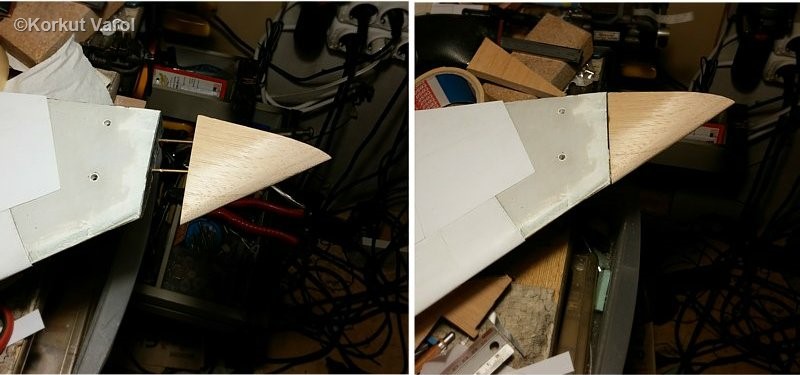
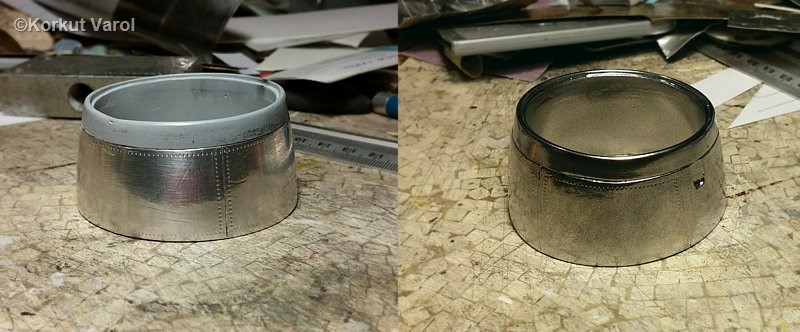
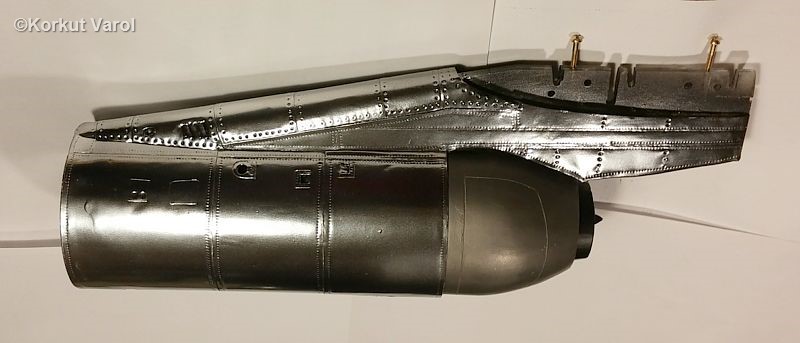
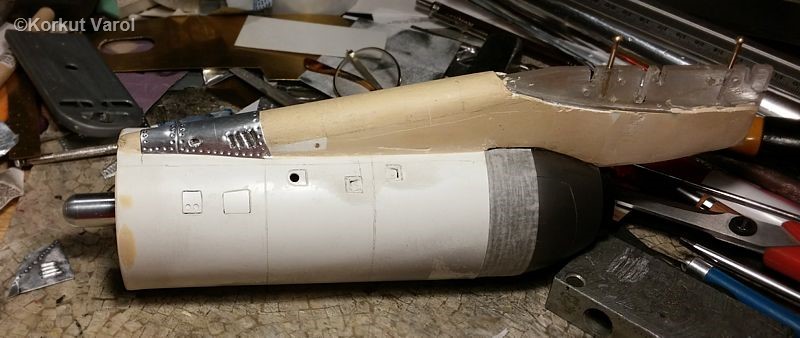
15 March 2015:I
began covering the engine nacelle. I applied aluminum duct tape around,
traced the rivet/screw, whatever marks and painted with Alclad II
chrome.
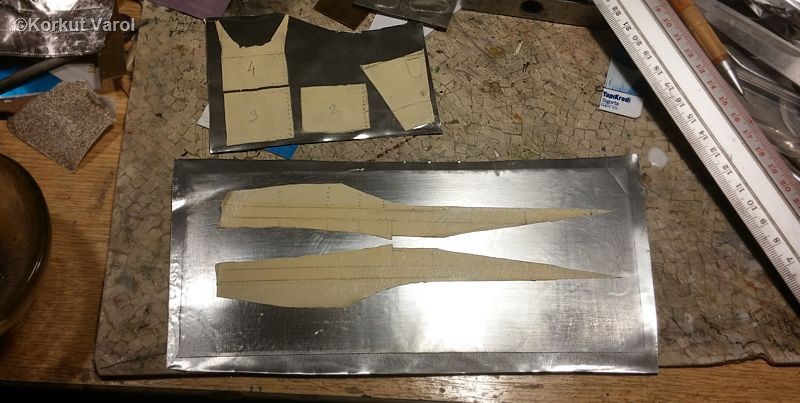
I prepared templates for the pylon by using masking tape, and cut the parts from aluminum sheet.
I started shaping the sheets around the pylon.
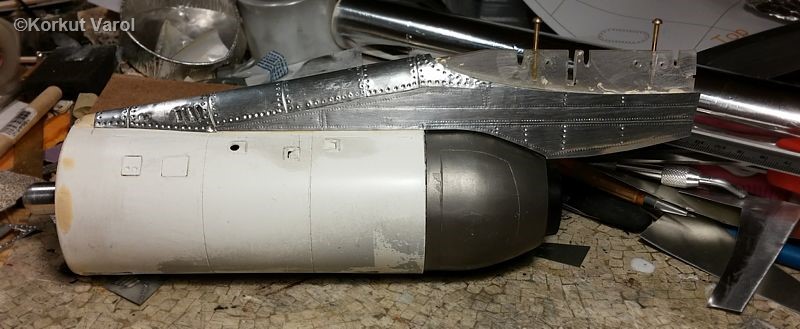
The pylon is covered.
25 March 2015:
I carried on with the engine, still using aluminum sheets.
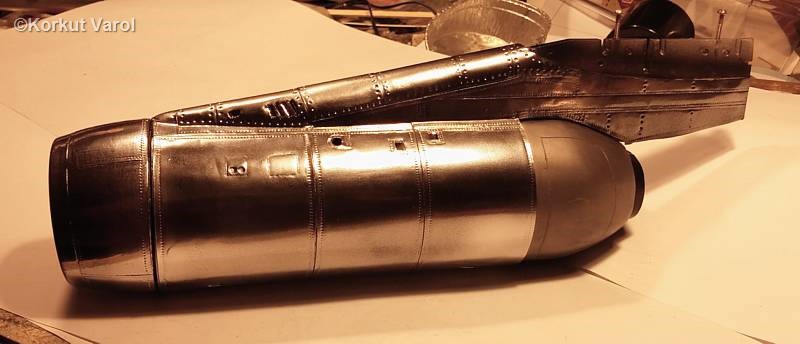
27 March 2015:
I did not like the texture of the aluminum on the engine, so I applied Alclad II Chrome all over.
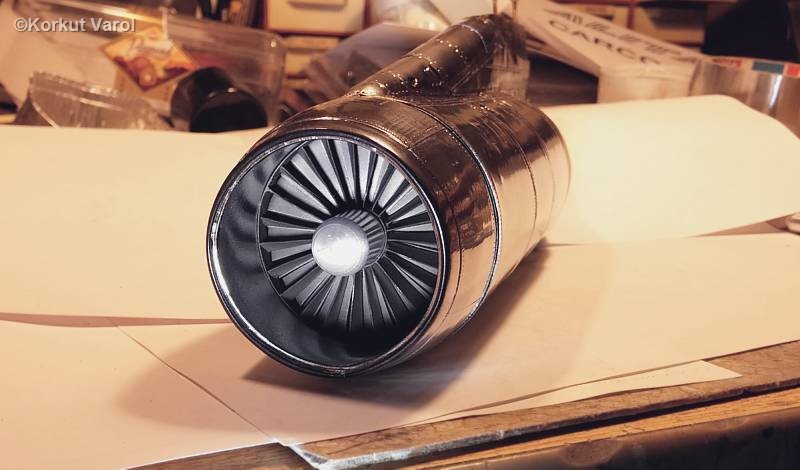
28 March 2015:
I finished the engine by assembling the inlet vanes and compressor blades.
29 March 2015:
I
applied primer on the fuselage. The problem I was now thinking, how to
depict the rivets etc. over the fuselage and wing.
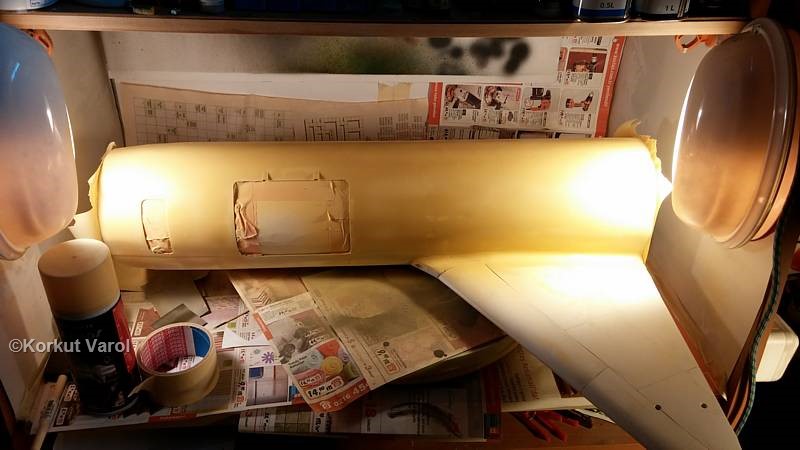
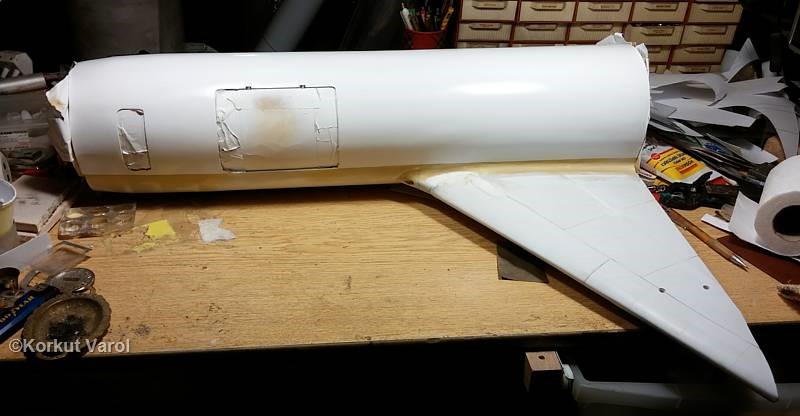
14 June 2015:
After
much thinking and experimenting, I decided to cover the whole body with
sticky folio, applying rivet marks etc. before sticking on the base. So
I painted the upper part of the fuselage white as the first stage.
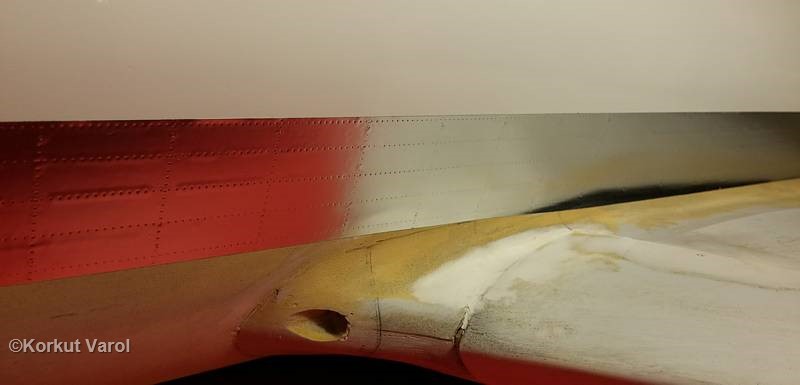
15 June 2015:
For the aluminum parts, I used bright chrome foil. I started with some part and applied tracings.
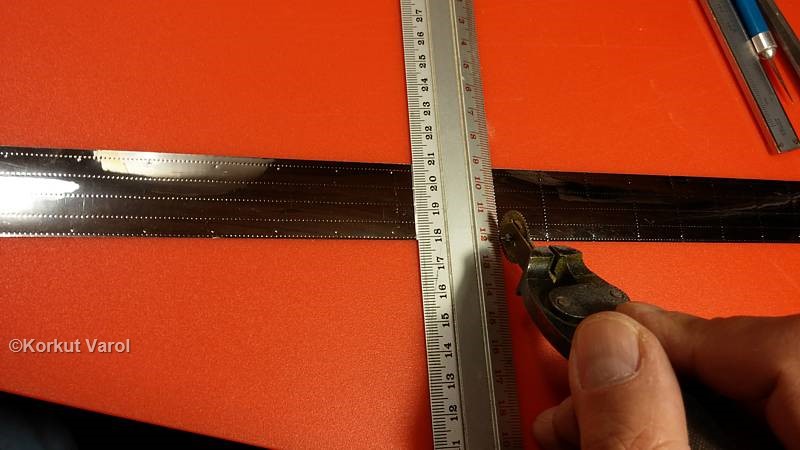
Since the chrome was too bright for natural aluminum, I sprayed the foil with Gunze semi-gloss clear.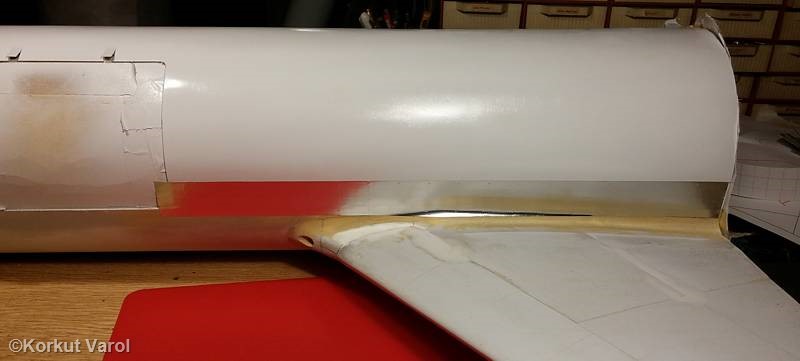
A close-up of the applied part. Some air bubbles are present, they will be flattened down.
17 June 2015:I carried on with covering the bottom of the fuselage.