| 29 July 2005:
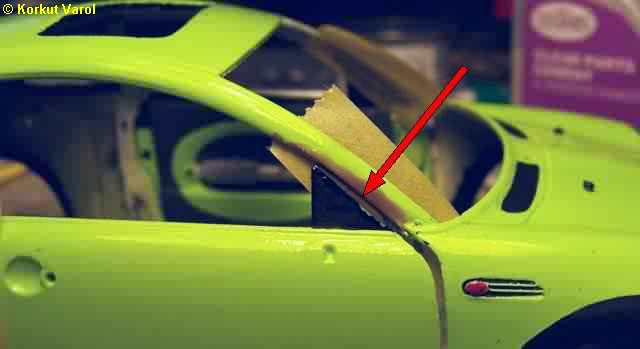
I did not like the gap at the A-post shown. So I fixed the door and the back of the gap with masking tapes, protected the A-post with Maskol and filled the gap with 5-minute epoxy glue. |
 |
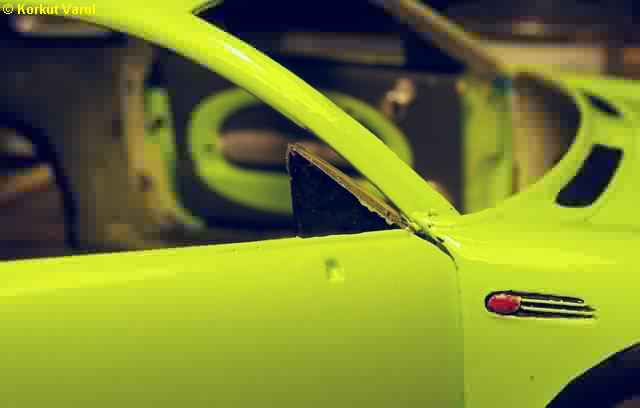
| Here is the finished shape after cure and cleanup. |
 |
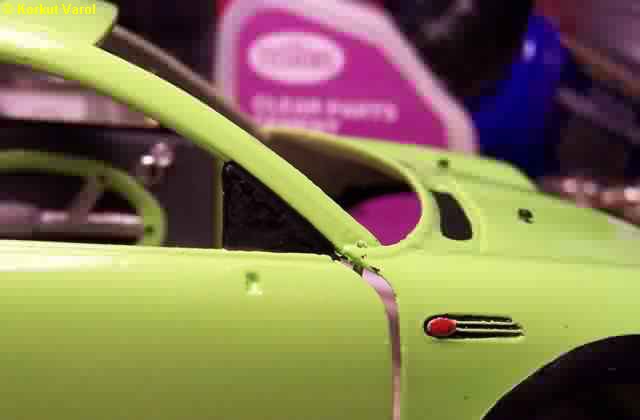
| And after painting, the fit is flush. |
 |
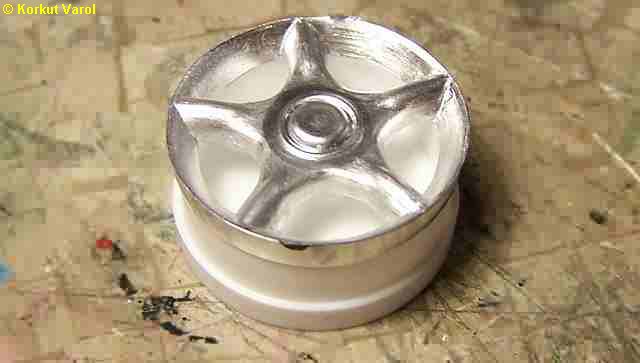
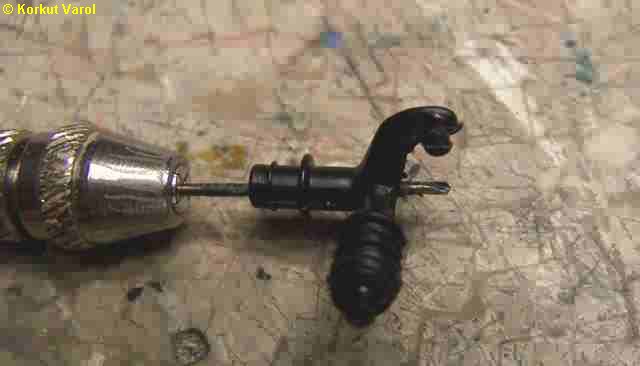
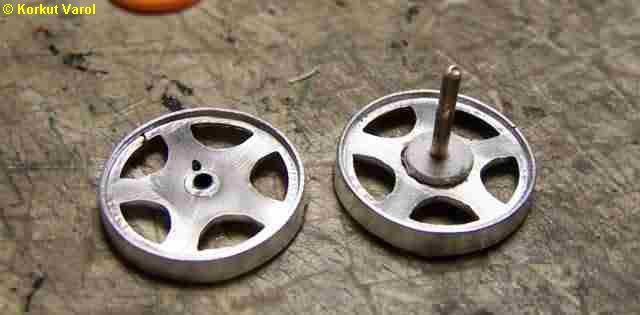
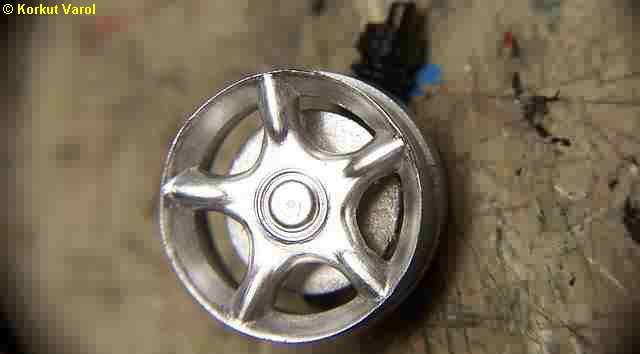
| Now is the worst point of the kit in my opinion. We are expected to join the two halves of the wheel like this and paint the inside flat black. Whereas, in real, the brake discs and calipers are clearly seen. This is bad kit design. So I went for some design change and scratchbuilding. |
 |
| First I drilled a hole of 1.5 mm dia. through the axle pins of the front struts. |
 |
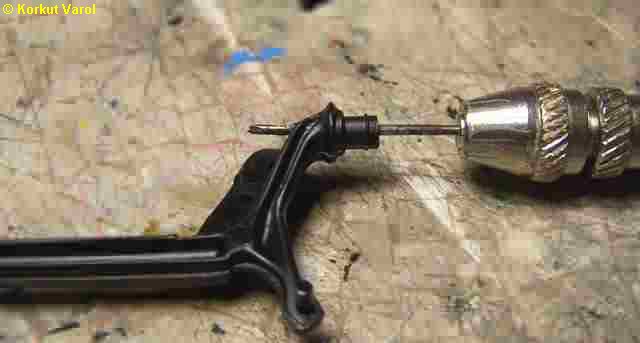
| Followed by the same treatment for the rear.... |
 |
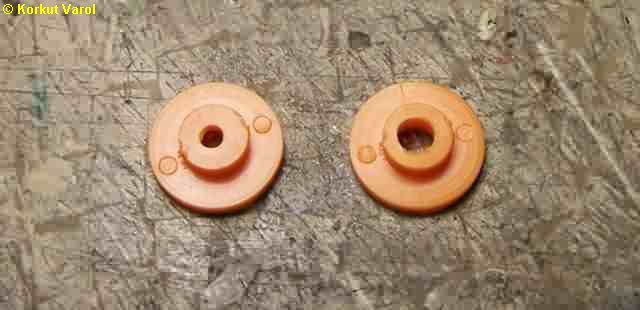
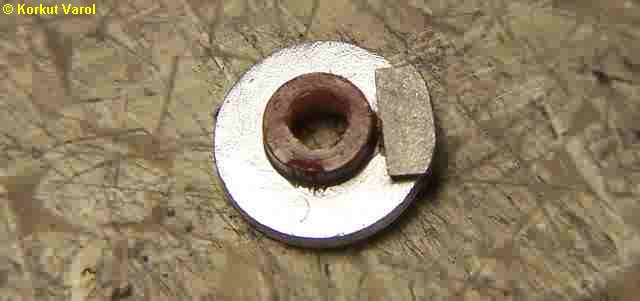
| In my parts box, I had a set of discs suitable in size with the Mini. I enlarged the center hole to fit the Mini's axles as at the right. |
 |
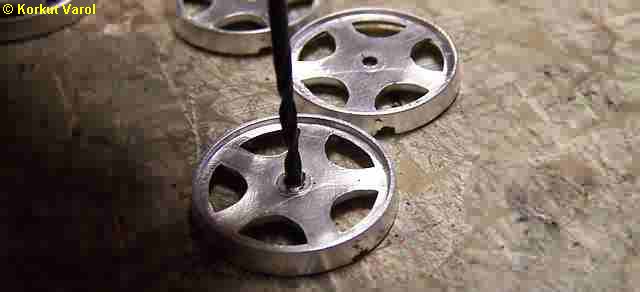
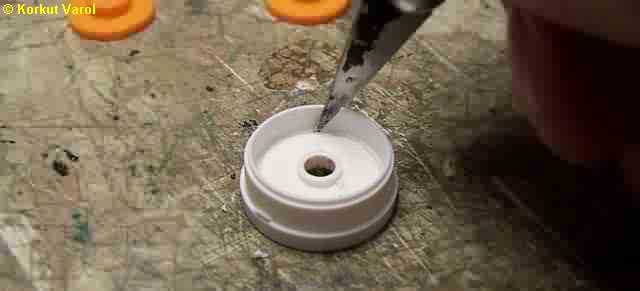
| I drilled carefully, without going to the outside, the centers of the wheels, to take in the 1.5 mm dia. brass wire that I would install. |
 |
| I also prepared a stiffening styrene part for the assembly, as in the right, and fixed the 1.5 mm brass axle with CA glue. I did this for all 4 wheels. |
 |
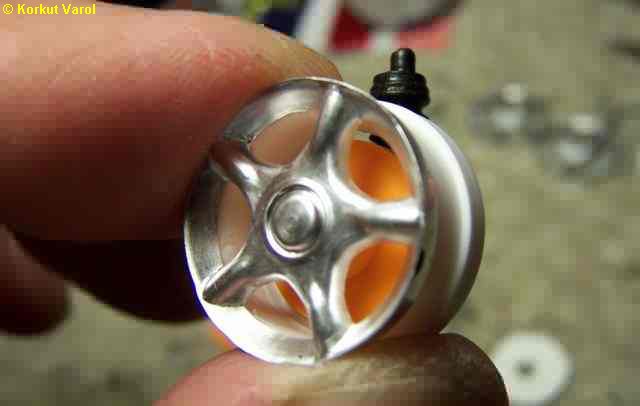
| Next step was to cut out the back side of the inner wheel half, to have it as a ring to be fixed to the outer wheel half. |
 |
| A test fit shows the progression is OK. |
 |
| 30 July 2005:
I painted the discs and glued on the calipers that I cut from styrene sheet. I took care that the rear calipers were smaller than the fronts. |
 |
| I assembled the strut, disc and wheel. Now it looked OK. |
 |
 |
|