|
|
 |
Page 5 of 7
|
|
|
Page 5 of 7
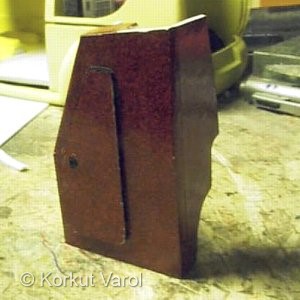
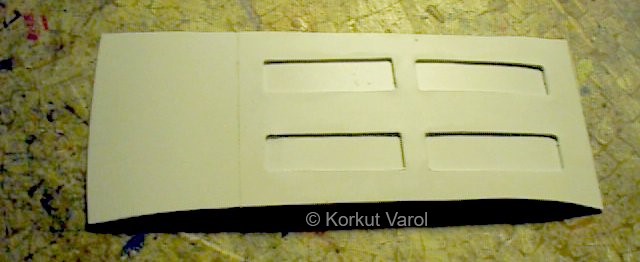
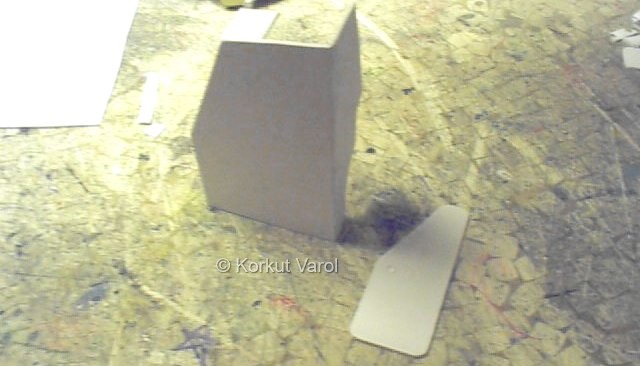
| 10 July 2000: The internal panels were cut from styrene sheet and tailored to fit inside. |
 |
| The edges were smoothed after glueing. |
 |
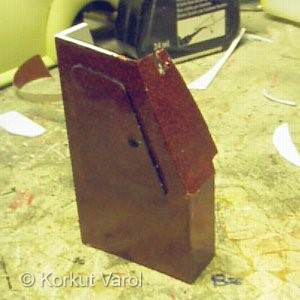
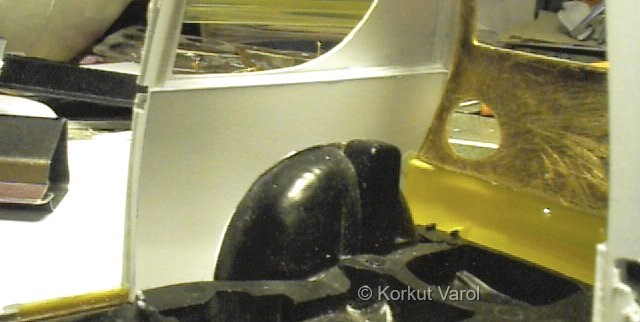
| The same was done for the doors. Note the housing added to disguise the rotating link. |
 |
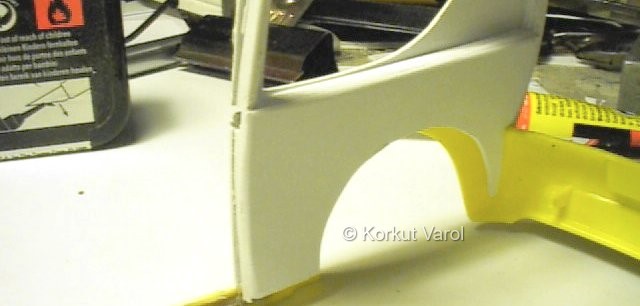
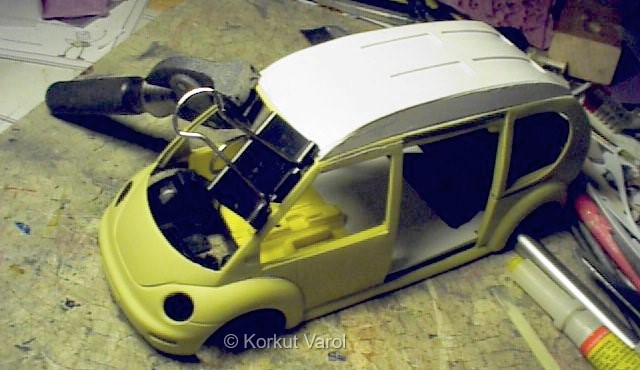
| 17 July 2000: The roof was cut from styrene sheet and glued on. |
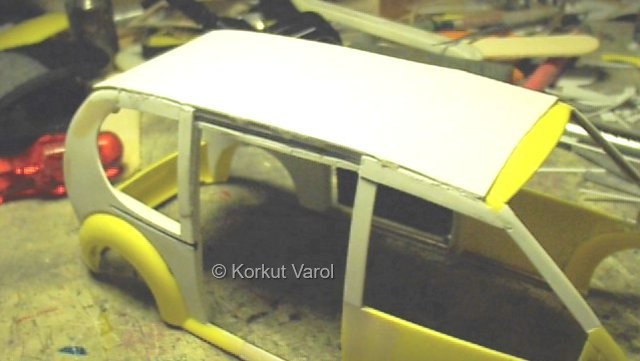 |
| 30 July 2000: Now for the roof extension.The side panels were cut and glued on the roof sides first. The shape is different from conventional extensions and blend with the body profile. |
 |
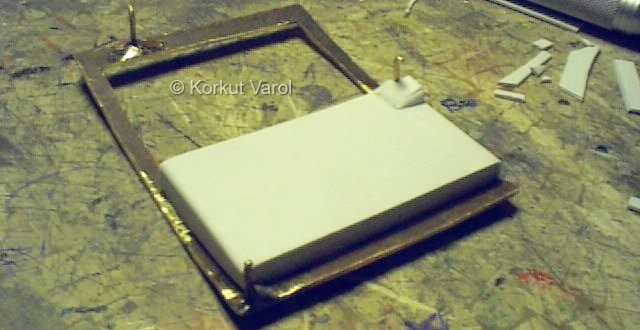
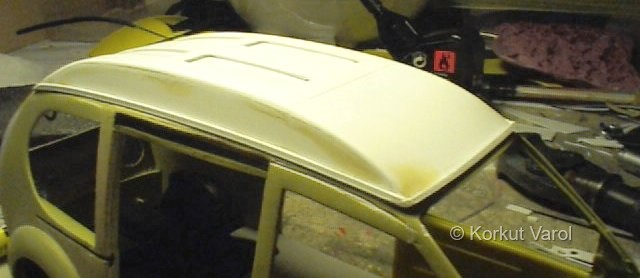
| The top part was cut. The strengthening pressed sinks were first cut out, then a styrene sheet was glued at the bottom side. The splitting line was engraved on the sheet. |
 |
| The roof top was then fixed on the model as shown. |
 |
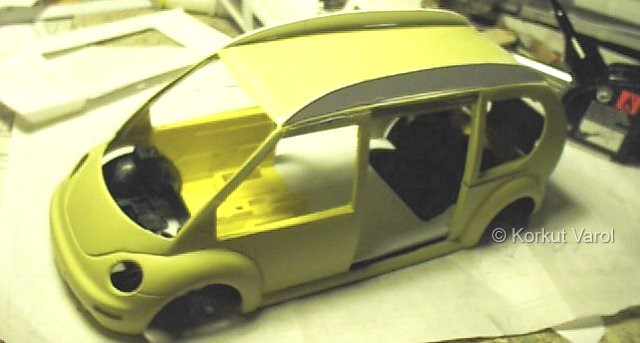
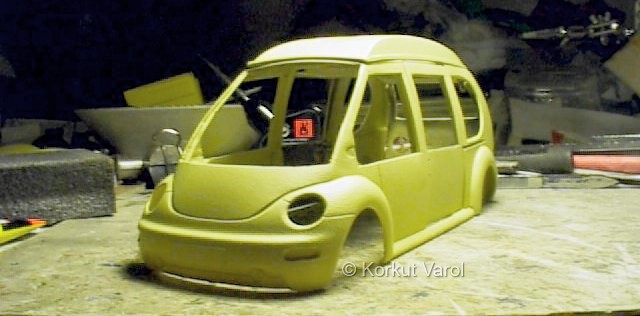
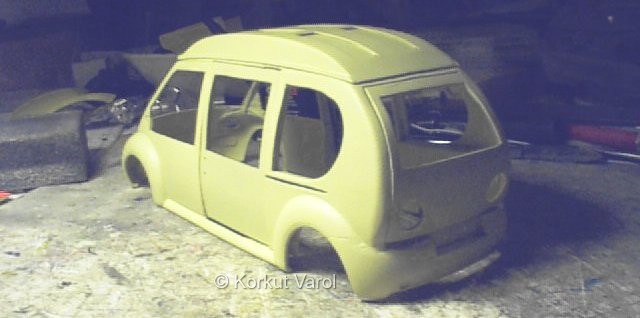
| The roof was sanded, putty treated, and sanded again. Then the skirt flanges were cut and glued around the roof. The bottom two pics show the general look of the model now. |
 |
 |
 |
|
01 August 2000:
|
 |
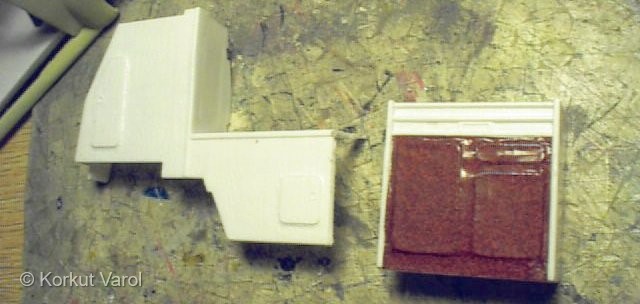
| 02 August 2000: For this part, I made use of the Revell-Monogram VW Camper kit. I separated the cabinets and covered it with the same woody paper. |
 |
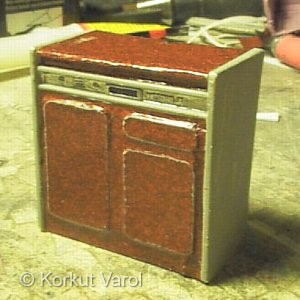
| The refrigerator bench finished. I noticed that I had not painted the handles, after I took the pic. Later they were painted on. |
 |
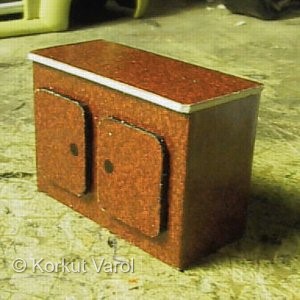
| 05 August 2000: And now the central table/cabinet was made from scratch in the same manner as above. |
 |
 |
|