 |
 |
Page 4 of 7
|
|
Page 4 of 7
| 12
June 2001:
The positioning of the wheel wells are like shown. Now I have to put some putty to fill this volume. |
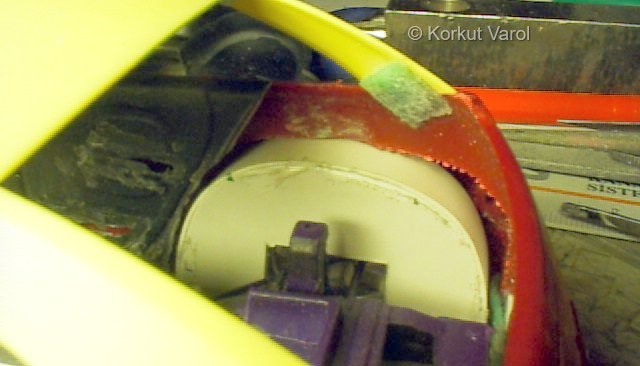 |
| In order to prevent the putty stick to wheel wells, a masking fluid (Humbrol's Maskol) was applied on the styrene.. |
 |
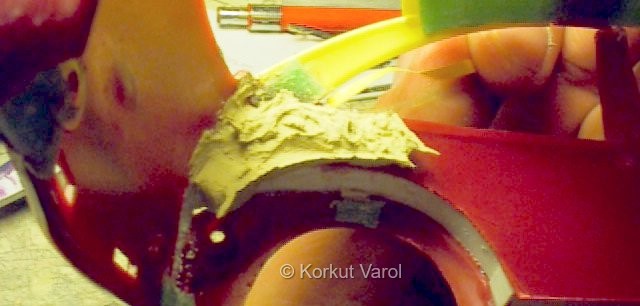
| With the internal panels put in place, the space is ready for puttying. Note the dark yellow strip beneath the rear window. It is also put there to prevent putty sticking there. It is a precaution that I may need that tiny channel there while fitting the rear glass. |
 |
| And this is the view as putty applied roughly. I used automotive polyester putty for the filling purposes. |
 |
| 13
June 2001:
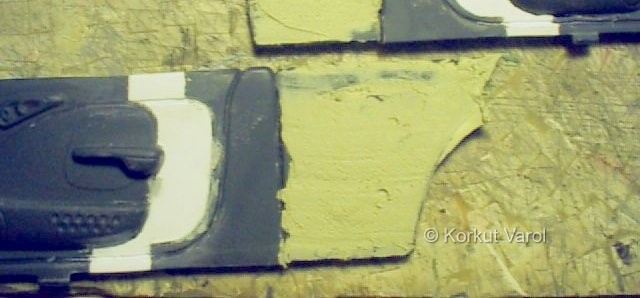
After it has cured, and the mating parts taken out, the view was like this. |
 |
| 25
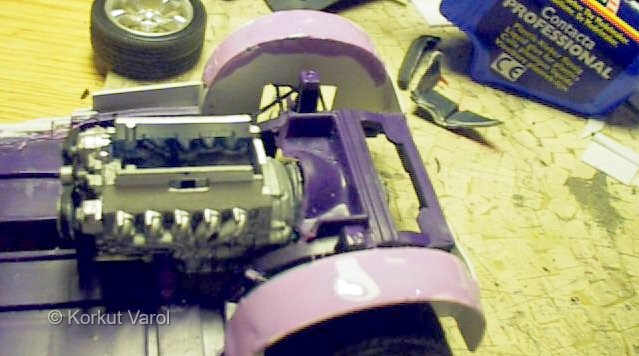
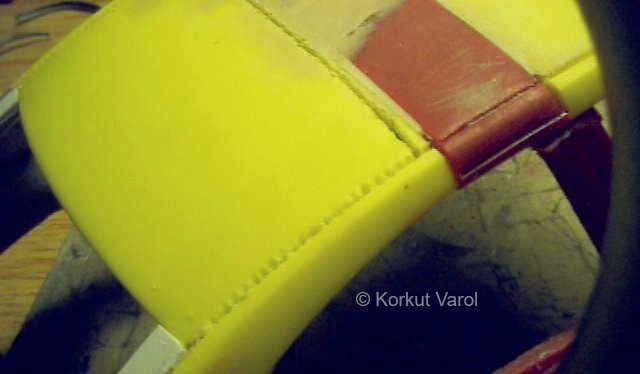
June 2001: The handles at the insides of the rear panels were shaved and the panels were filled with putty. These were to be within the engine compartment, so the surface had to be flat. |
 |
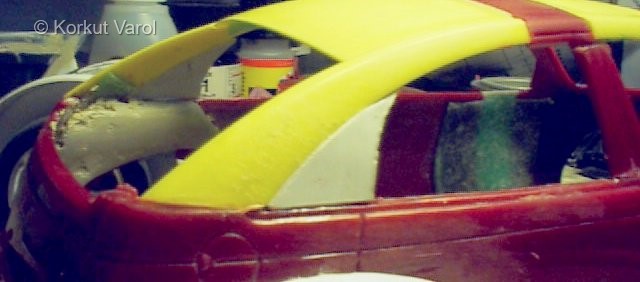
| The rear windows were given a new contour as shown, with a styrene piece cut and glued in place. |
 |
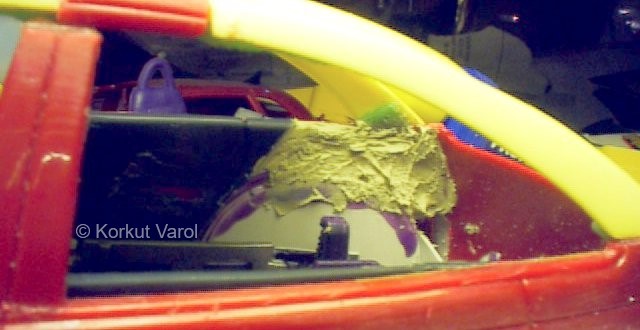
| Now the first body puttying. Some plastic is still available to the eye... |
 |
| 19
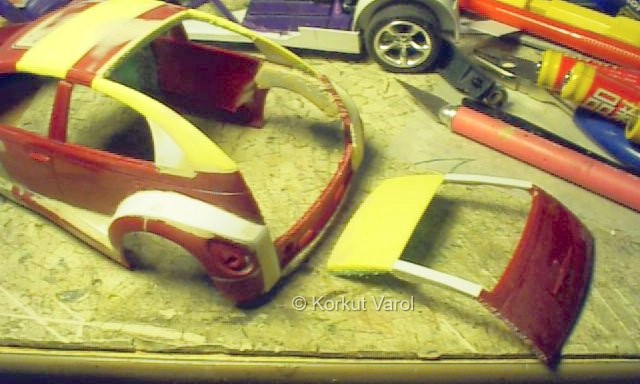
July 2001: I decided to open the rear lid for engine viewing. So, the rear had to be unitized to form a hatchback door, and the sides were first joined by two strips of styrene. |
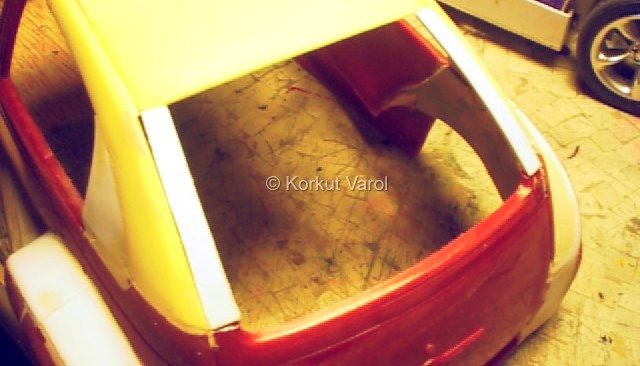 |
| The styrene strips were reinforced from under side, with clips wire. The wire was glued with superglue. Later, it will be hidden under some putty. |
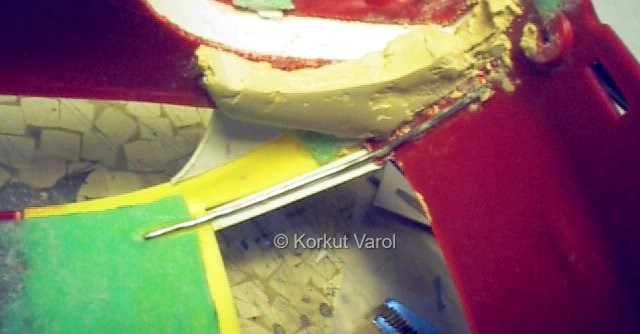 |
| The separation was made by a series of tiny drilled holes. |
 |
| Here, the rear lid is separated from the body. |
 |
| 28
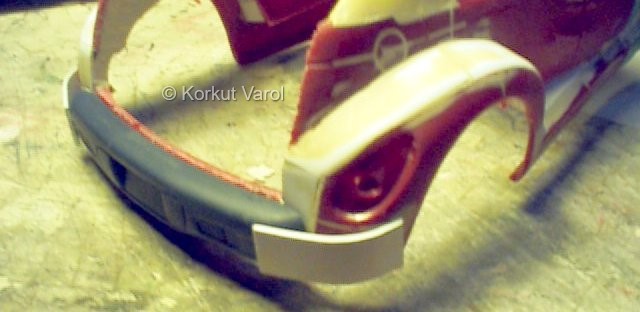
July 2001: The widened body had to have some properly contoured rear bumper. The outline was made by styrene parts. The insides will be filled with putty and then filed, sanded, etc. to its final shape. |
 |
 |
 ........ ........ |