 |
|
 |  |
REPLICA OF THE RALLY CAR IN 1977 LONDON-SYDNEY RALLY, TEAM TURKEY.
.
Started: 29 October 2005
Finished: 03 May 2009
Page 5 of 9
|
|
|
| |
Page 5 of 9
| 08 August
2008:
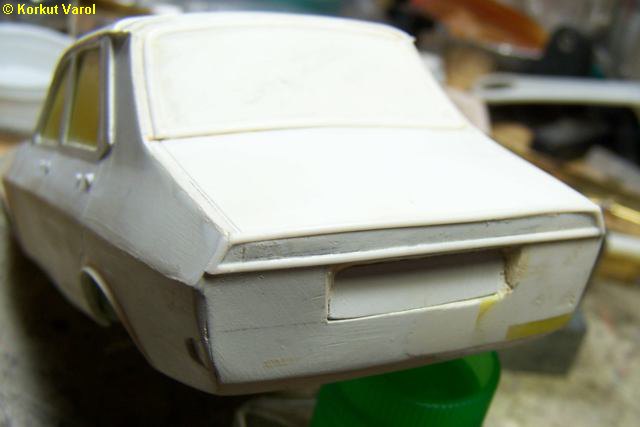
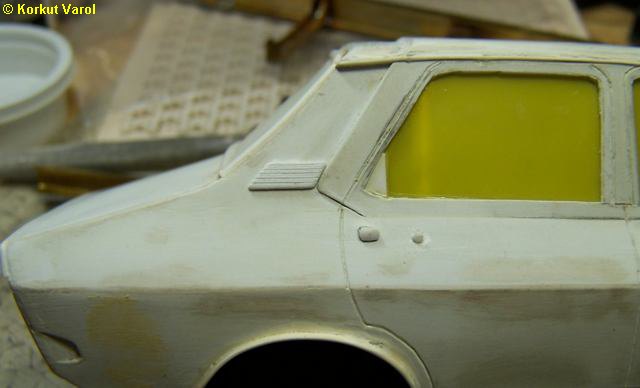
After a looong hiatus, I continued working with manufacturing the bosses for door handles. |
 |
| 10 August
2008:
I manufactured and glued the chrome trim frames at the rear. |
 |
| I manufactured and glued the rear vent grilles. |
 |
| 12 August
2008:
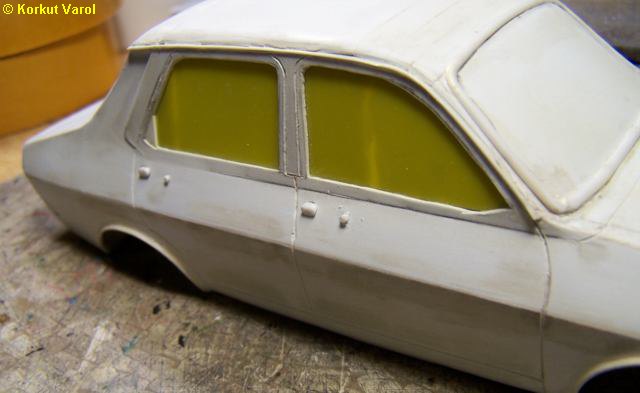
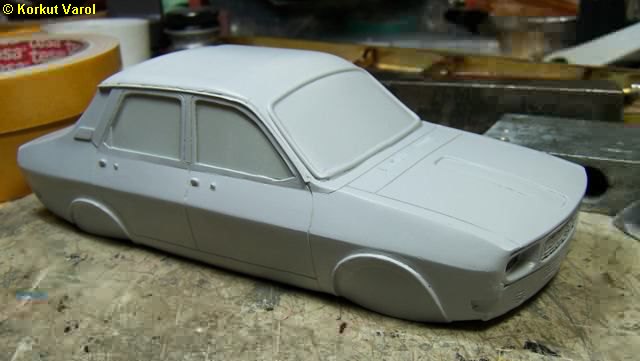
I applied a primer coat. Needs some more putty+sanding.. |
 |
| 16 August
2008:
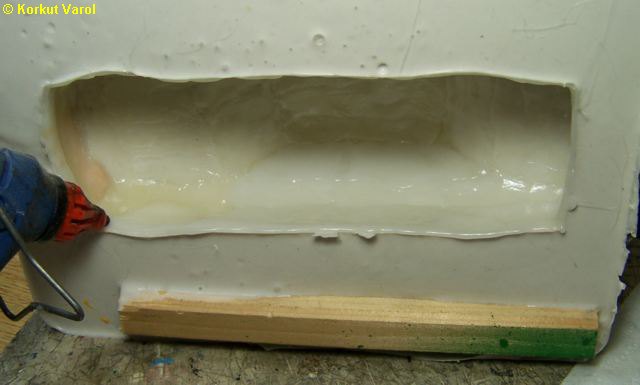
I prepared the RTV silicon mold setup. I glued a peripheral skirt under the body so that all the body would be submerged in the silicon but the silicon would not enter the inside. |
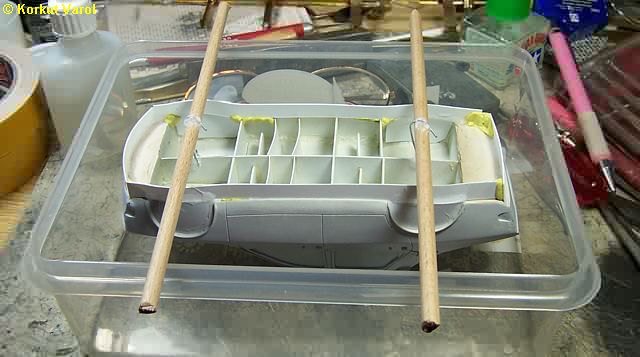 |
| Then I poured the silicon in the mold. The body floated (well, naturally..) and so I put some iron weights to keep it submerged. |
 |
| 17 August
2008:
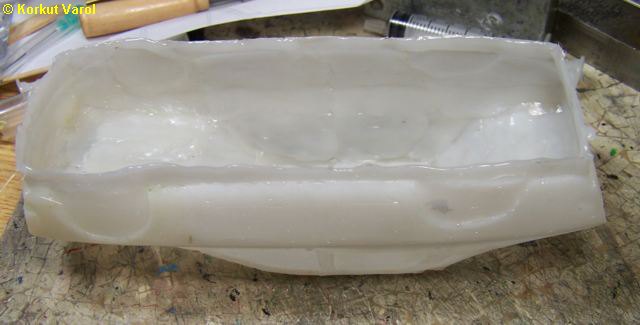
After the silicon cured, I took off the master model and laid resin, reinforced with tissue paper at all sides. |
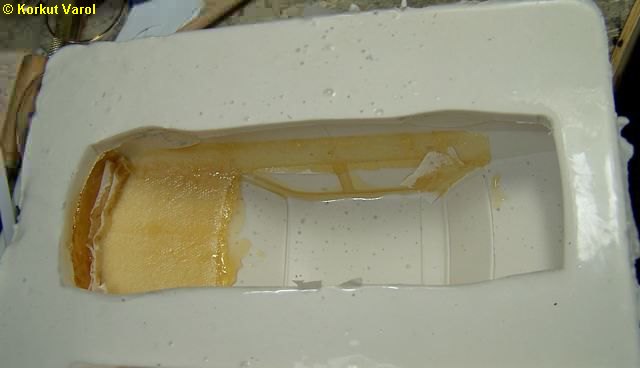 |
| Ta-daaa!! I took off the first resin sample from the mold. I will shave off the flashes, apply a primer and see if there is anything wrong. |
 |
| 31 August
2008:
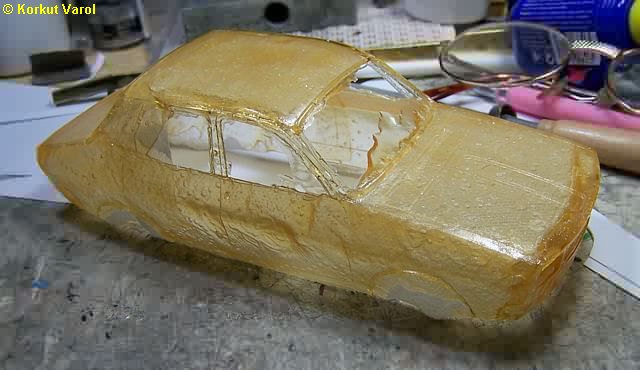
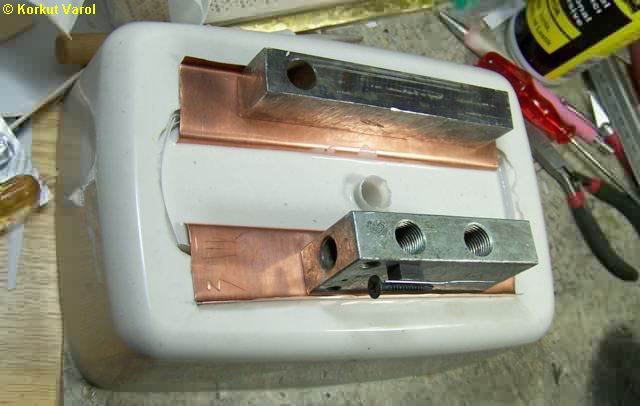
The first sample was full of cavities, so during the past couple of days I prepared a new female mold, taking more care this time. I laid resin surface by surface again, this time got a model with good surface. I will use this model as the gap setter between the female and male molds. To prevent closing of the gap due to sagging of the male mold while casting, I prepared 2 copper inserts for the male mols to act as a skeleton. I drilled holes here and there, to facilitate the spreading of silicone while pouring, and to act as gripping elements between the silicone and the metal when cured. |
 |
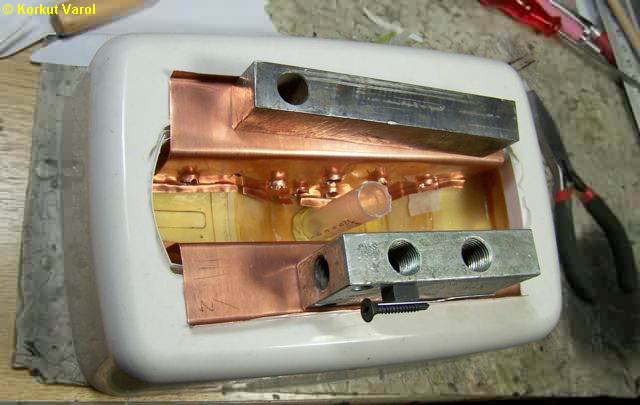
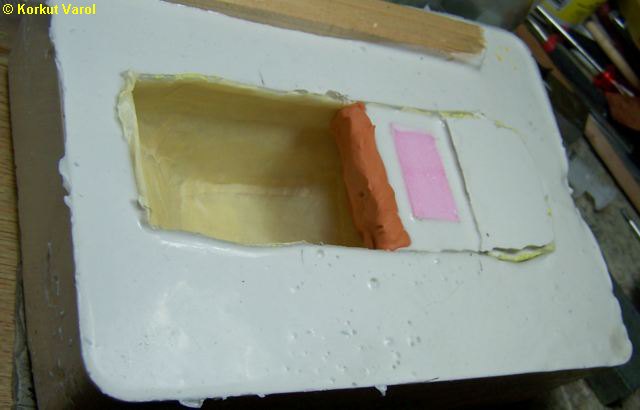
| To provide some means for exact positioning of the male mold, I bent the edges of the copper sheets to form a resting surface on the female mold.To prevent distortion while pouring silicone, I put some iron weights on the copper surfaces. I made a filling runner from the body of a plastic injector and fixed it inside the roof. Now the setup is ready for silicon pouring. |
 |
| I poured silicone to form the male mold. I hope all end up alright... |
 |
| 01 September
2008:
Unfortunately the male mold did not easily come out of the body and the body was broken while stretching. I will try a multi-piece male mold. |
 |
| 05 September
2008:
To produce a flexible body, I applied a shell of plastic with a glue gun. |
 |
| And I got a flexible body shell to make the 2-piece male mold. |
 |
| 06 September
2008:
To smoothen the traces of the glue gun on the inside, I covered all the inside with masking tape. I poured the slicone for the first part. I put a non-drying molding paste inside, with a slant so that the two pieces could be taken apart easily. After it cured, I covered the whole surface with Humbrol Maskol so that the second poured silicone would not stick to the first one. Then I poured the silicone in the second part. |
 |
| 08 September
2008:
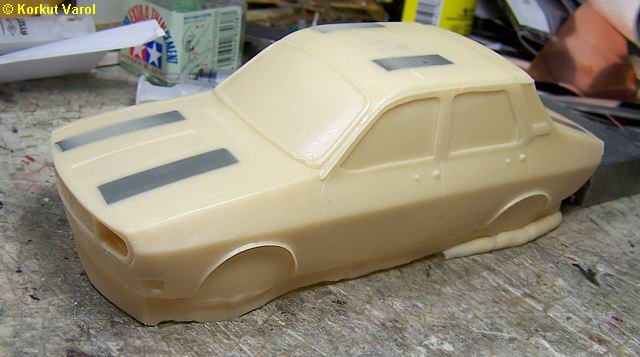
I used acrylic polyester resin and BINGO! The part was very acceptable.. The black rectangles embedded in the body are styrene spacers that I put between the male and female molds to prevent touching. |
 |
| 29 March 2009:
The top contours of the windshield was incorrect, so I corrected the master model and made a new female silicone mold. I made a new body and cut out the windows, wheelarches etc. I also prepared a mold for the floor and got a sample casting, but I have to work on it more. |
 |
| 03 April 2009:
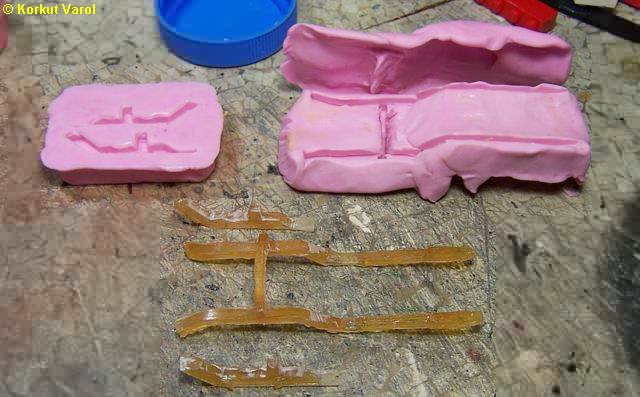
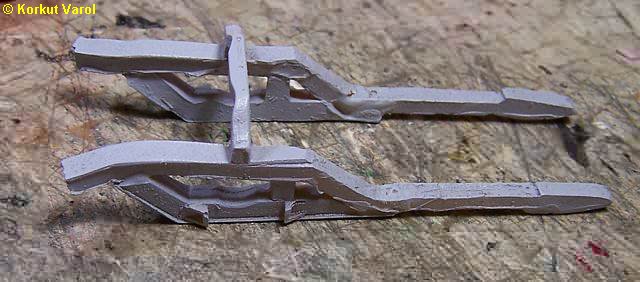
I made silicone molds for the front chassis arms and cast resin parts. |
 |
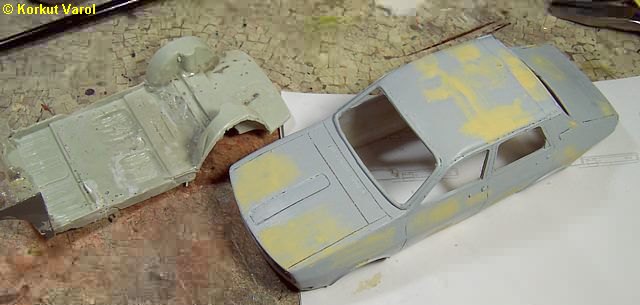
| I joined the parts with CA glue and applied primer paint. |
 |
 |
|