| The Lynx ProjectLincoln-Mercury’s Lost Dream Car |  |
 |
BUILDING THE SCISSORS JACK
Page: 3 of 5| The Lynx ProjectLincoln-Mercury’s Lost Dream Car | |
|
BUILDING THE SCISSORS JACK
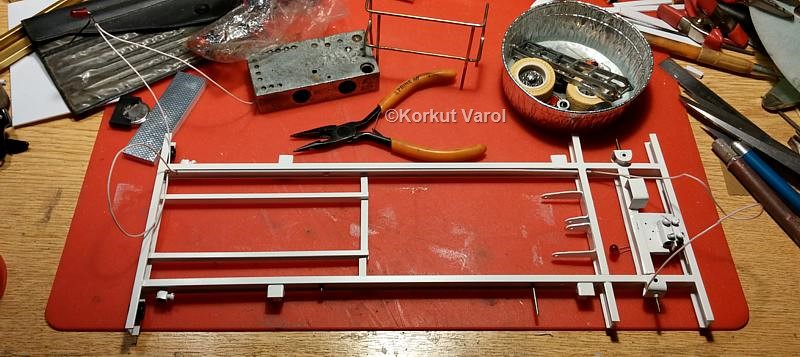
Page: 3 of 519 December 2015:
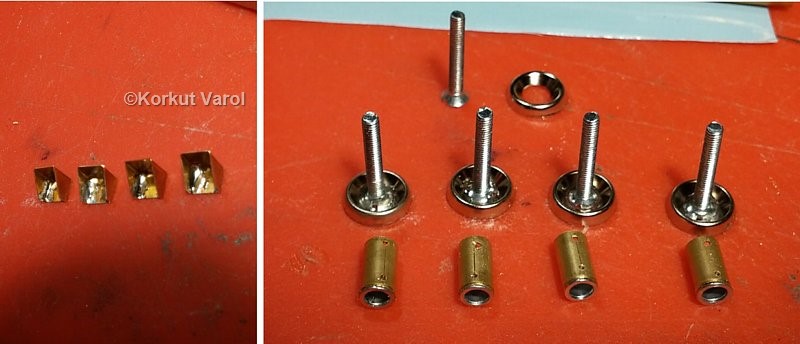
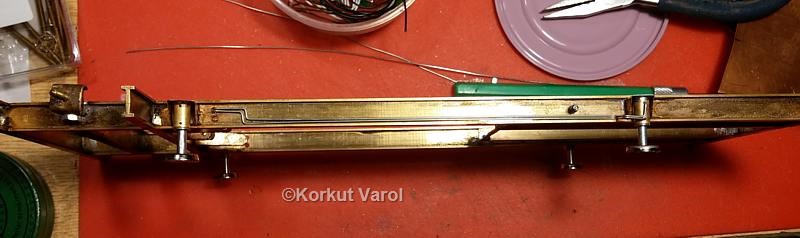
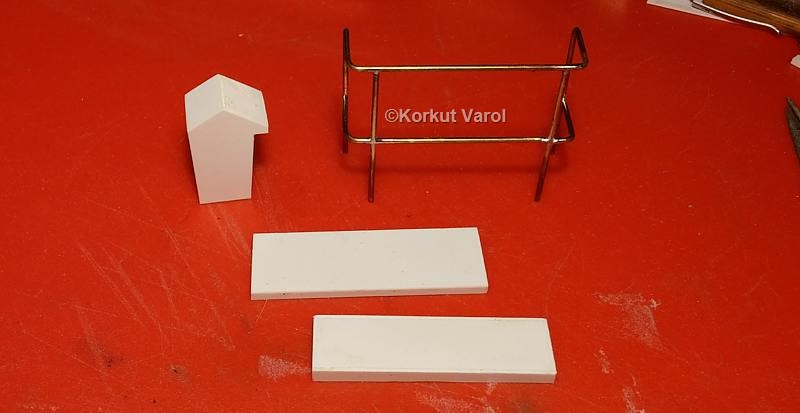
I began manufacturing the hydraulic stabilizer equipment. On the left are the mounting brackets from copper sheet. On the right are cylinders made by cutting brass tubes and fitting M3 rivet nuts inside. The feet are made by epoxy-glueing M3 screws to conical washers. I drilled holes on the cylinders where the hydraulic lines will fit.
20 December 2015:
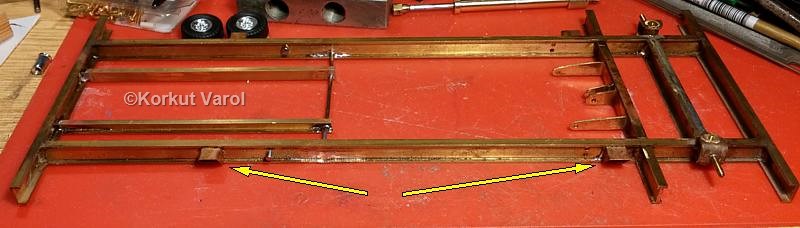
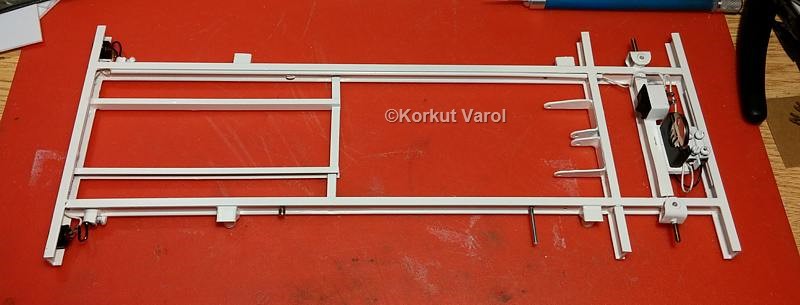
I soldered the cylinders to the brackets.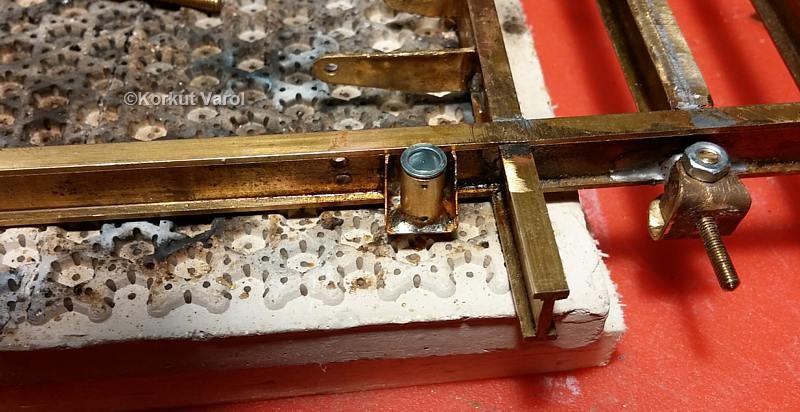
25 December 2015:
26 December 2015:
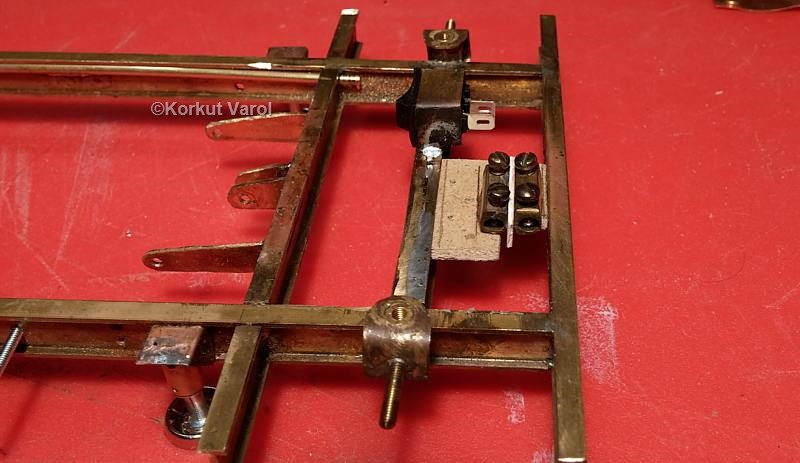
The rear LED connections would have to be hidden, so I designed a cover from copper sheet to hide the back side after installation.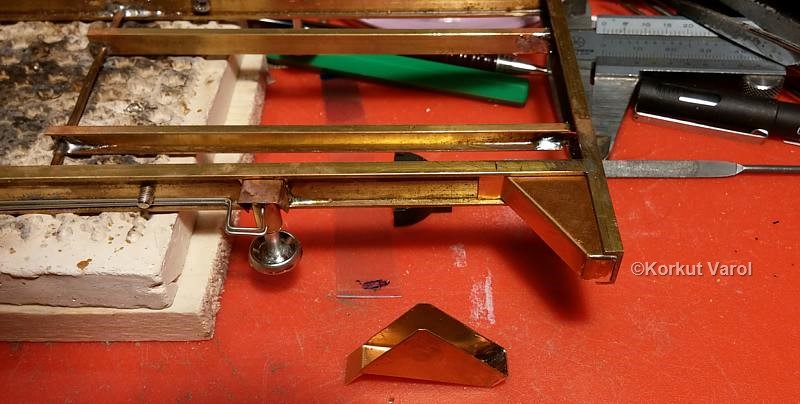
27 December 2015:
I manufactured the hood from styrene sheets.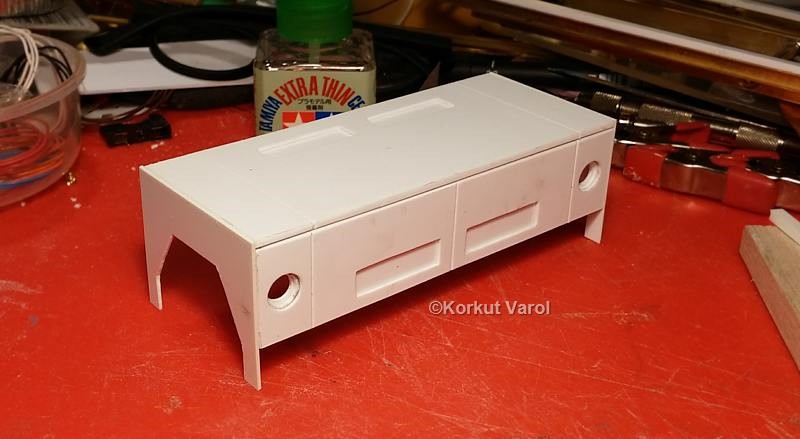
29 December 2015:
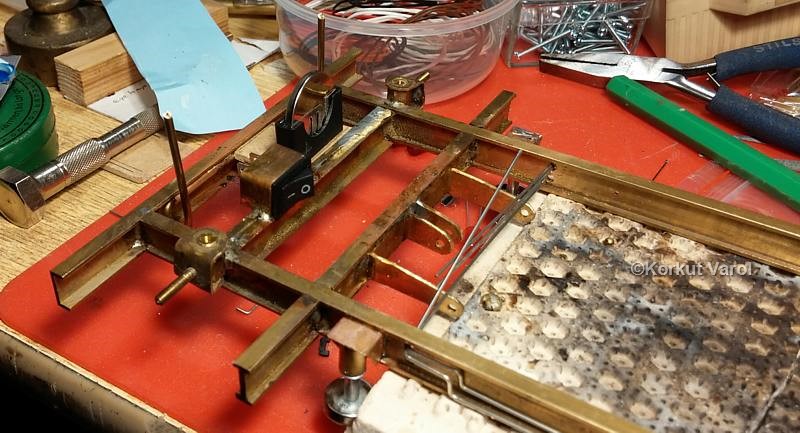
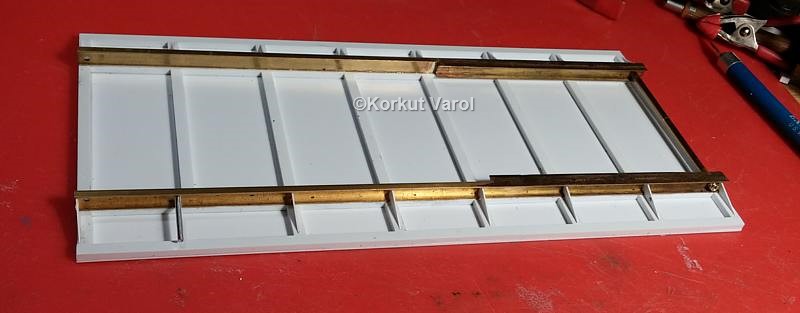
I made the cable/hose hinged tray by having it punched on a machine and bending.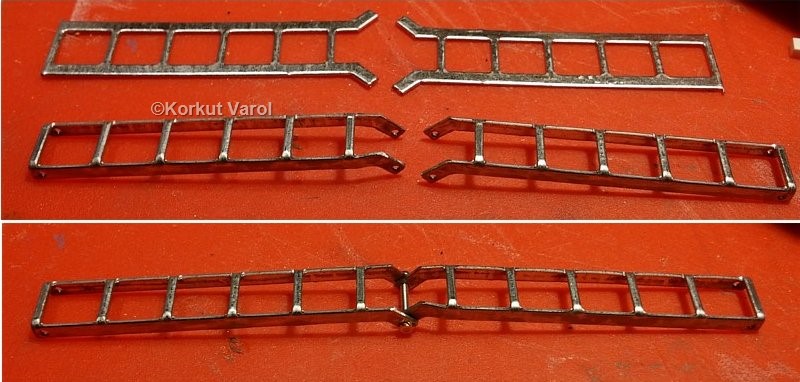
01 January 2016:
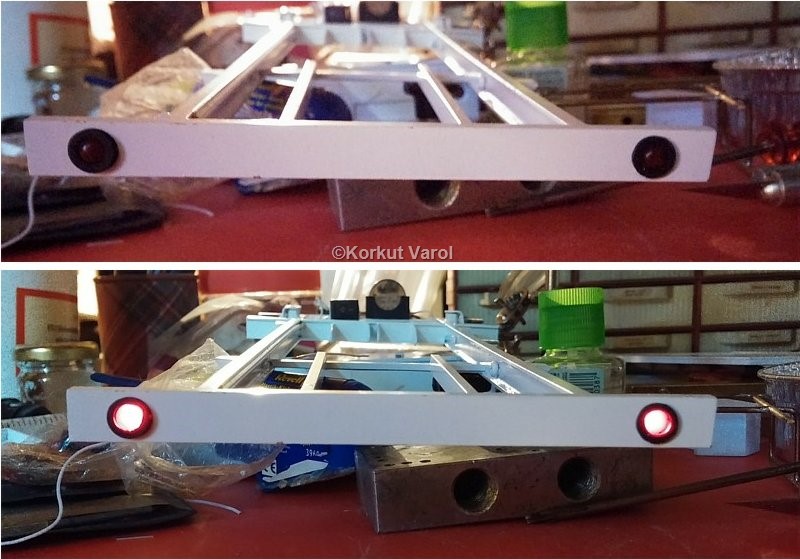
I soldered negative ground terminal connections for the rear lamps.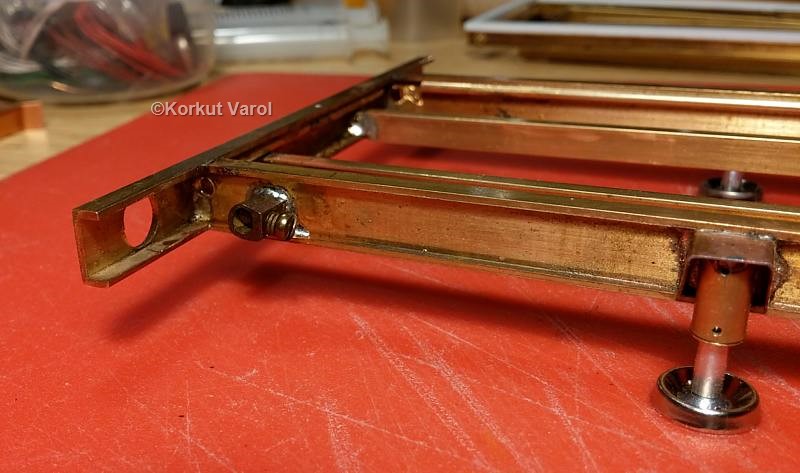
02 January 2016:
Now that the soldering was over, I painted the chassis.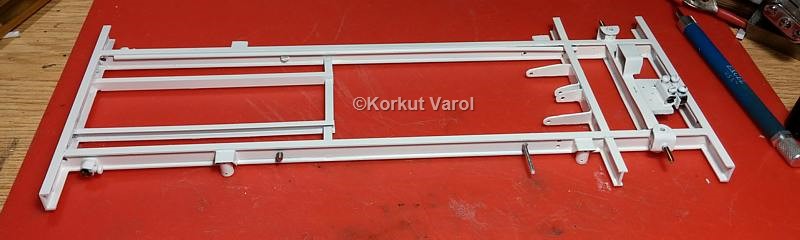

04 January 2016:
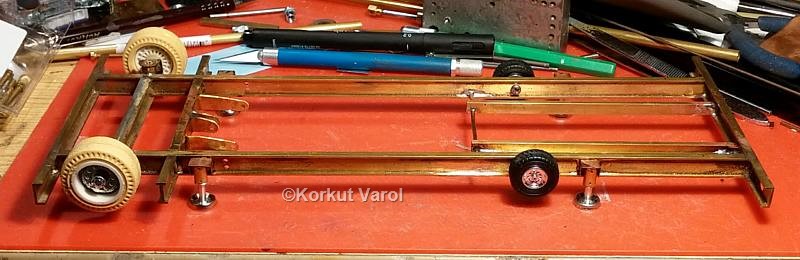
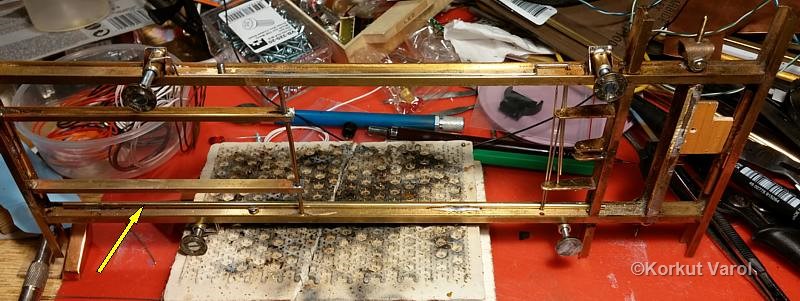
I began installing the parts. I stripped off the copper core from a telephone wire and used the plastic insulation as the hydraulic hose for the cylinder. The other end of the hose went through the chassis into nowhere :)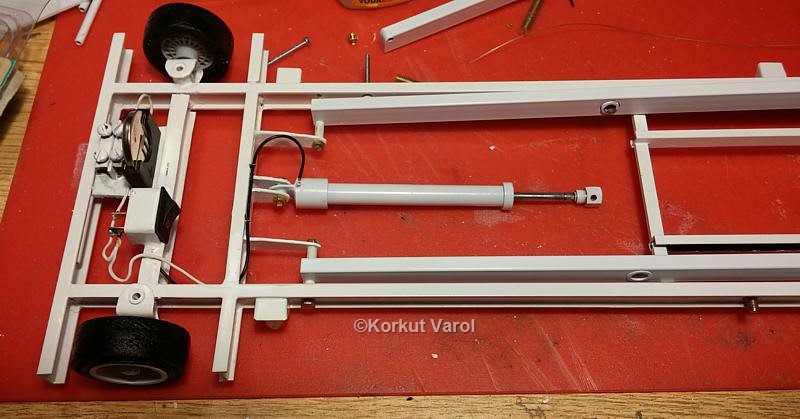
05 January 2016:
I assembled the previously made hydraulic pipes along the chassis sides, then carried on installing the scissors. I painted the inside of the roller rails black (grease imitation).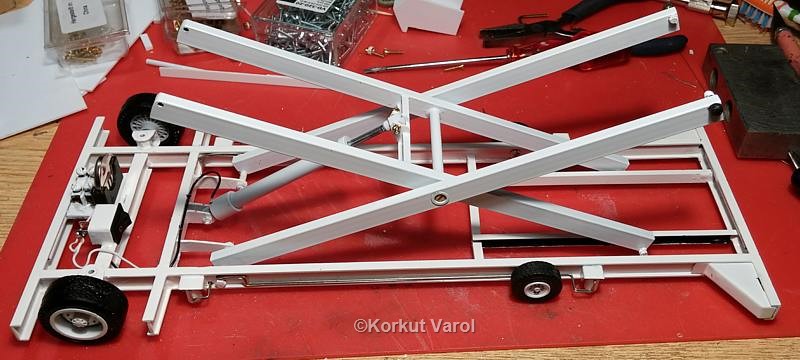
| GO TO: | |||
| Lynx - index |  |
|  |
