 |
|
 |  |
REPLICA OF THE RALLY CAR IN 1977 LONDON-SYDNEY RALLY, TEAM TURKEY.
.
Started: 29 October 2005
Finished: 03 May 2009
Page 7 of 9
|
|
|
| |
Page 7 of 9
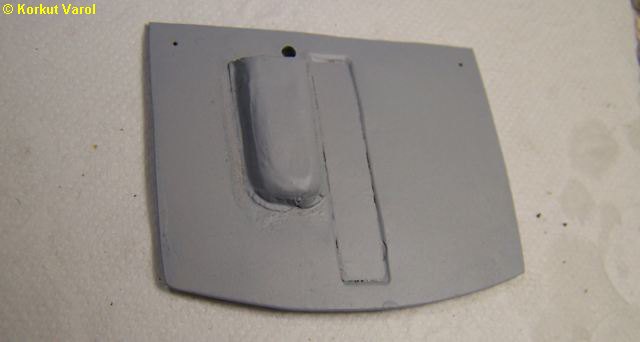
| 14 April 2009:
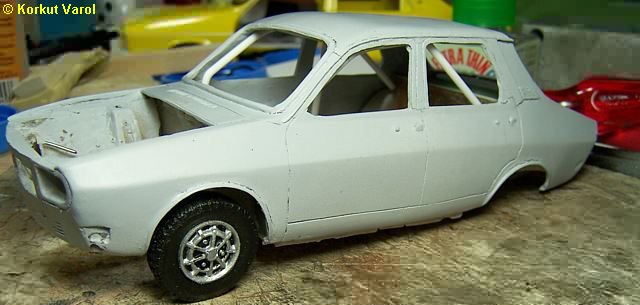
I glued the hot air discharge cap with CA glue, drilled the hood safety pin and main cutoff switch holes. Then I applied a primer paint. |
 |
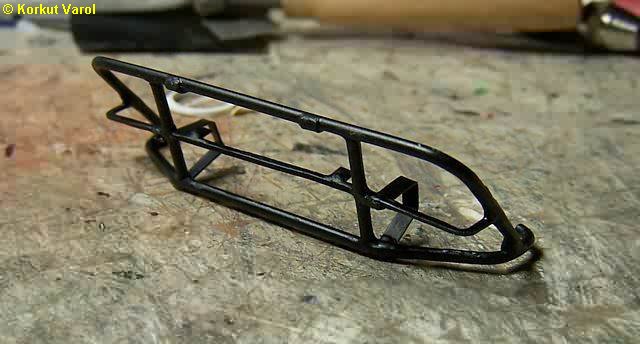
| 15 April 2009:
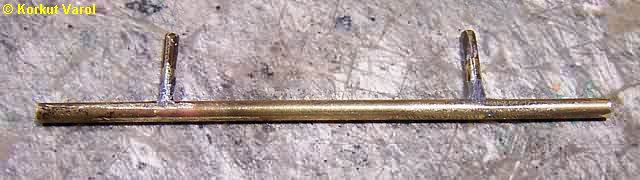
I began to manufacture the front guard bars from brass rods by soldering. |
 |
| The guard bar is finished and painted. |
 |
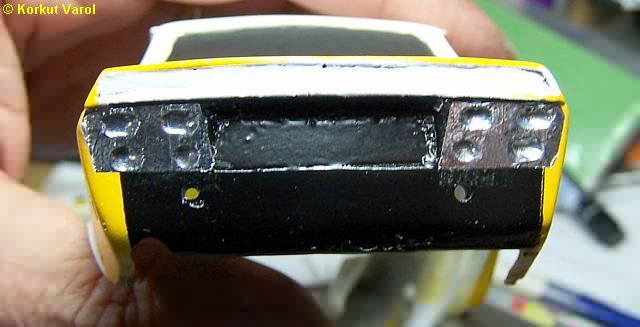
| I manufactured the rear bumper bar from brass pipe. |
 |
| 18 April 2009:
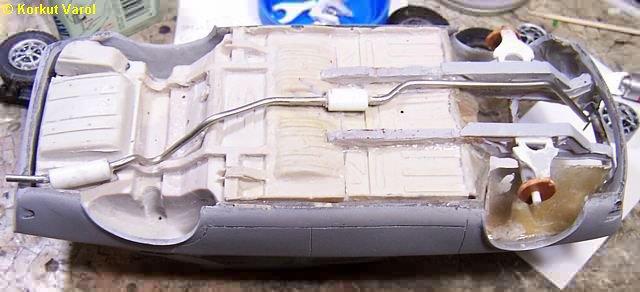
I manufactured the front wishbone assemblies and glued them on the front chassis arms. I bent a piece of soldering wire for the exhaust pipe. I made the silencers from styrene tubing, filled the insides with CA glue and fixed them on the soldering wire. |
 |
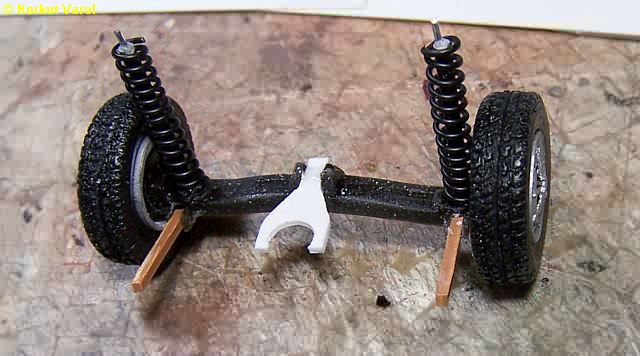
| I manufactured the rear axle and suspension assembly, by checking the alignments on the model and glued them all together. I made the springs from aluminum wire and painted them. |
 |
| 19 April 2009:
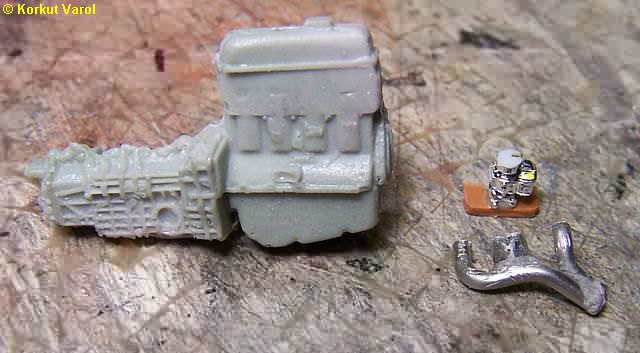
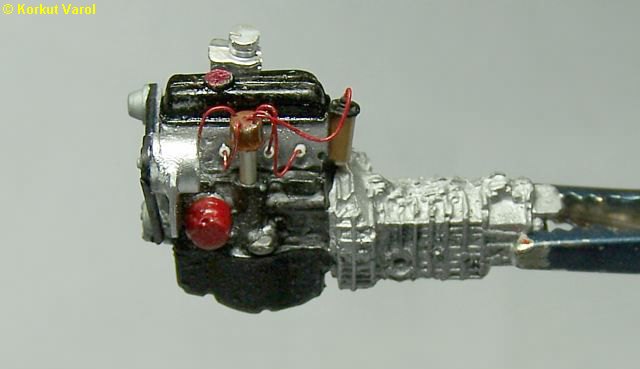
I made a silicone mold from the engine conversion that I had made before, and cast a resin copy. I made the exhaust manifold from soldering wire and fixed the parts with CA glue. I cut the intake manifold from styrene sheet and adopted a carburettor from my parts box. |
 |
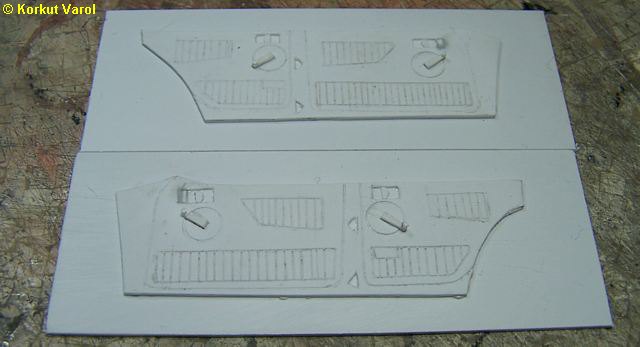
| I stenciled the door insides from styrene sheet and scribed the lines with the back of a #11 knife. Then I glued these on backing styrene sheets. I will take a silicone mold from these and cast the parts from resin. |
 |
| 21 April 2009:
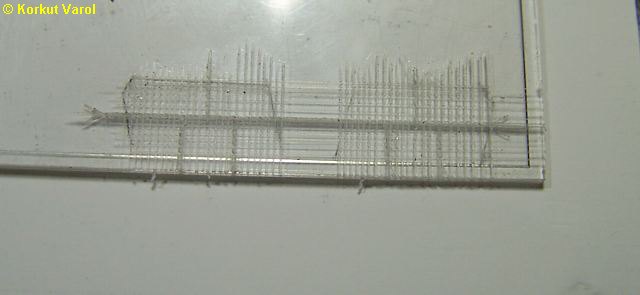
I began manufacturing the roll-cage from styrene rods. |
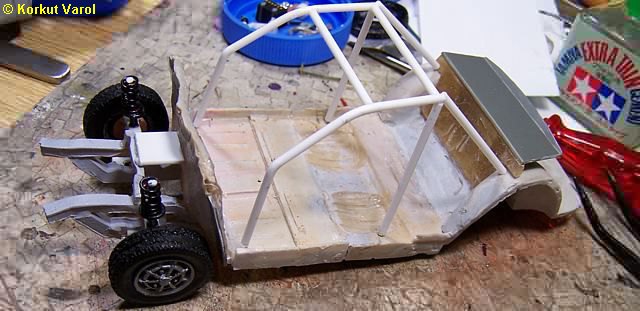 |
| Alignment check with the body... |
 |
| 22 April 2009:
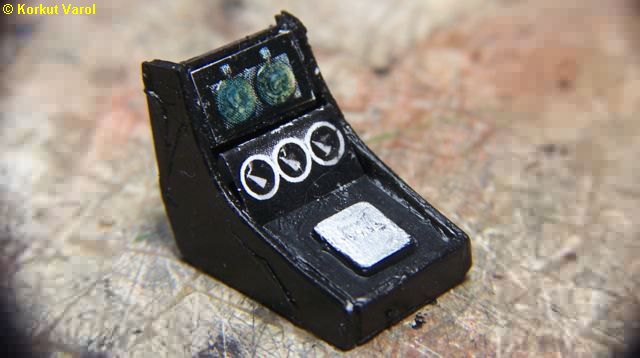
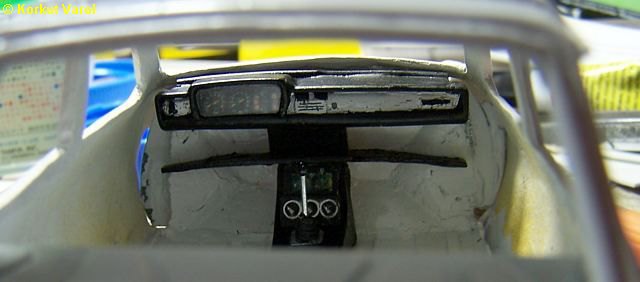
I cut out the spaces where the legs of the roll-cage would pass through the dahboard. I painted the dashboard, glued the gages that I made on the computer and cut an acetate sheet in front. |
 |
| I assembled and painted the main parts of the engine. I took the pulleys, distributor, coil and the alternator from my parts box. I tailored the belt from styrene rods. I made and painted the plug wires from 0.30 mm aluminum wire. |
 |
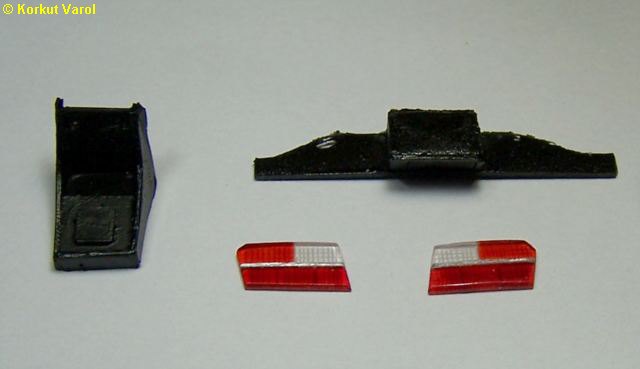
| For the rear lenses, I traced the outlines and the lens lines on a cassette box cover, with the back of #11 knife. Later, I will cut these out and paint. |
 |
| 24 April 2009:
I made the shelf (below the dashboard), central console and rear lamp lenses. |
 |
| 25 April 2009:
Pieces of wires and a CA glue drop made up for the shifting lever. |
 |
| I printed the Heuer clock and chronometer, oil temperature+pressure, and fuel gages and glued them on the central console. Droplets of clear nail polish made for the glass effect. |
 |
| After painting the base white, I masked the body and painted the deep yellow regions. |
 |
| I glued the frontal assembly and made a fitting check. |
 |
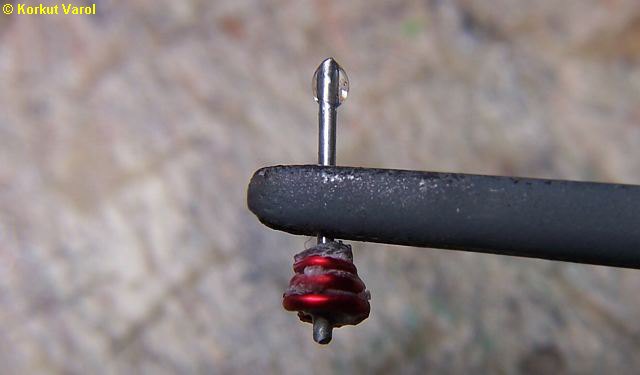
| I carved the rear reflectors and covered them with BMF. This detail will give a realistic look when the lenses are put on. |
 |
 |
|