| The Lynx
ProjectLincoln-Mercury’s Lost Dream Car |
 |
  |
|
BUILDING THE DC-8 PLANE
Page: 2 of 11
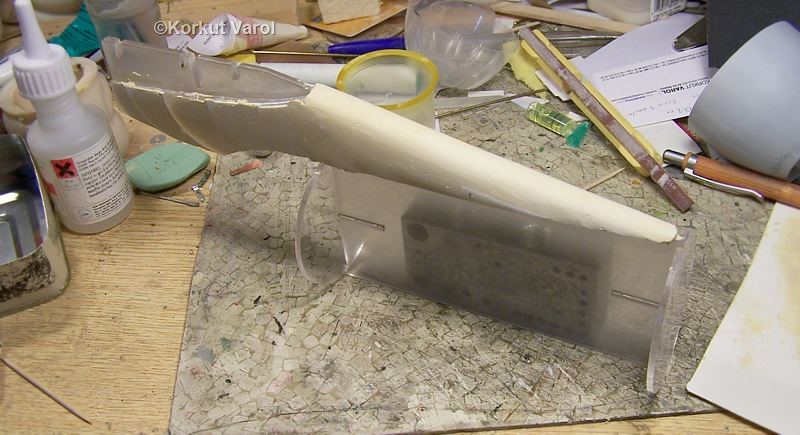
26 July 2012:I applied automotive polyester putty on the pylon stepwise-profile and made a rough sanding.
Now,
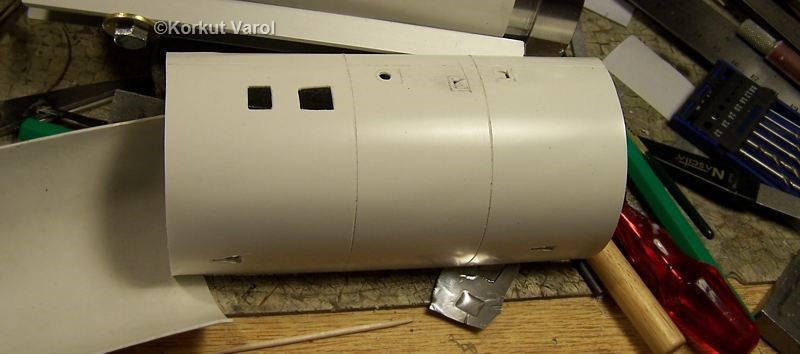
time to manufacture the two side halves of the engine cover. I made a
rounding master from iron and bent plastic sheets by heating with a
heat gun. Then I took the part off and cut along to fit on the engine
housing frame.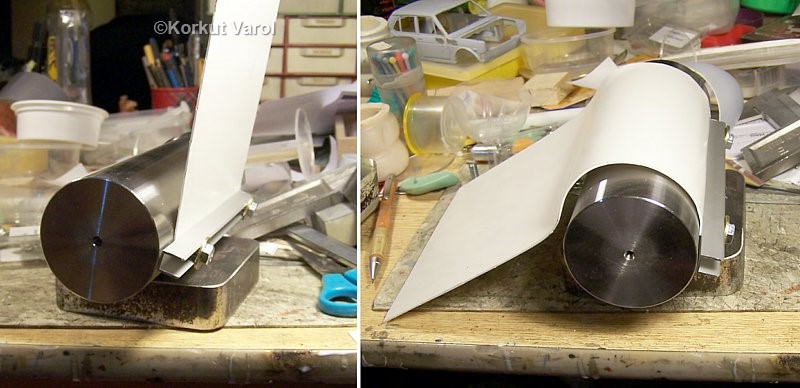
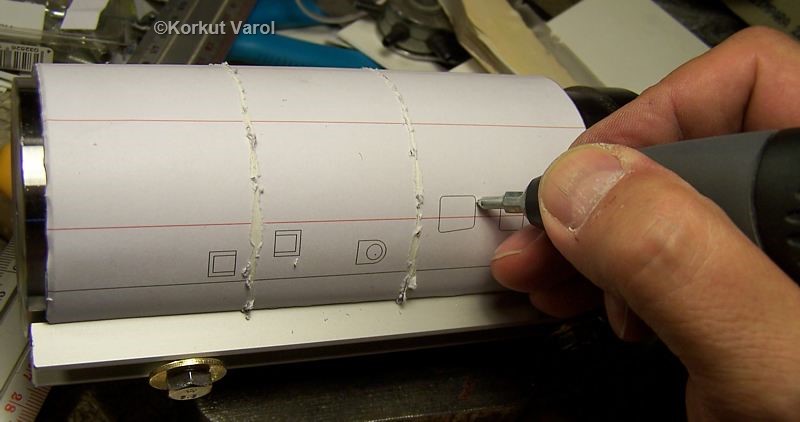
27 July 2012:I
printed on a sheet of sticky label paper, the various openings and
cover plates. I stuck the paper on one half-cover and tried to etch the
parting lines with a Dremel engraver.
28 July 2012:However, I did not like the result with the engraver, so I cut the parts and manufactured separate covers for each.
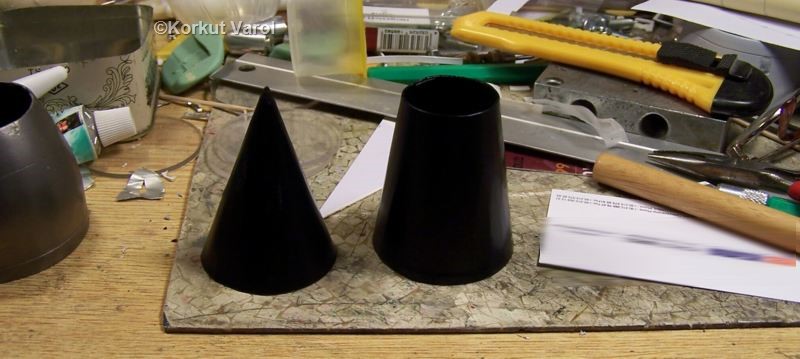
29 July 2012:
Meanwhile, I manufactured the exhaust nozzle cone parts.
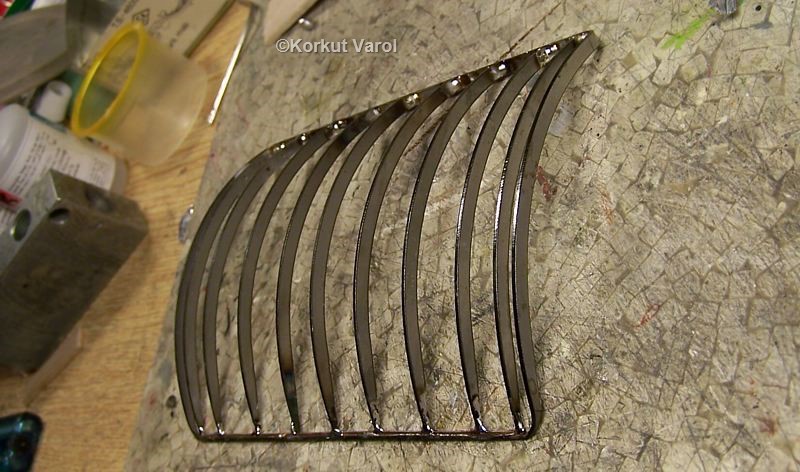
I
sketched the grille on the pylon and manufactured a sample from
aluminum foil, strengthened at the back side with CA glue+activator. I
carved out the region on the pylon to receive the back-side thickness.
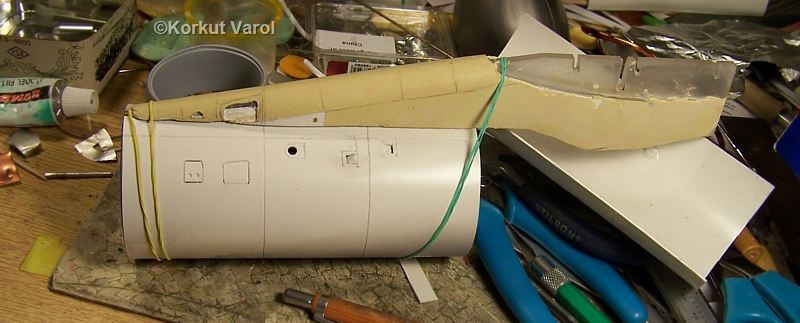
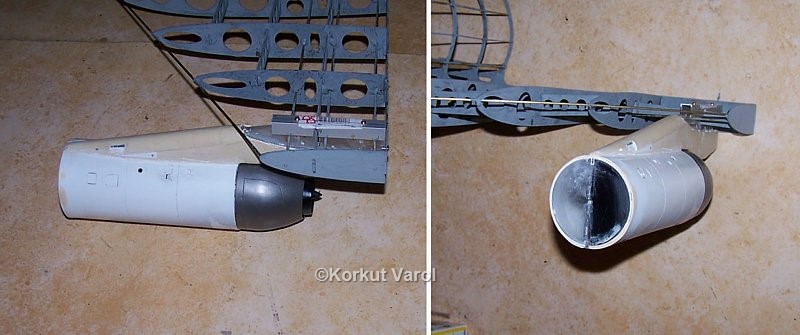
I began fixing the side covers on the frame.
After fixing, I filled the gap between the pylon and the cover with automotive polyester putty.
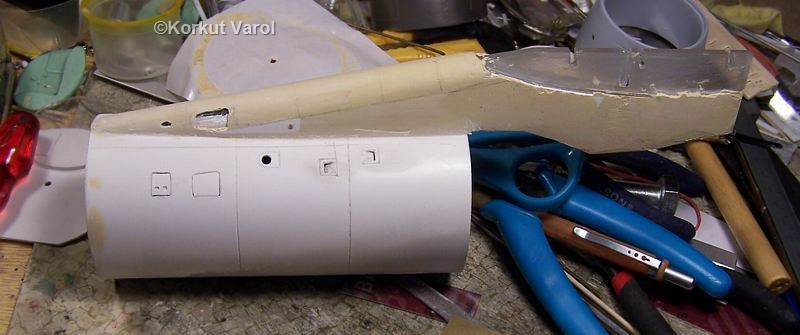
01 August 2012:
I glued the exhaust part on the engine and fixed the engine to the wing with screws.
04 August 2012:
I cut plastic strips and glued them on the sides of the wing bulkheads to form a surface on which the wing panels would rest.
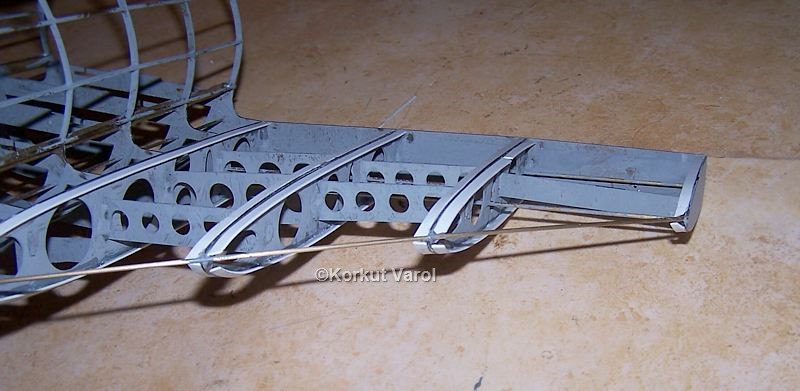
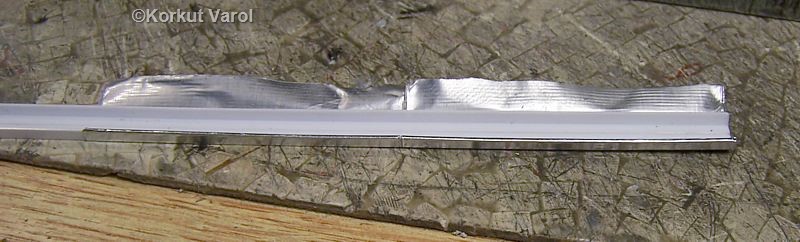
05 August 2012:
I
made an attempt to manufacture the roller frames along the cargo deck.
I took two 2.5 mm styrene L-sections, and fixed them with aluminum duct
tape to form a U-channel. I left the joining edges along the channel to
be visible, since in reality the channels are formed by installing one
module after another.
.
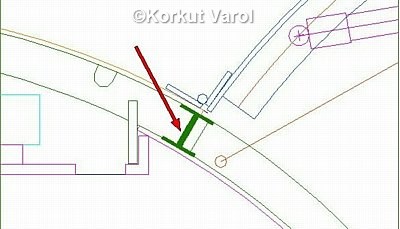
I
began getting concentrated on the cargo door area. An H-profile is to
be prepared for the periphery of the main cargo door opening. (Figure
below)
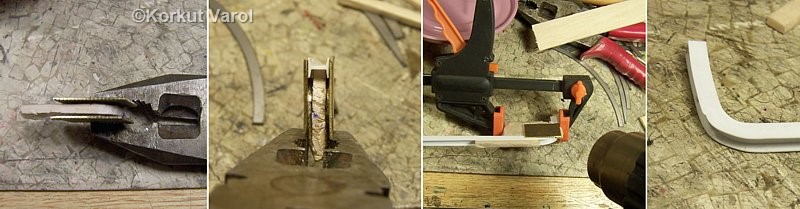
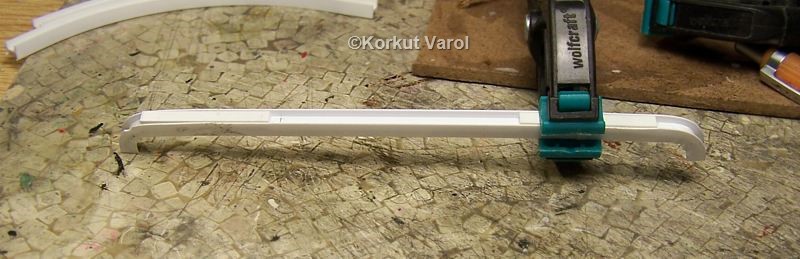
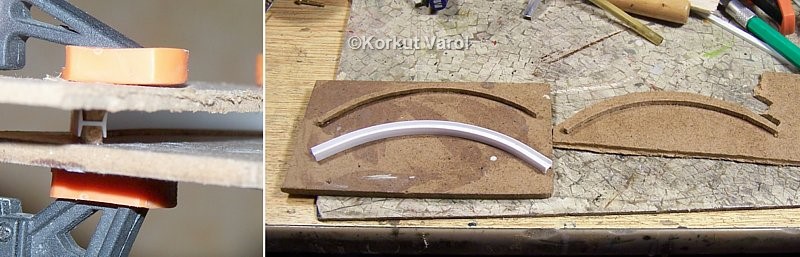
I
began with bending the corners. To bend a styrene Evergreen H-profile, I made a
bending jig from balsa and brass sheets. With the aid of a heat gun, I
bent the first corner. Then I made 3 more corners.
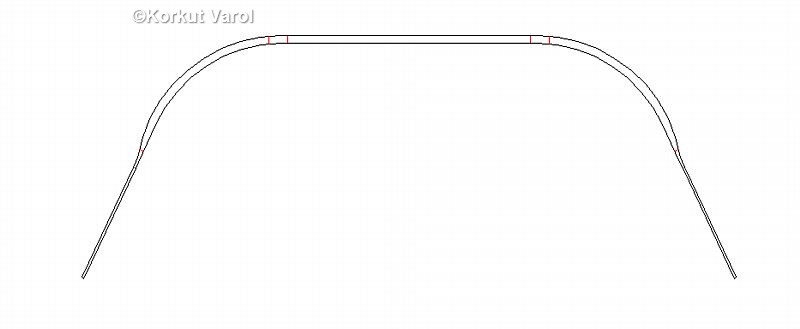
Then using the laser-cut development below,
I bent the corners of the cargo door frame and began epoxy-glueing the door ribs.
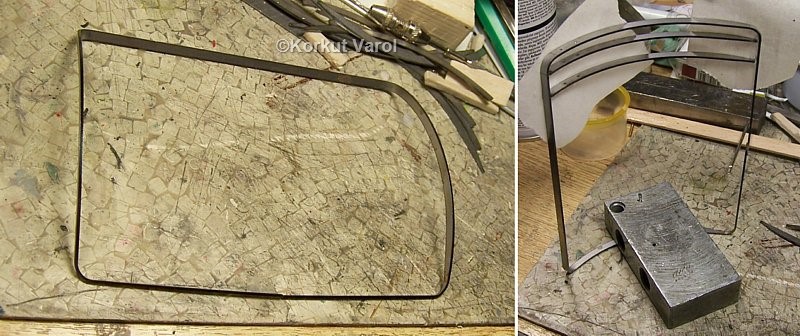
18 August 2012:
Epoxy-glueing
did not work fine, I accidentally dropped the frame and the ribs set
loose. So I cleaned all edges and fixed them with soldering.
I
made a pair of bending jigs to form the sides of the door gap in the
fuselage. I used an Evergreen H-beam, put it between the jigs and
heated with a heat gun to fix the bending permanently.
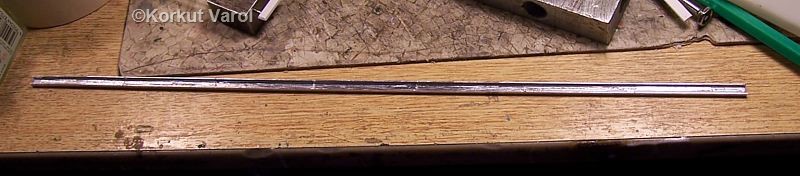
I
cut a straight part from the H-beam to form the upper edge of the door
gap, and glued two pre-formed corners. I glued reinforcing styrene
strips at the back side.
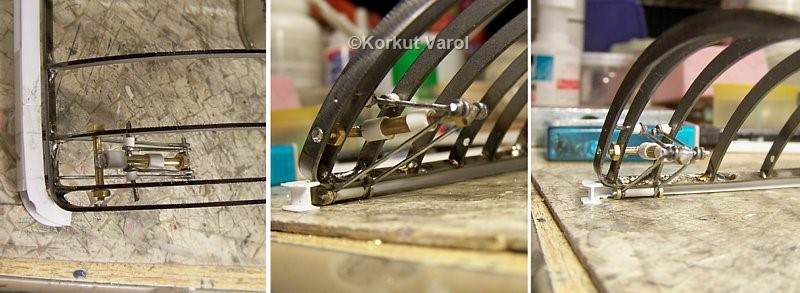
19 August 2012:
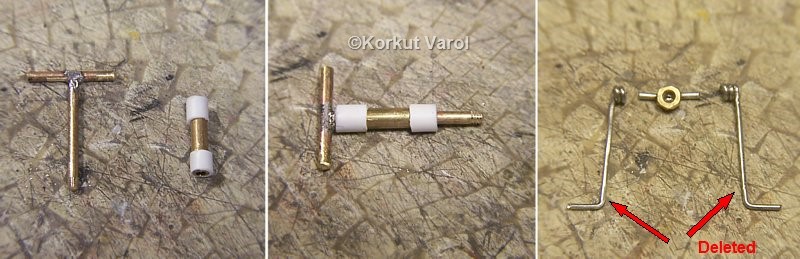
Manufacturing
of the lifting hydraulic cylinder. I used brass rods and tube. For the
short rods, I made an attempt with pieces of wire clips, but I deleted
them.
20 August 2012:
I
manufactured short and long rods more sophisticated, with rod eyes
closed by soldering. I also made the bracket for long rods inside the
upper door frame.
21 August 2012:
I made a temporary assembly to see the fitting.